Pineapple from sweets: master class with step by step photos
Pineapple has always been a symbol of luxury, aristocracy and refined taste. However, it is not always possible to buy a juicy and ripe fruit. But to do unusual composition from a bottle of sparkling wine or champagne and delicious sweets everyone can! Separately, we note the versatility gift: it can easily replace floral bouquet for birthday, will find its place under the Christmas tree or come in handy at the table on women's day.
Content
Candy pineapple: required materials, tools
Total time making crafts is 2-2.5 hours. The basis for pineapple can be a foam blank cut in the shape of a cylinder with a narrow top, or a bottle of champagne, sparkling wine, or other alcohol. The higher the base, the more realistic the craft will turn out.
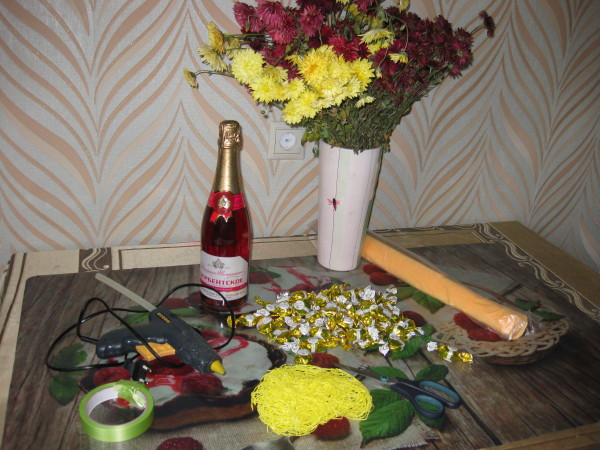
For decor you need to prepare:
- Rounded sweets with yellow, orange, brownish candy wrappers. Depending on the type of sweets, they will need 500-800 g. This craft took 700 g of Golden Lily sweets.
- Paper, nylon tape.
- Crepe paper in yellow or green color. To decorate the yellow crepe, you need a green pencil.
- Glue gun with replaceable refills, scissors.
- Sisal fiber mesh.
Pineapple from candies and champagne: the order of work
You need to lay out all the materials on a large table, you need to glue the sweets quickly, so nothing should be distracting.
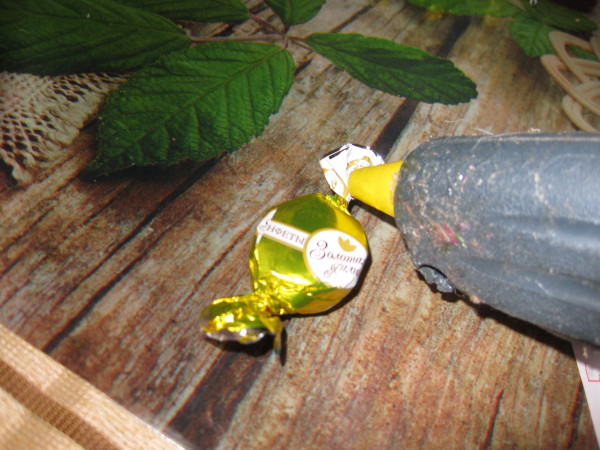
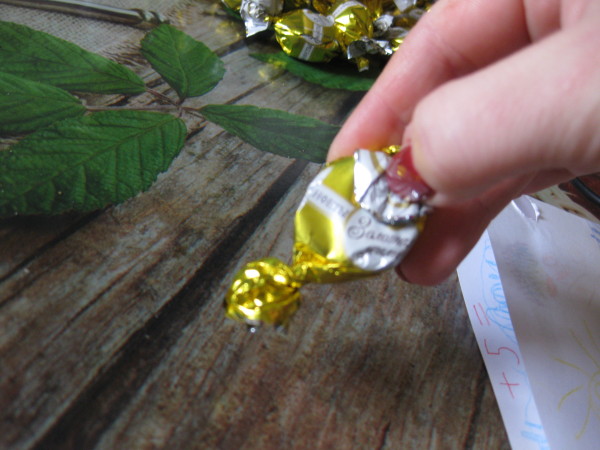
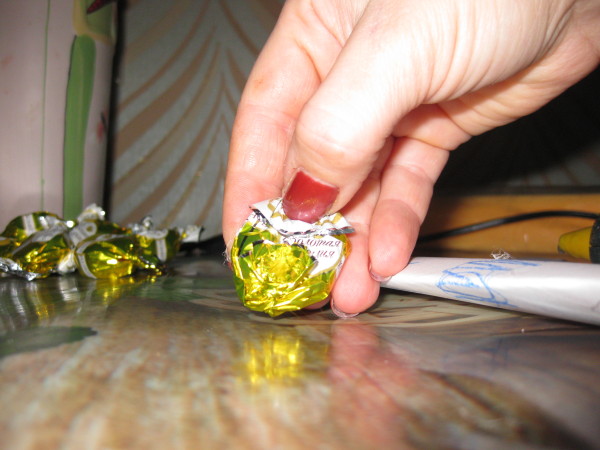
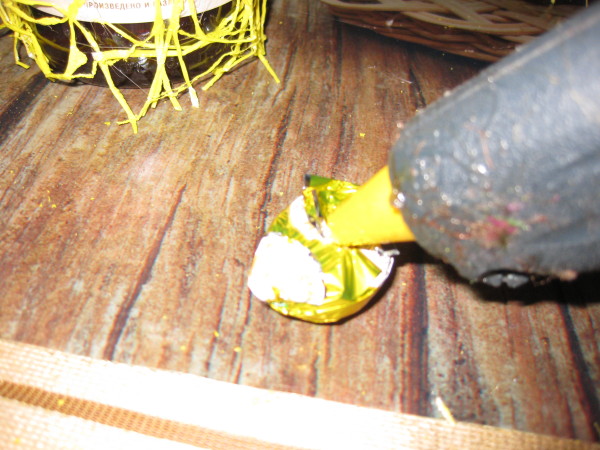
- Preparation of sweets. We warm up the glue gun and glue the edges of the candy wrapper to the middle, first on one side, then on the other.
- The result is a neat round candy.
- Make the glue drop very small. Otherwise, the chocolate on the candy under the wrapper will melt.
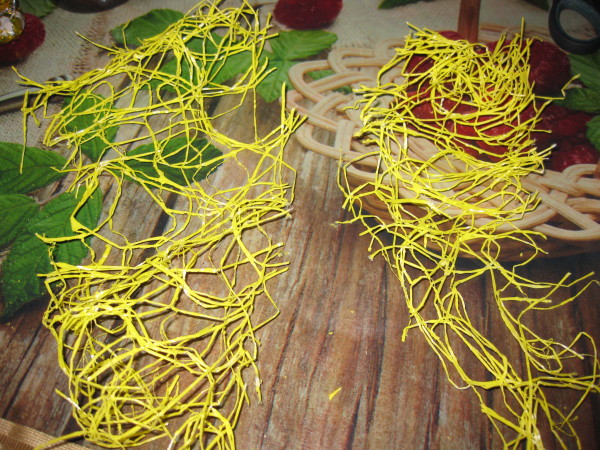
- Then he prepares the base bottle. Cut the sisal mesh into 2 strips 7-8 cm wide.
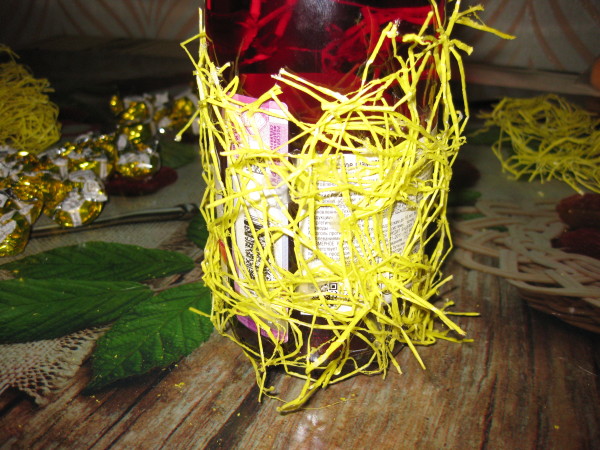
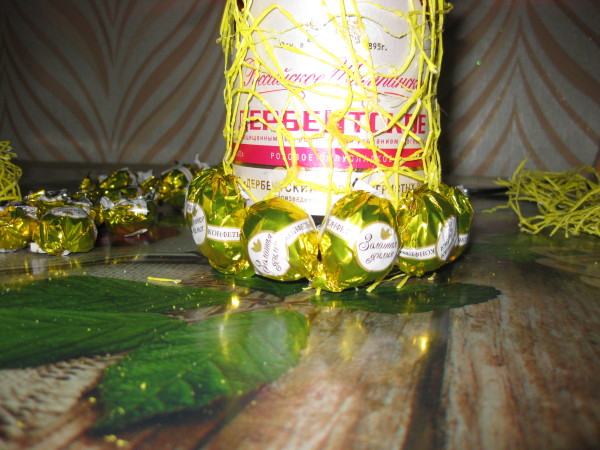
- We glue one of them around the bottle, starting from the bottom. The mesh base will help to decorate the gaps between the candies. We cut off excess fibers, nothing should stick out or recede from the surface of the bottle. Similarly, you can use ordinary sisal fibers, decorative nylon floristic mesh.
- We glue the candies one by one. Apply a drop of hot glue to the underside.
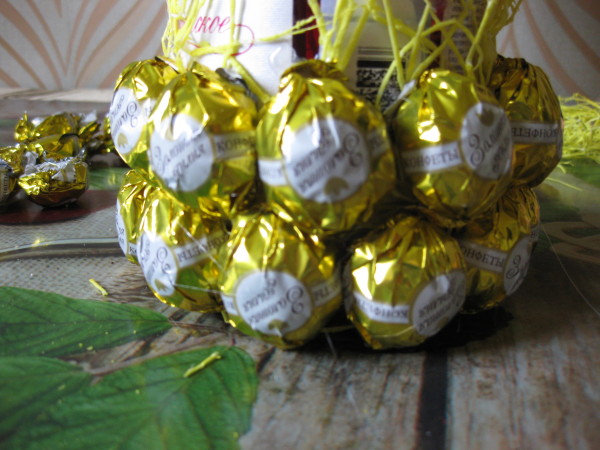
- We press the candy to the base, holding it for 1-2 seconds for secure fixation. We glue the candies in a row without gaps, starting from the bottom of the base. So we get the first row.
- Subsequent rows are performed in the same way, the candies in the rows should be staggered.
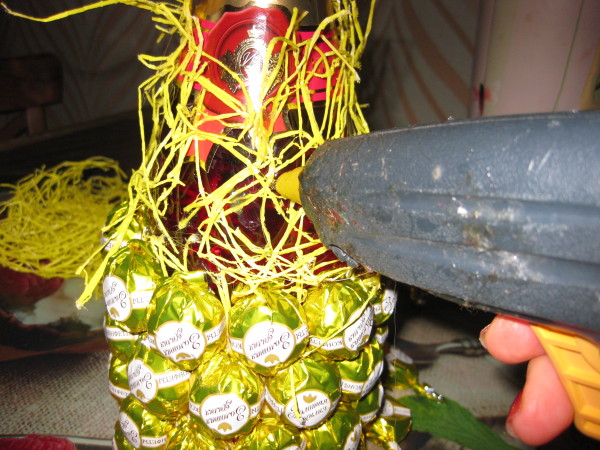
- After 4-5 rows of sweets, glue the second strip of sisal mesh. At this point, the bottle just begins to narrow, so we shorten the tape.
- Glue the candies up to the beginning of the bottle neck. In those rows where it is no longer possible to glue with a checkerboard, we just do it as close as possible.
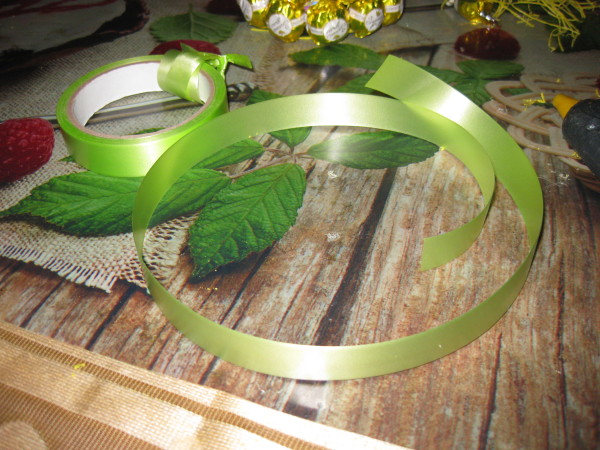
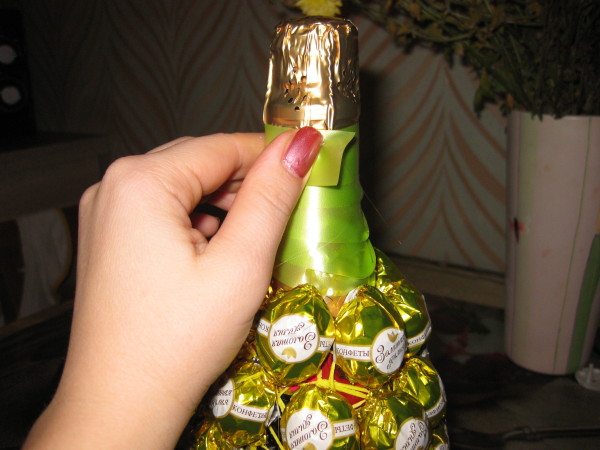
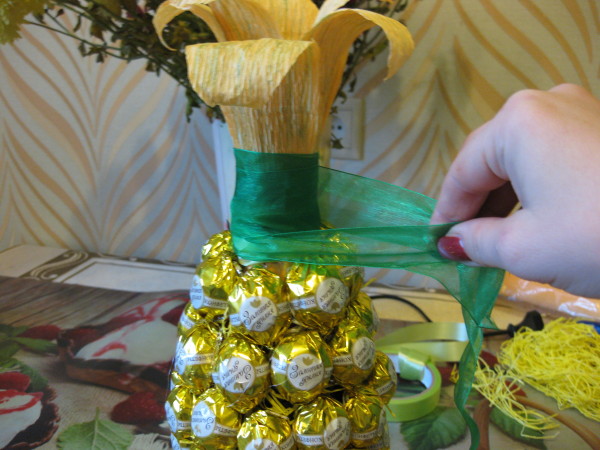
- Let's start decorating the neck. Cut off a piece of paper flax about a meter long.
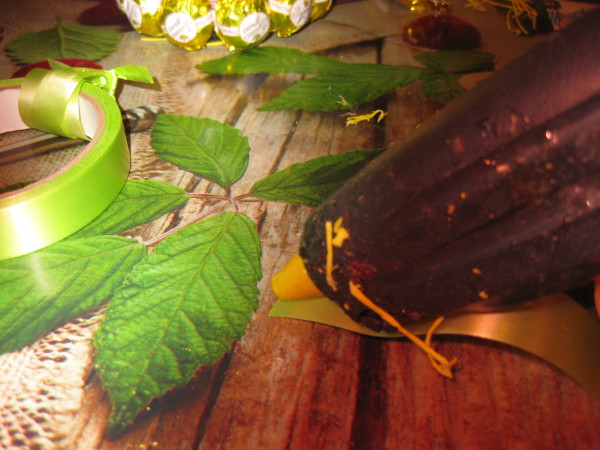
- Apply a drop of hot glue to the edge.
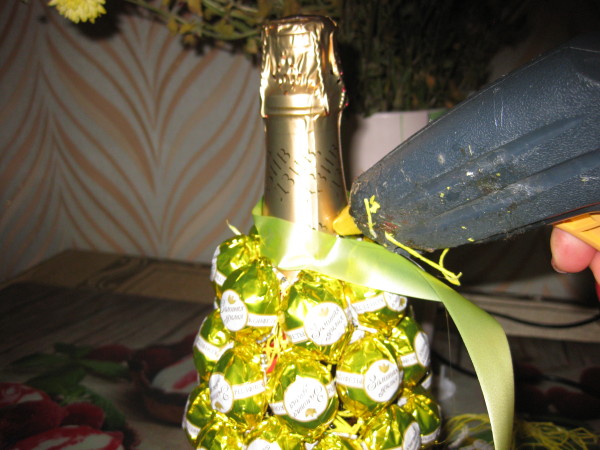
- We fix the tape at the base of the neck, where the last row of candies ended.
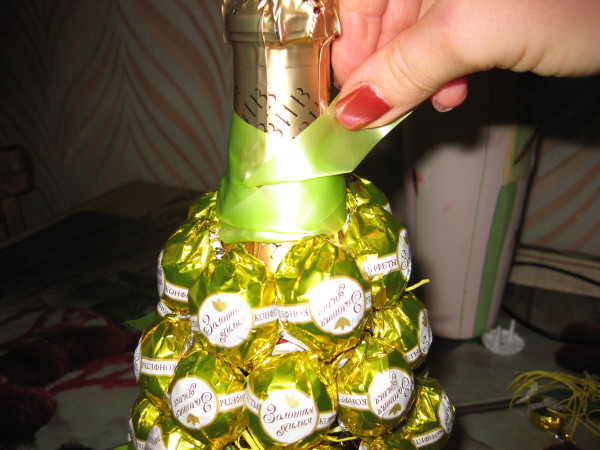
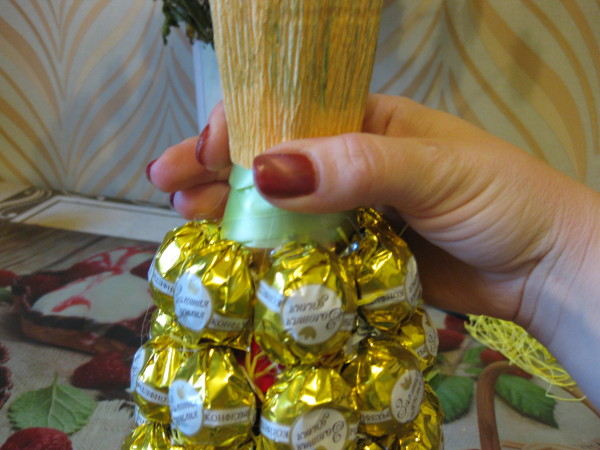
- We wrap the neck in several rows with the tape. To ensure maximum fit in the central part, we twist the tail.
- Fix the edge of the tape with glue at the base of the cork.
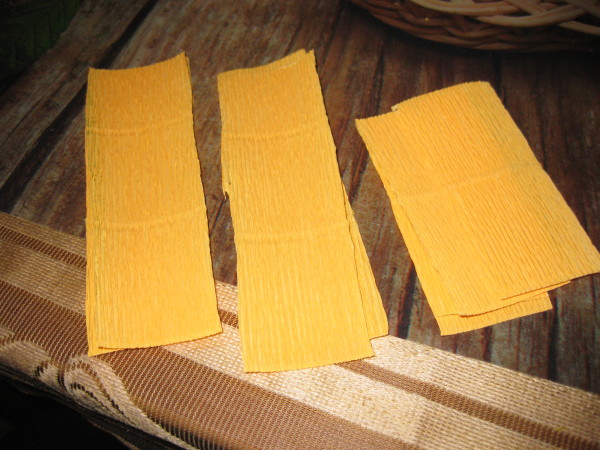
- Preparation of leaflets. From crepe paper we cut several strips 3 cm wide and 7 and 10 cm long.
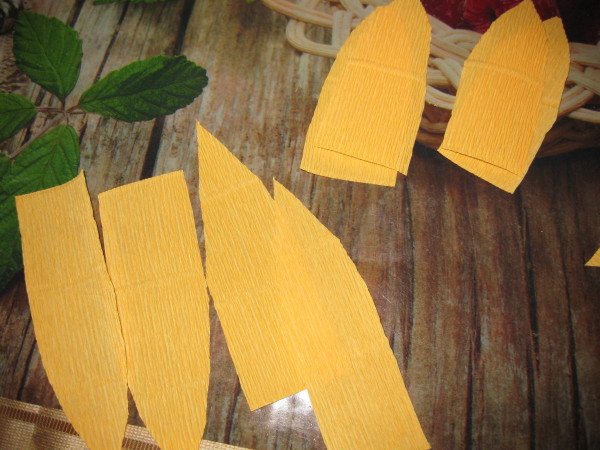
- Next, give the strips the shape of leaves.
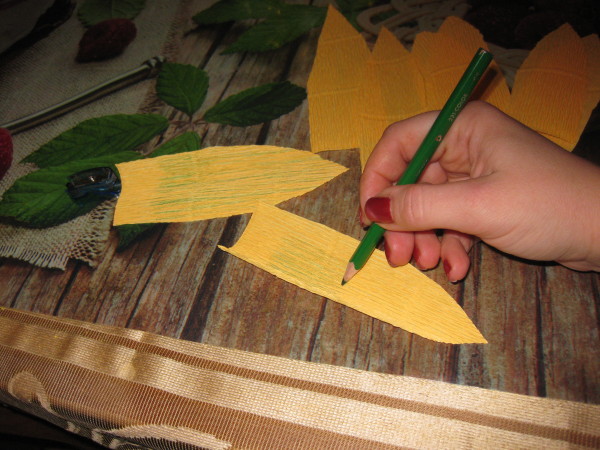
- Draw strokes on yellow paper with a green pencil (if you are using green paper, then you do not need to do this).
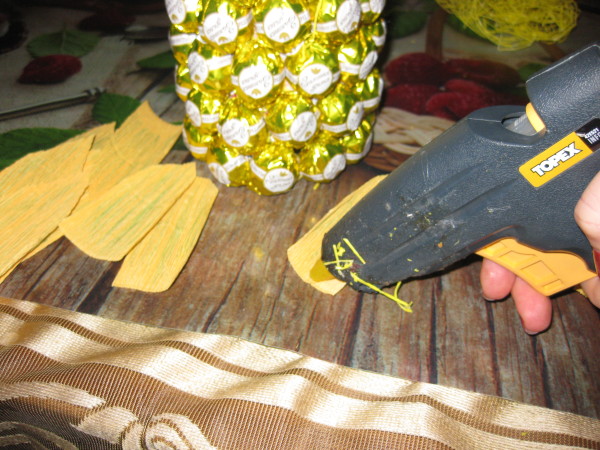
- Then, with a hot gun, apply a strip of glue to the edge of the leaf.
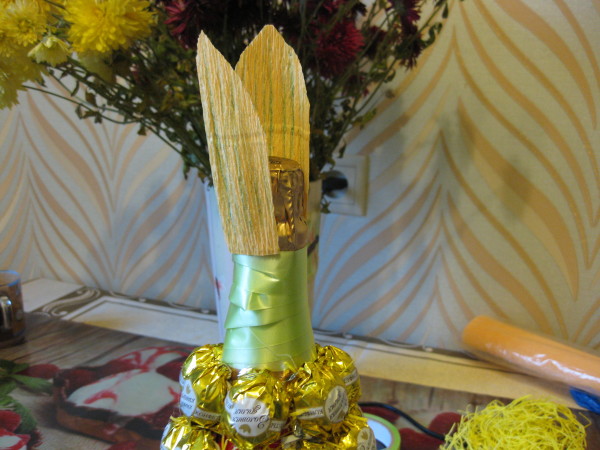
- We glue the first row of short leaves around the cork.
- In the second row, we place longer leaves. To make the leaves stick well, we press them at the base for a few seconds.
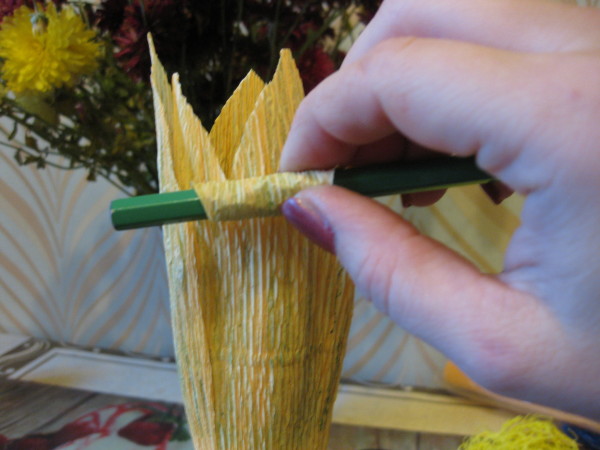
- To give the desired shape to the leaves, we use a regular pencil. Bend the leaves a little and wrap the edge on a pencil. The upper edges of the leaf will be beautifully curved. So you need to do with all the leaves.
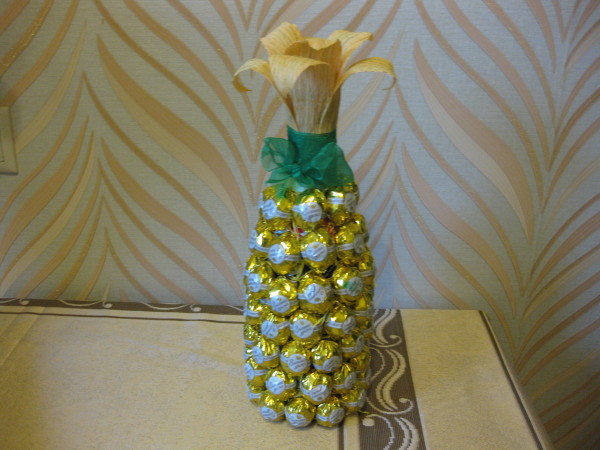
- The final stages are the design of our pineapple with a beautiful nylon ribbon bow.
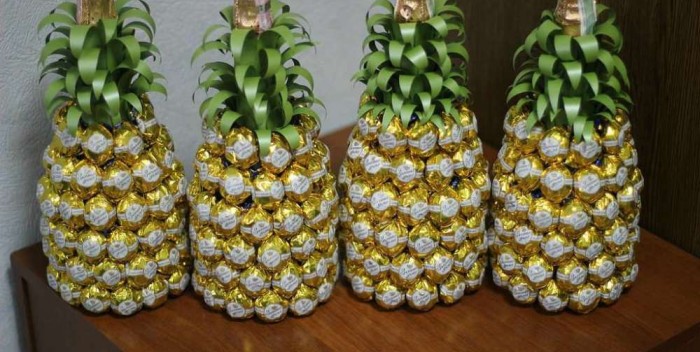
Our holiday candy pineapple is ready. It can be wrapped in transparent film or donated without it. 