DIY children's skirt: master class with step-by-step photos

The quality of children's items on store shelves leaves much to be desired. But for my children I want just the latter. To this end, every mother can learn the art of sewing and dress up her child with her own hands, while spending literally a couple of hours on making things. So, today I present to your attention a master class on sewing a children's skirt.
We will sew a skirt with wedges. This sewing option is suitable even for beginners in sewing; there is nothing complicated in either design or sewing. By the way, a skirt for an adult figure is sewn using an absolutely identical method. So you can make a couple of skirts that you can wear with your daughter.
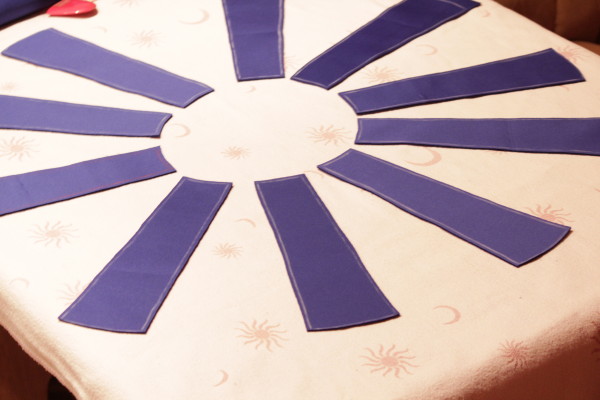
First, decide how many wedges the skirt will consist of. It all depends solely on your preferences and the desires of your baby. In my opinion, for children it is better to make narrow but more frequent wedges than wide and sparse ones. The more wedges, the more magnificent it will be towards the bottom and vice versa. In my version, 10 wedges were initially planned, but in the process I had to make one more (i.e. 11 parts), since during the fitting it became clear that the skirt “sat down” butt-to-shoulder.
Well, now let's start modeling the skirt. By the way, the process of creating a pattern and sewing it takes only an hour and a half, and the new thing for the baby will be ready.
Skirt with wedges: design
For pattern making The following measures will be needed:
- Waist circumference.
- Hip circumference.
- Seat height (length from waist to hips).
- Skirt length
I will cut a skirt for six years, the measurements are as follows:
- Waist circumference - 50 cm.
- Hip circumference - 56 cm.
- Seat height - 13 cm.
- Skirt length - 28 cm.
If your measurements are similar, you can use the calculations below, otherwise, just recalculate. As I said above, 10 wedges were selected. To find out the width of the wedge at the waist, you need From/10: 50 cm / 10 units. = 5 cm. Next you need to find out the width of the wedge at the hips: R/10: 56 cm / 10 units. = 5.6 cm. You can make any number of wedges, just divide the volumes by the desired size and then continue to work according to the principle described below.
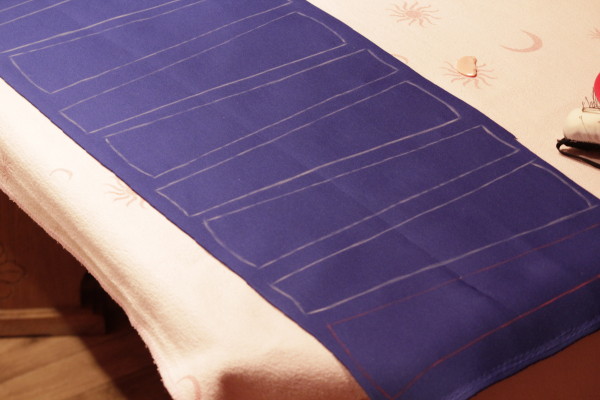
Let's move on to creating a pattern. You only need to draw one wedge.
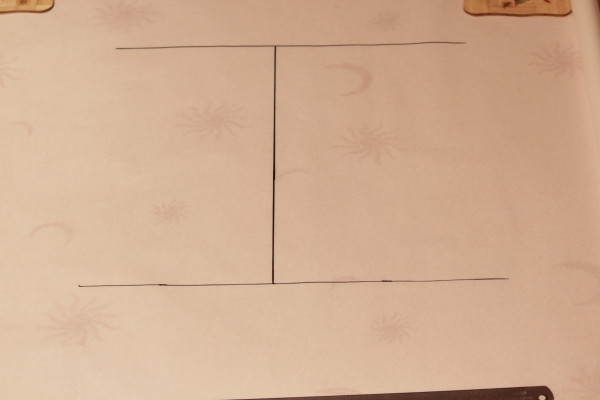
- On graph paper or any plain paper (I have tracing paper), draw a horizontal line - this is the waist line.
- From it, draw a perpendicular downward, which will be equal to the length of the product - in my case it is 28 cm. Draw a horizontal line parallel to the waist line - this is the bottom line.
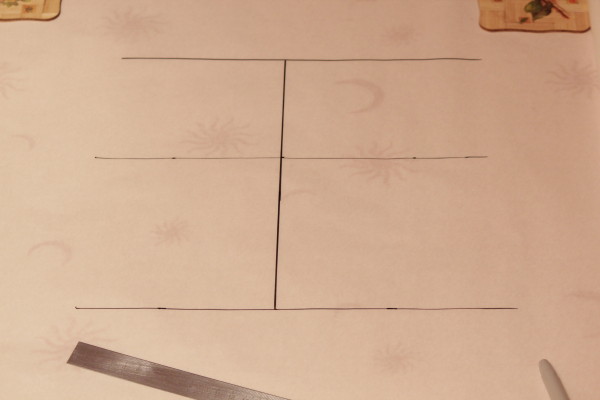
- From the waist line, along a line extending perpendicularly downwards, measure the height of the seat and draw a horizontal line, also parallel to the waist and bottom line of the product.
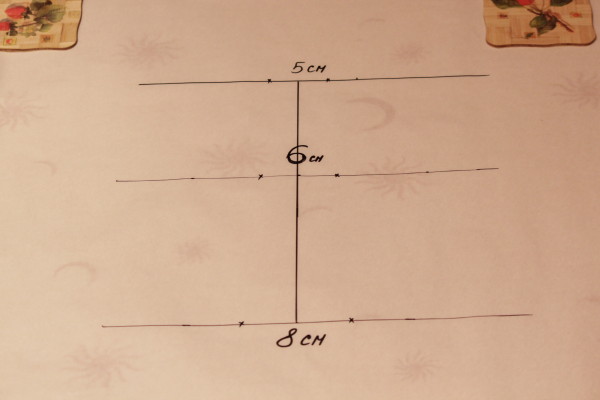
- Now you need to outline the boundaries of the wedge. On the top line, set aside the width of the wedge, calculated according to the waist circumference. 0.5 measures to the right and 0.5 to the left. That is, my wedge width is 5 cm. This means that from the perpendicular line, at the waist line, I put 2.5 cm to the right and 2.5 cm to the left. I mark these places with crosses. You need to do the same with the hip line: the width of the wedge is 5.6 - divide by 2 and put it in both directions along the hips (you can see in the photo that I increased the measurement a little, rounding it to 6 cm). Now the bottom of the skirt. You can expand it at your own discretion, or leave it as is, then the skirt will be straight. I decided to make the width of the bottom of the wedge 8 cm - in my opinion, the optimal width, but this is a matter of taste.
- Now you need to connect all the dots. Measure the center line of the wedge; the sides of the part should be the same size. Trim them and round the bottom of the product. But lower the top of the wedge in the center a little, literally by 0.5 cm and also round it. Everything is clearly visible in the photo.
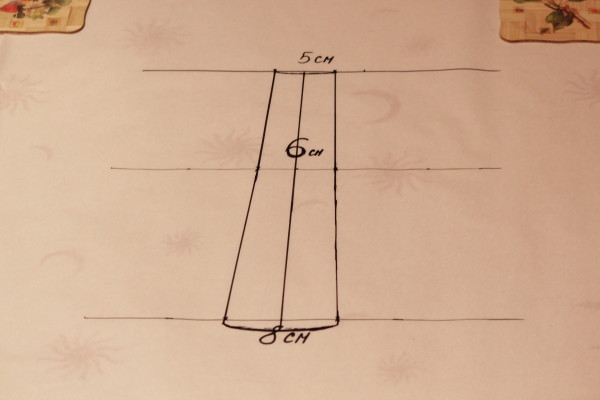


That's all, the wedge is ready. That's all skirt pattern. Now let's start sewing.
DIY children's skirt
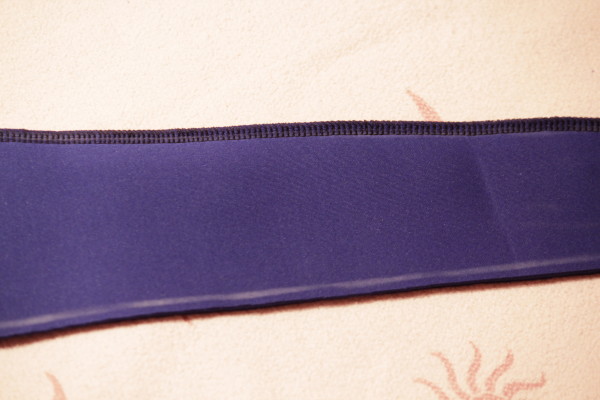
For such a skirt, it is better to choose a material that will keep its shape. My choice was Neoprene fabric. Most skirts of a similar style have recently been made from it. Its cost, of course, is not cheap, but the end result is worth it, and a lot of material is not wasted on children, so the cost of the skirt does not “bite.” So what you need:
- 30 cm Neoprene (or other material of your choice), with a width of 150 cm.
- 1 meter of lace.
- Threads to match the fabric.
- A lock or an elastic band 2.5 cm wide - this can also be determined according to your wishes. I did it with an elastic band, because I think that elastic is better for children - it stretches when the child moves and does not cause discomfort.

- Iron the fabric or decatenate it to prevent the product from shrinking in the future. Transfer the number of wedges you need onto the fabric.
- Cut each wedge taking into account the seam allowances. The minimum allowance is 0.5 cm. Since Neoprene does not “crumble”, I cut it close at the bottom, because no hem is planned. If your fabric requires processing, take this into account when cutting.
- Place a couple of wedges right sides together and pin them together with needles.
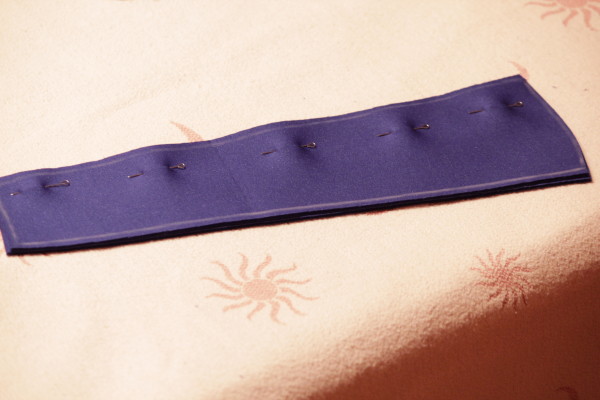
- Sew each wedge in this manner. It is best to do this directly on an overlocker.
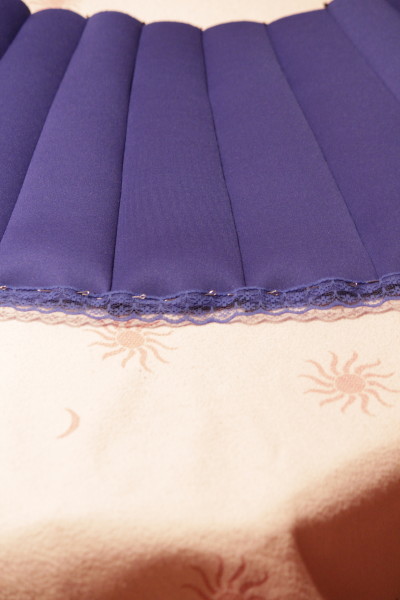
- Once all the wedges are assembled, do not rush to sew the entire skirt. First, pin the lace along the bottom and stitch it on the machine.
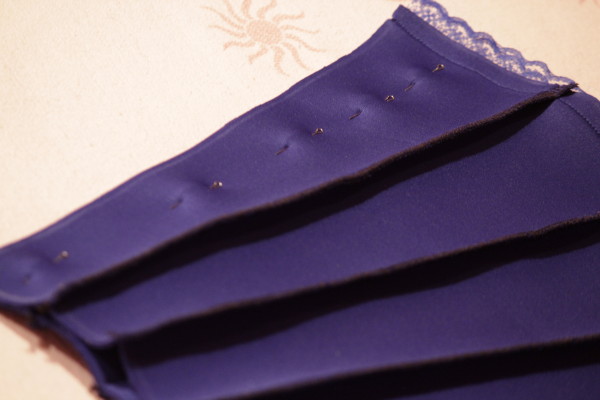
- Once the lace is in place, fold the skirt right side inward, secure it with needles and sew the parts together.
- All that's left to do is sew on the elastic. Measure out the required amount of the latter by attaching it to the child. Sew the ends together. After this, place the elastic on the skirt - right side inward and pin it together.
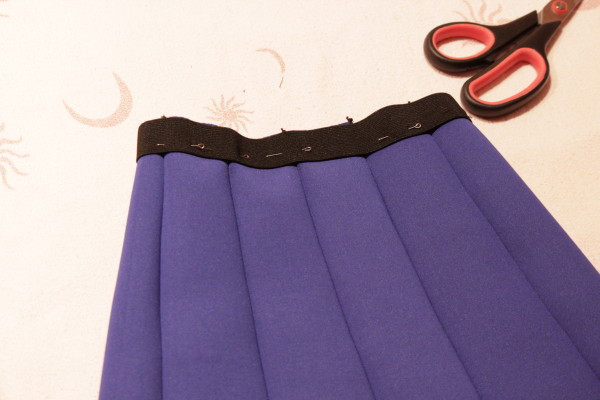
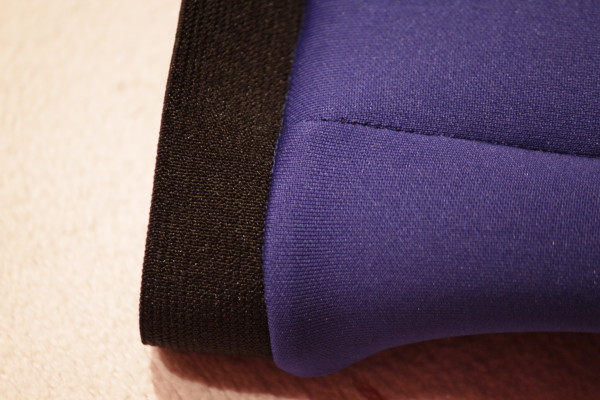
- Sew the elastic along the waistline and turn it outward. It remains to place the last stitches, which run from the front side, exactly into the seam between the elastic and the skirt. The place is clearly visible in the photo. This will allow the elastic to “stand up” as it should.


That's it. Our skirt is ready! All that remains is to try it on and you can accept gratitude from your satisfied daughter. 

