French pedicure: ideas, step-by-step implementation
French manicure and pedicure have long been the immortal classics of nail service. This is a universal option to bring your nails into perfect condition and not worry that the varnish does not fit a dazzling outfit. And if everything is clear with manicure, then the French pedicure procedure raises questions for many, because the marigolds are small and it is more difficult to work with them.
How to do a French pedicure: step by step
French pedicure somewhat more difficult to perform than the same type, but already a manicure. But regular implementation will allow you to develop skills with which your pedicure will be flawless in the future.
French pedicure is performed in several stages:
- First you need to carry out all the preparatory procedures: make a foot bath, carry out the procedure scrubbing, moisten, trim marigolds, file, polish, etc. Remember, a pedicure will look beautiful only on well-groomed legs, so do not neglect this point.
- If there is an overgrown cuticle on the nails, it must be removed. For such purposes, you can use either a cuticle trimmer or arm yourself with a special remover. The latter option is preferable, since after it there are never any burrs, which makes the nails look much better. After applying it to the cuticle, you need to hold it for a while (although there are drugs that act immediately) and peel off the cuticle with an orange stick, and then push it back.
- Give the nails the same shape, as a rule it is a "square", but especially creative personalities come up with other options.
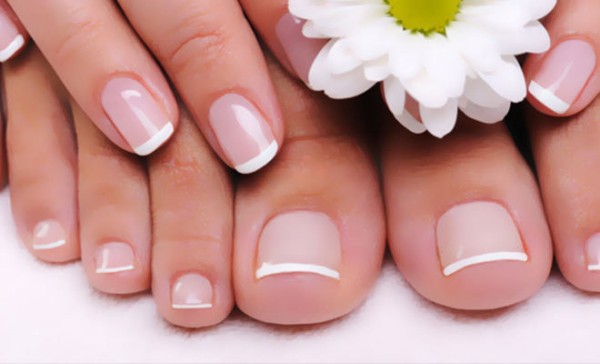
- Sand the nails with a buff so as to remove the glossy layer of the nail. You should not be zealous with this, so as not to thin the nail plate later. But you should not neglect this stage either, since a perfectly smooth surface will not provide high-quality adhesion of the coating to the nail.
- Apply a base coat to your nails and dry.
- The next layer is to apply the base shade of the French pedicure. It can be either a completely transparent varnish or a nude shade. It needs to be dried. Then, if necessary, repeat the layer.
- Next, you need to paint over the free edge of the nail. It is not always convenient to do this with a varnish brush, so professionals often use a third-party brush called a "hair". It is very thin and very comfortable to work with. Draw a smile line with it, paint over the free edge of the nail and dry the layer. Repeat if necessary.
- The final stage is the application of a top coat, which will extend the life of the pedicure.
These stages are absolutely identical, regardless of what exactly the pedicure is performed with - shellac, gel or simple varnish. As you can see, everything is very simple, and with experience it will become even easier!
French Pedicure Ideas
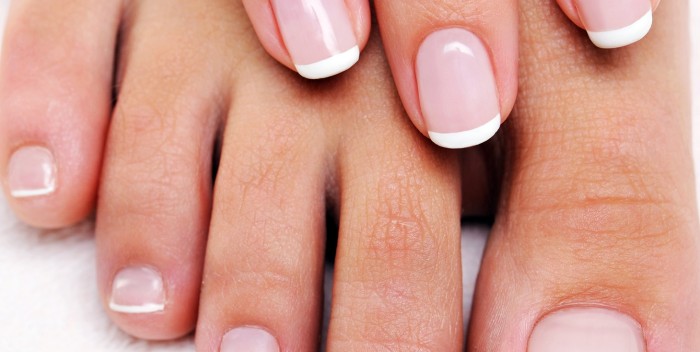
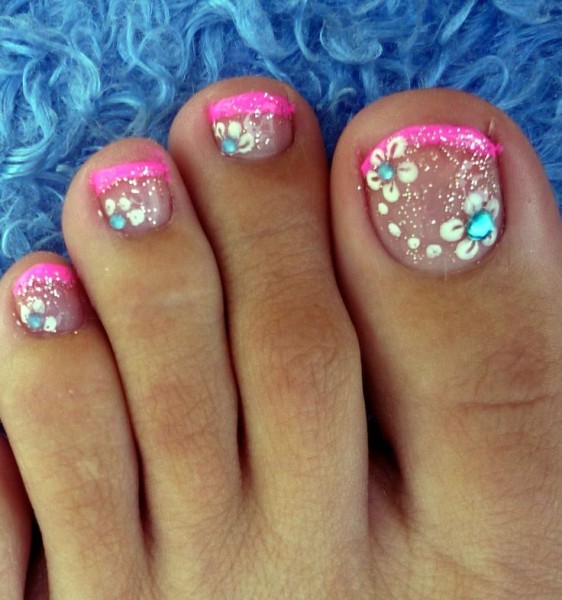
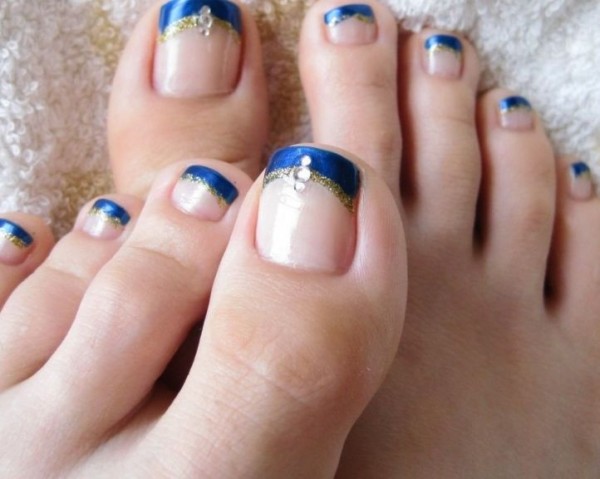
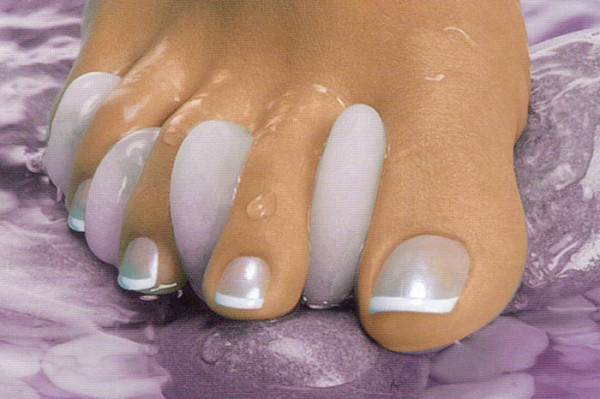
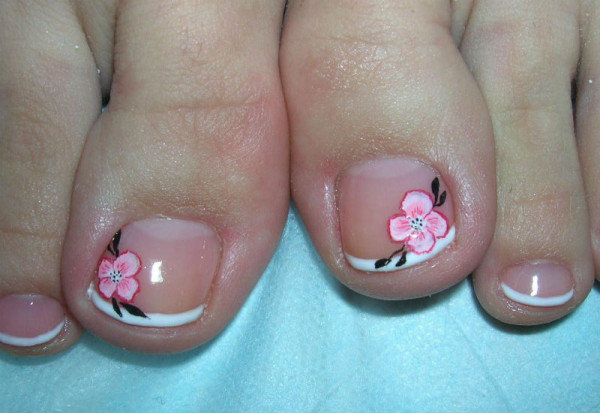
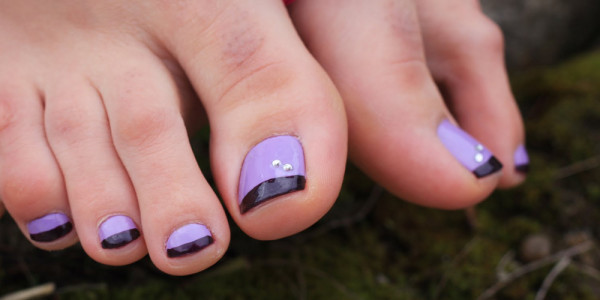
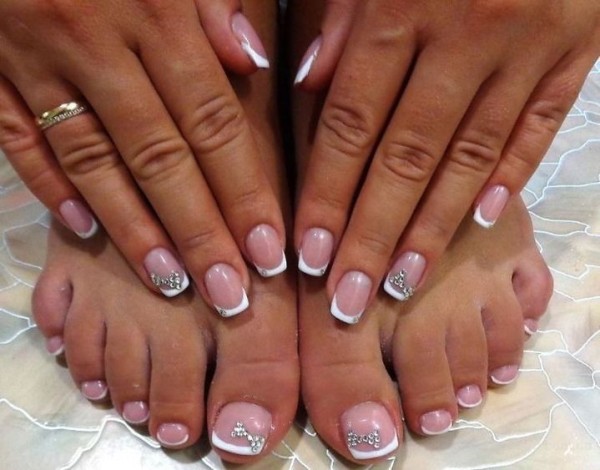
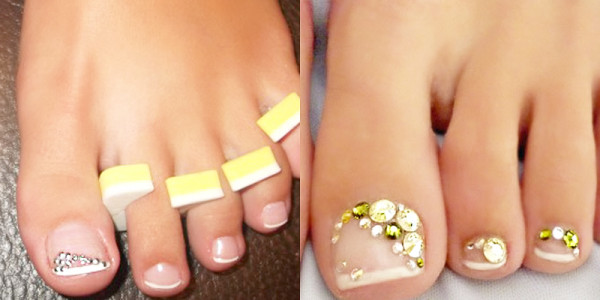
French pedicure can be both classic and diluted with different options. It is not necessary to use white varnish to decorate the free edge of the nail - this, again, is a classic. You can choose absolutely any colors for these purposes that will be in harmony with the whole image.
