How to decorate a frame: a master class with a photo
Today, in the digital age, we very rarely began to print photographs on paper, replacing them with an electronic version. But sometimes I really want to decorate the house with “live” photographs, for which beautifully designed frames will be needed. In this master class, I will present you with some simple but original ideas for decorating them with your own hands.
Decorating a photo frame with buttons
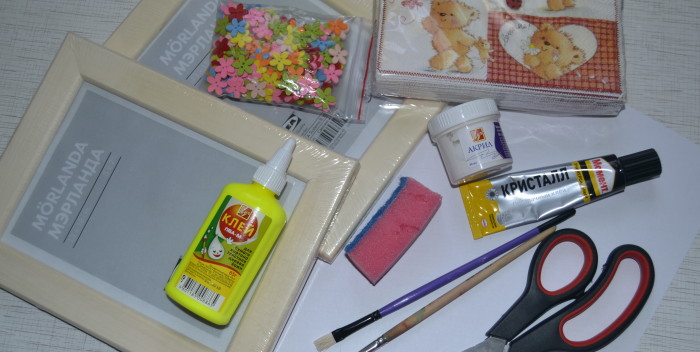
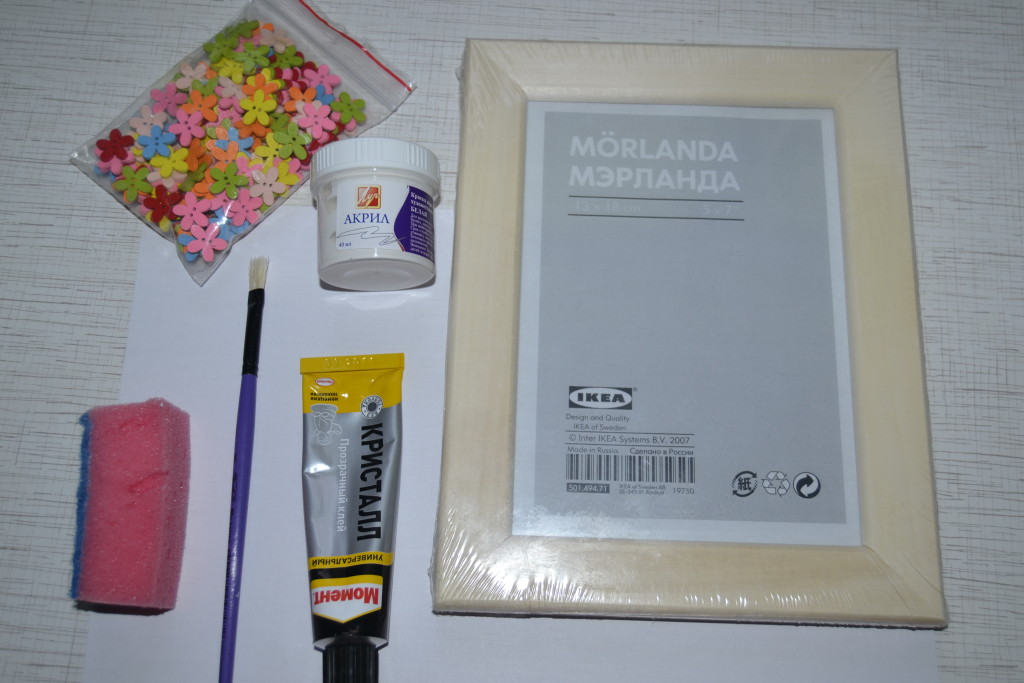
To decorate this frame, we need:
- buttons (I have in the form of flowers);
- acrylic white paint;
- wooden frame;
- flat brush;
- sponge;
- Moment glue is universal (transparent).
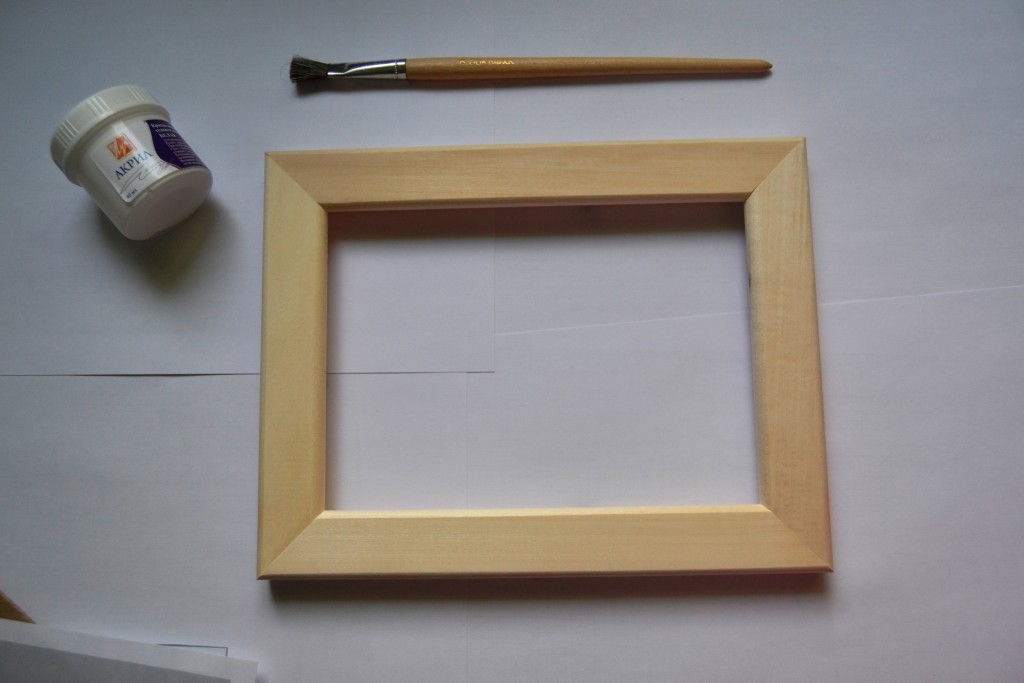
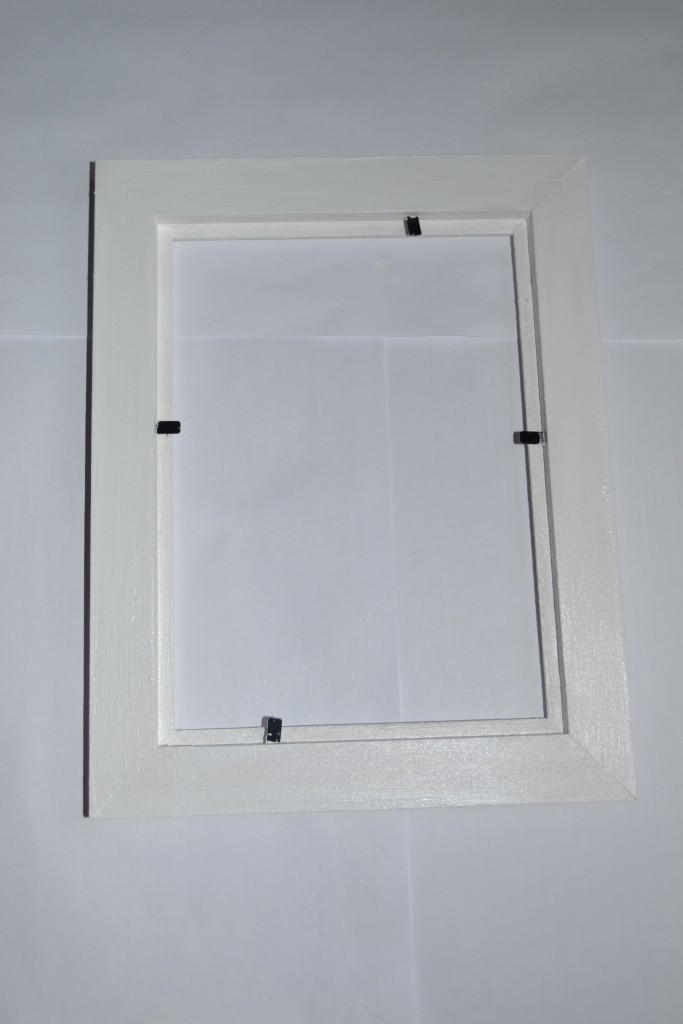
The first step is to prime the wooden frame with acrylic paint. If the surface of your frame has irregularities, then first go over it with sandpaper. Mine turned out to be even and smooth, so I skip this step and proceed immediately to painting.
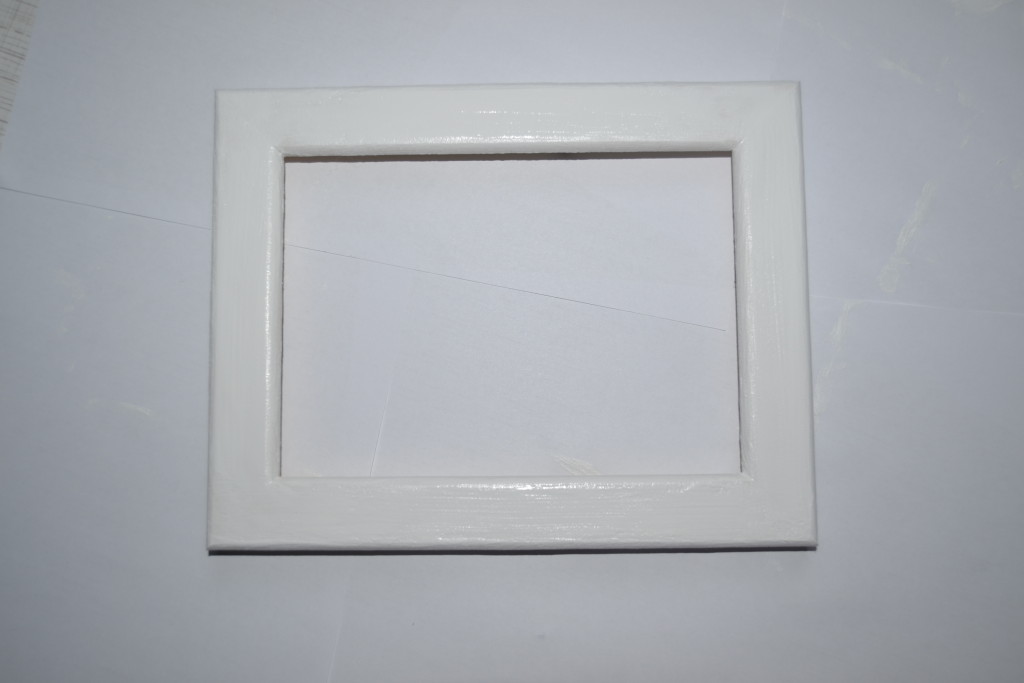
I covered the frame with two coats of paint, first from the front side. To make it lay in an even layer, I applied acrylic with a brush, and then smoothed it out with a sponge.
When it was dry (about 5 hours), I painted the back of the frame and left it to dry overnight.
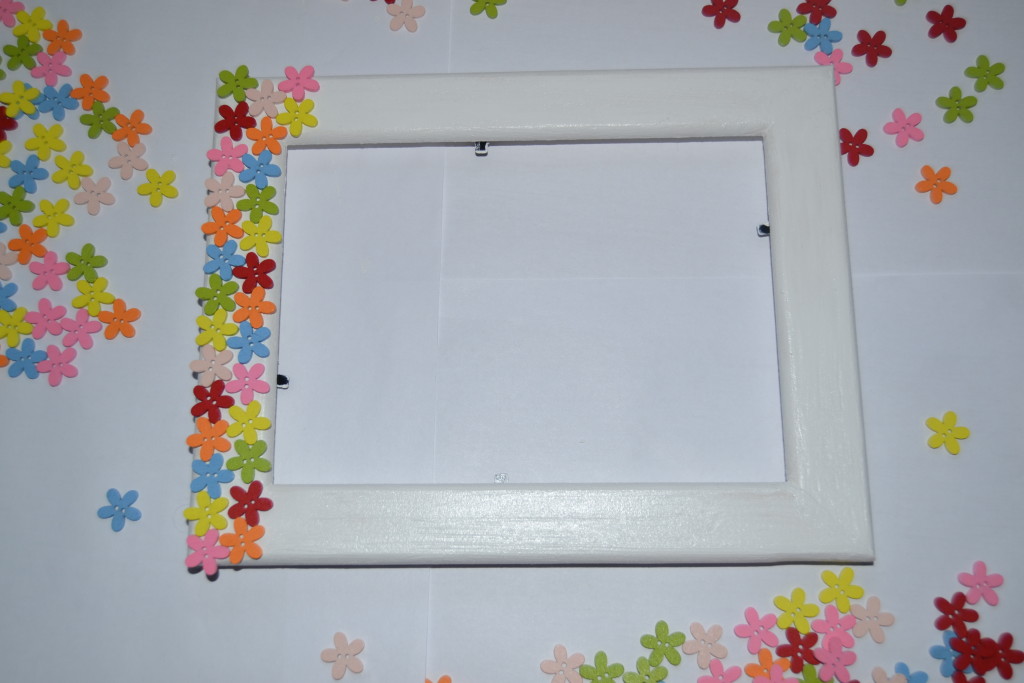
The second stage is decorating the frame with buttons. They can be of any color, size and shape, depending on your wishes.
Before gluing the buttons, I "tried on" them to the frame in order to place them more compactly and also to avoid repeating colors. Then you can safely start decorating.
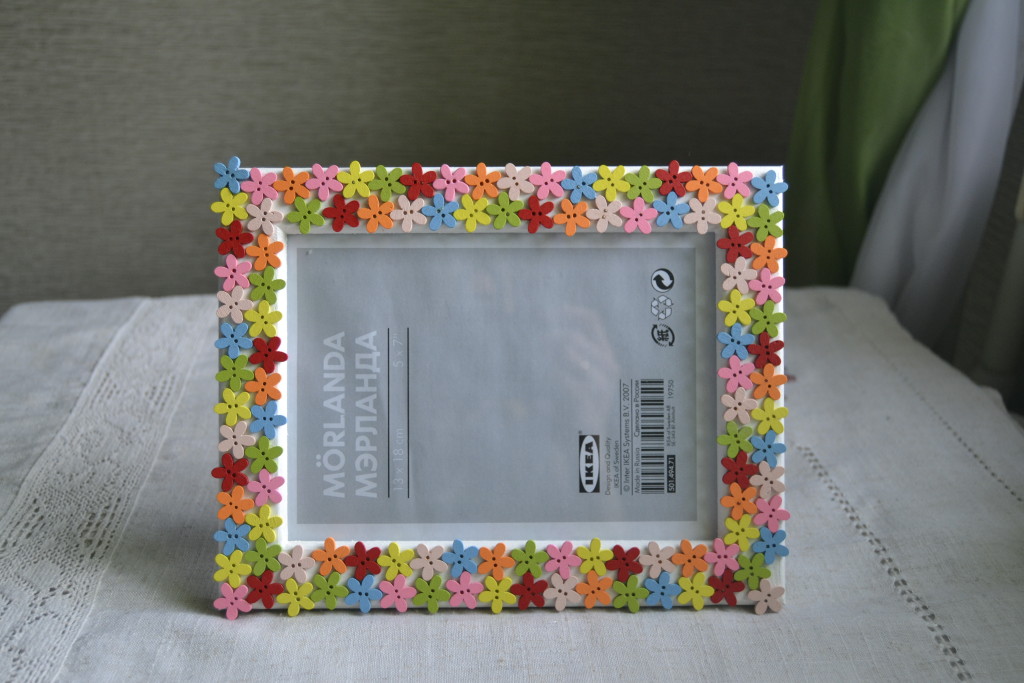
As a result, I got such a nice bright frame. This is a very versatile option, because photos can be placed horizontally and vertically in it.
Decorating a photo frame using decoupage technique
In simple words decoupage- this is the translation of a paper picture into various objects and surfaces.
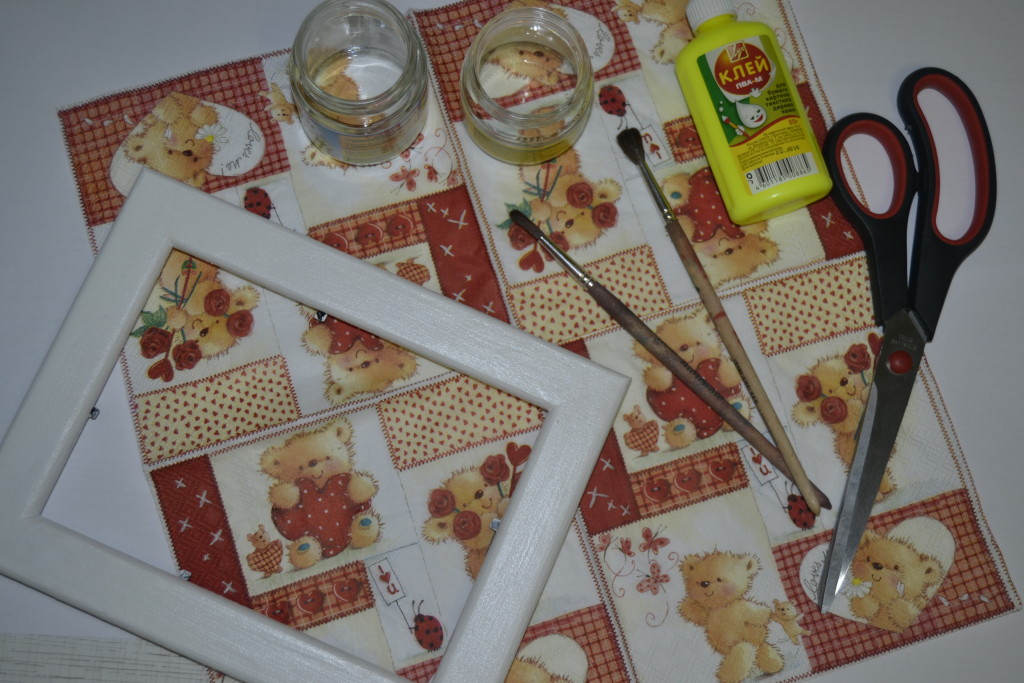
To decorate the next frame, we will need:
- napkin with the image you like;
- already primed wooden frame;
- PVA glue;
- brushes;
- scissors;
- 2 jars: under water and glue solution.
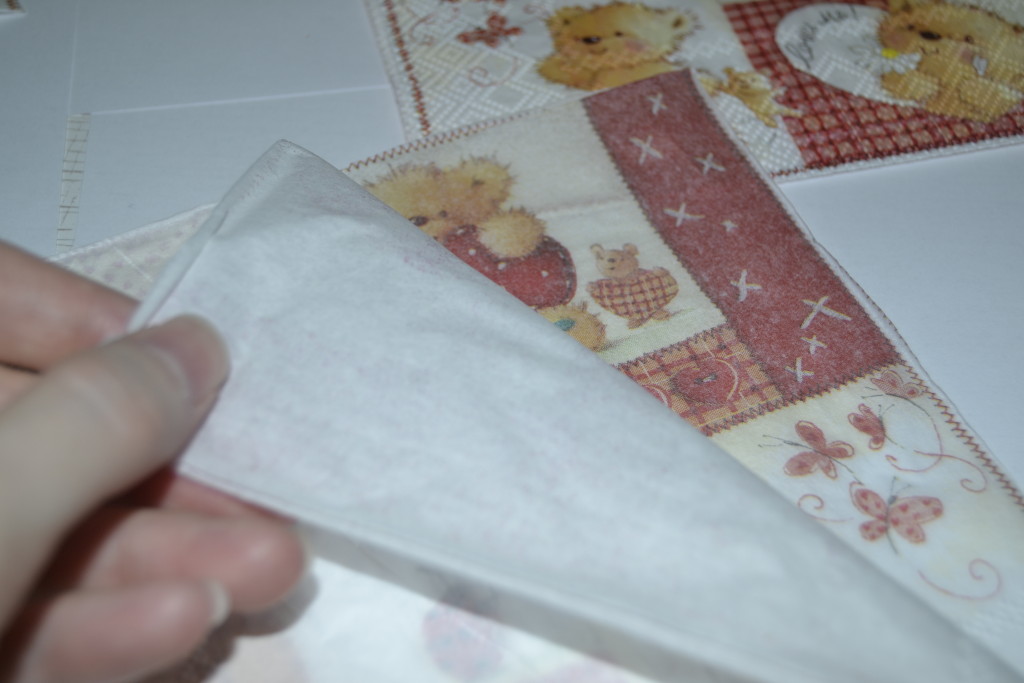
First you need to work with a napkin. We only need a thin layer of pictures, so the other white layers need to be separated. Do not rush to throw them away immediately, as they will be useful to us in our future work.
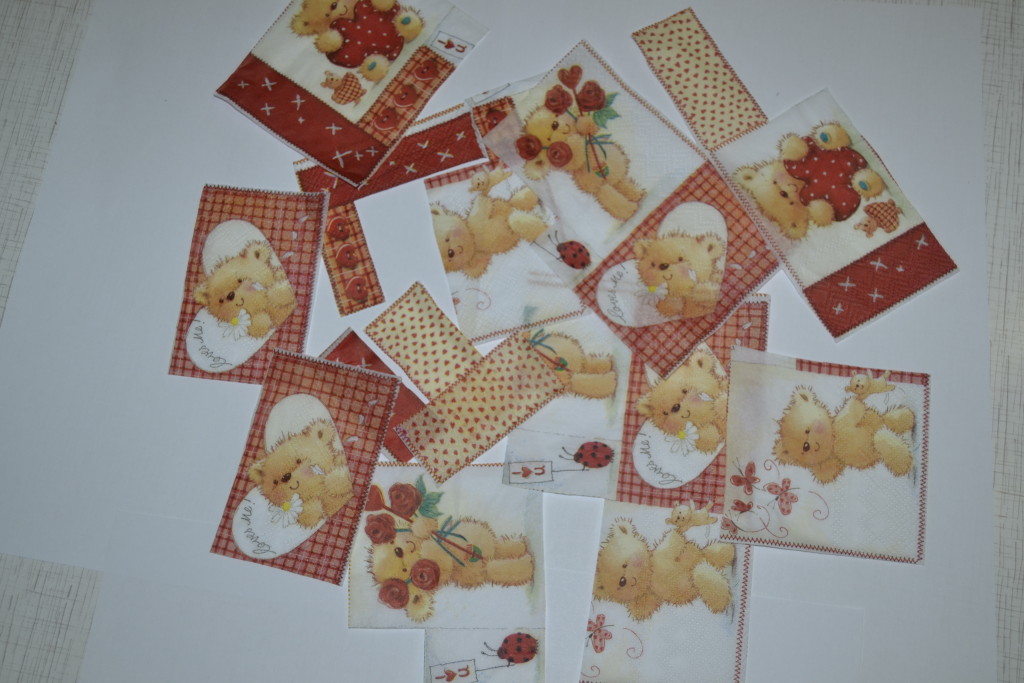
Then I cut it into separate pieces with images. Tip: if the drawing does not imply clear lines, for example, floral motifs, then it is better to tear off the fragment of the napkin you like by hand. So they will look natural at the places of its connection.
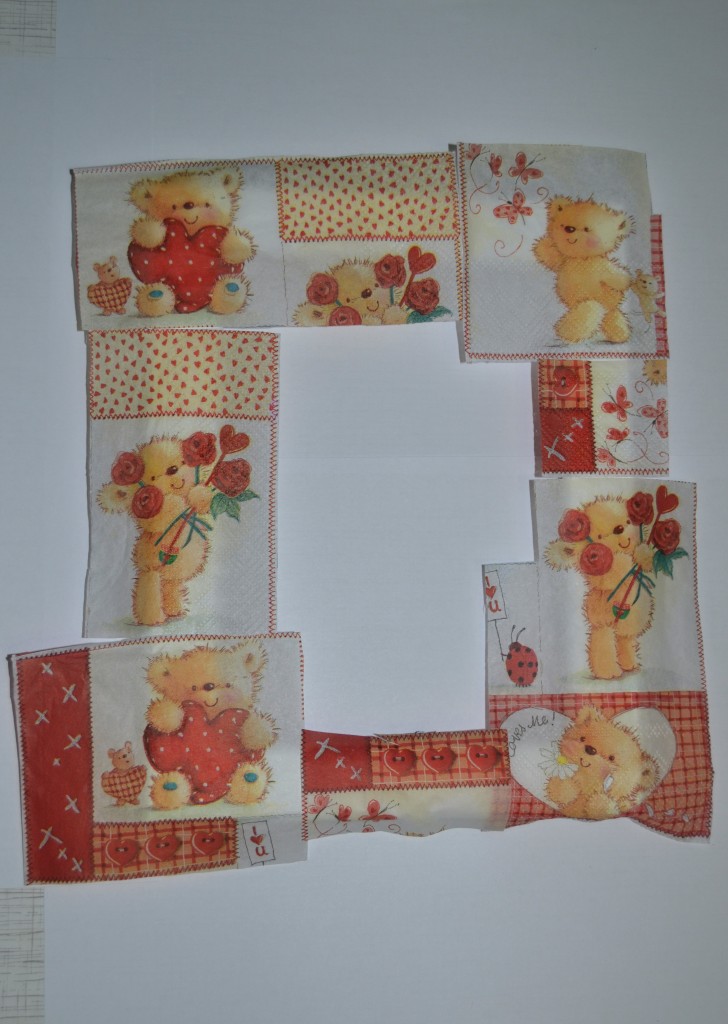
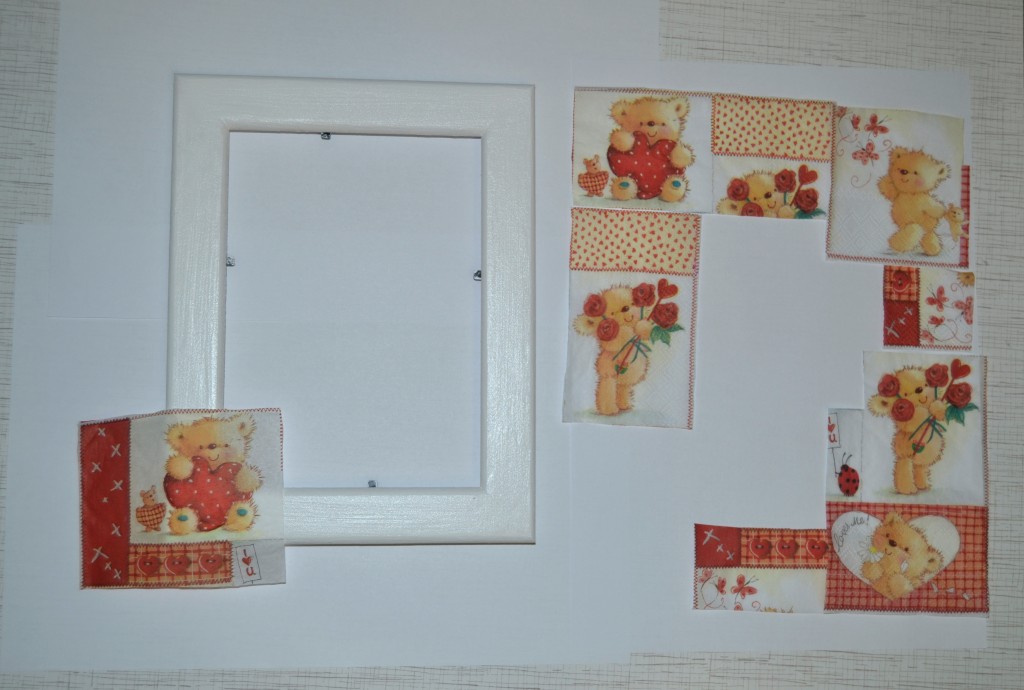
Next, I try on my pictures to the frame so that the result is a complete composition.
To avoid confusion, I put them on the adjacent sheet, in the same order as they were on the frame.
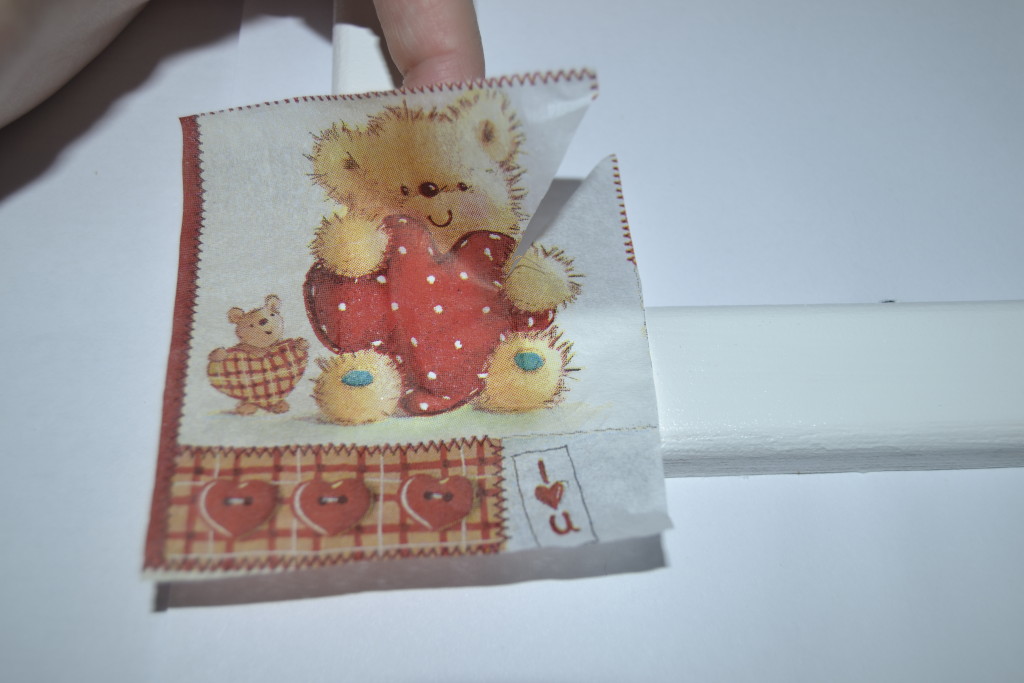
The images that will be on the corners must be cut diagonally, as shown in the photo. This is necessary in order for them to be conveniently glued.
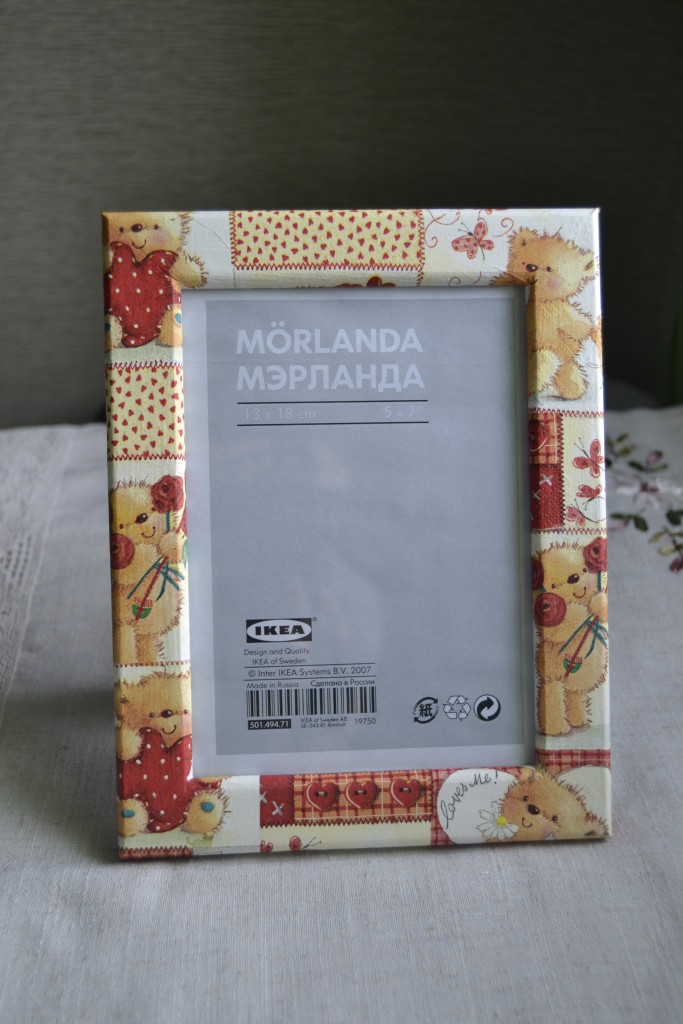
Having finished all the preparations, we proceed directly to the decoupage. I will translate the drawings of the cubs only on the front of the frame and on the sides. Its reverse side will be white.
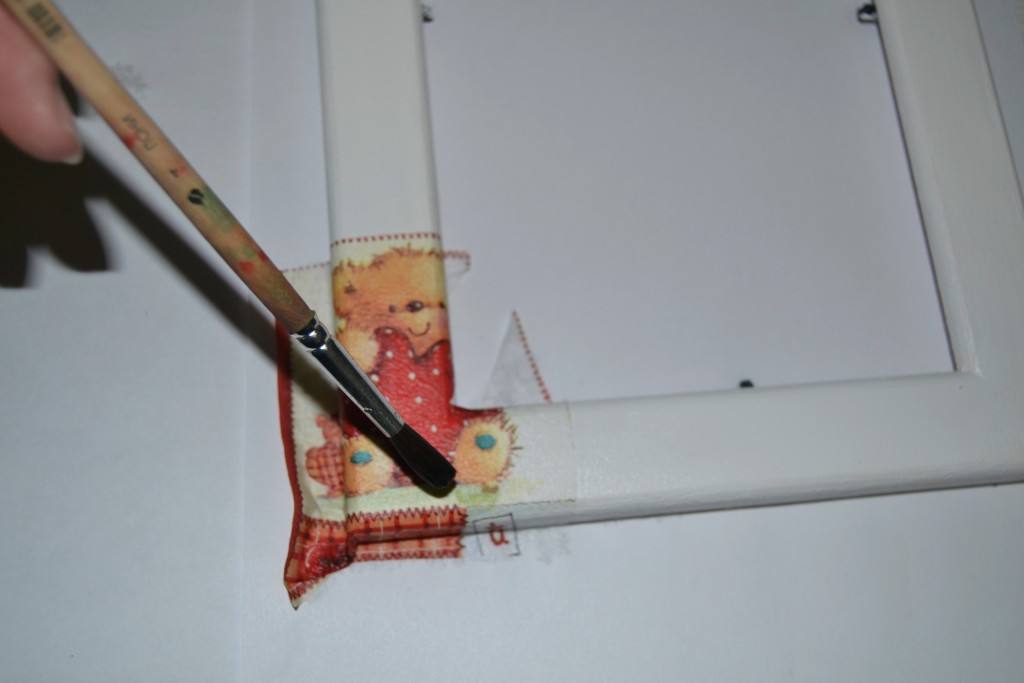
With the help of a brush, abundantly moistened with water, we first "glue" the picture to the surface of the frame. This must be done very slowly and carefully to avoid the formation of bubbles and wrinkles on the napkin. It is better to start from the central part and gradually work towards the edges.
In this way, I transfer all my fragments to the frame.
Next, I gently, with my fingers, tear off the excess paper that goes beyond the borders of the sides of the frame. If, at the same time, errors still turned out, then they can be easily eliminated by covering the back side with another thin layer of paint.
Then it must be carefully, without damaging the drawing, blotted with a dry napkin. This is where the white layers that we separated earlier come in handy.
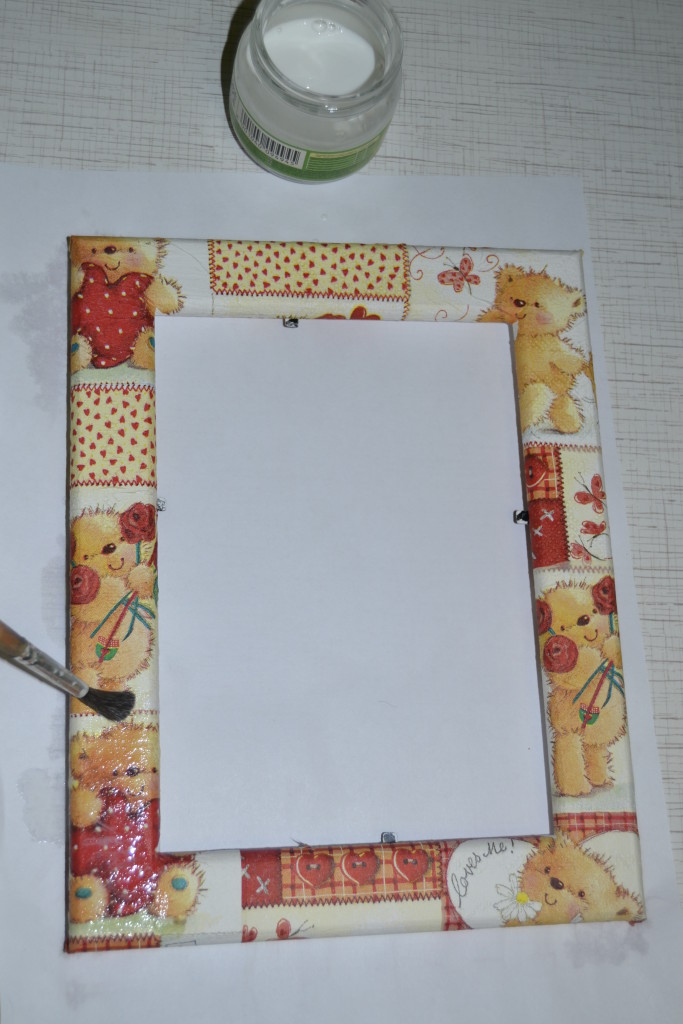
The next step is to dilute PVA glue with water in a 1: 1 ratio. I mix well and cover the frame with the resulting composition. It is not necessary to make a layer too thick. It is very important here that the glue lies evenly over the entire surface. After that, we leave it to dry overnight.
The final step is to cover the frame with acrylic varnish, which is glossy and matte. This will finally fix the drawing, which means that the product will delight you for a long time with its beautiful and exclusive appearance.
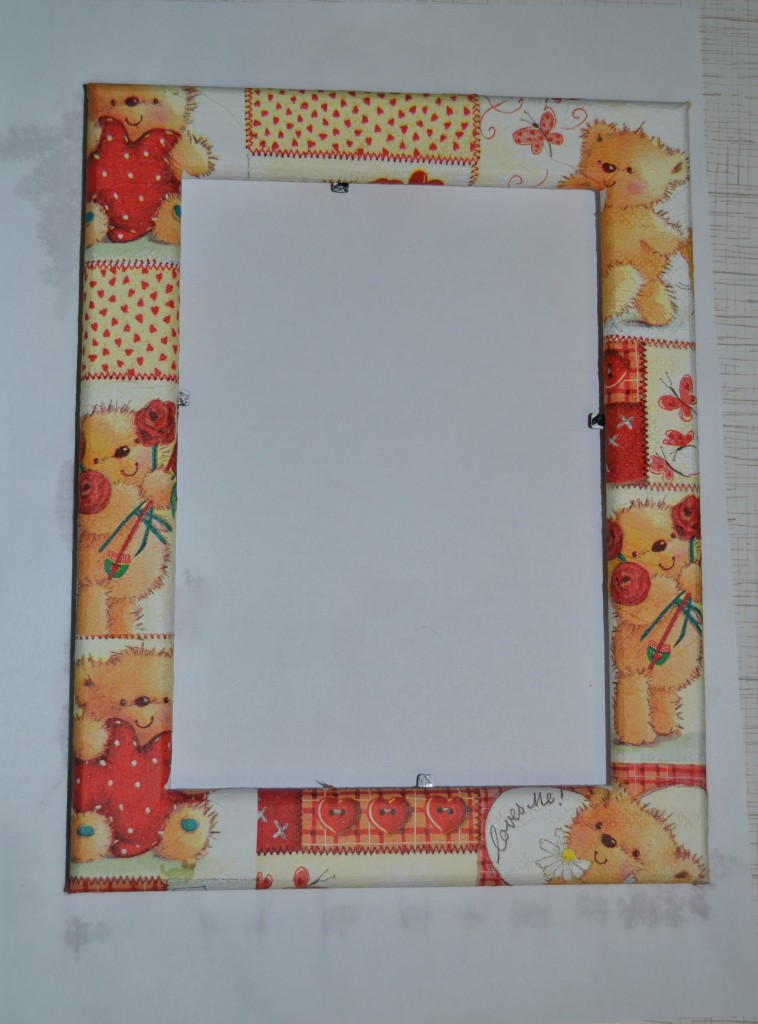
Here's a frame I got. It is perfect for baby photos.
