DIY headbands
Handmade jewelry is now in vogue. Moreover, it is not difficult to make them yourself. To do this, you need to show imagination, buy or look for materials at home for making jewelry and you can get down to business. Today we will focus on handmade headbands.
Content
How to make a bezel with your own hands
It's easy to create beauty. You can use everything that is at hand. Another thing is that not all ladies and even little girls prefer to wear extravagant jewelry. But elegant headbands will suit everyone.
Headbands made of jeans, artificial flowers, beads, ribbons, lace, all kinds of decor are relevant. Therefore, in order to make a bezel with your own hands, you need to have at least something of these materials. As a base, a regular headband is used, which can be purchased at any accessory store.
All elements are attached with silicone glue. That is, it is desirable to have a special glue gun that heats up the glue sticks. Such products will be durable. 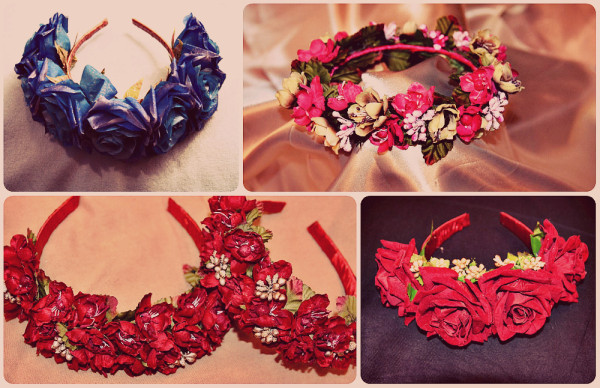
If materials are already available, it is enough to glue each piece in the desired sequence to the rim using a glue gun. Further, it remains to fix the composition. This requires a small piece of felt or similar fabric. It is glued to the bottom of the composition on the rim.
If you want a small bow on the rim, it is enough to sew it from fabric or ribbons, then fix it on the rim. If it is not metal, additional fastening using felt is not necessary.
DIY ribbon rim
To make a rim of ribbons with your own hands, first you need to learn how to make at least some kanzashi petals or at least simple bows. Don't buy a lot of satin or rep ribbons. For a beautiful bow, a maximum of 1 meter of tape 5 cm wide is enough. More details can be seen on the video.
Next, you need to attach the finished bow to the rim using glue. Of course, the base should be in harmony with the bow. To make the product last longer, it is recommended to spray a little hairspray on the bow. In this way, the formation of puffs, dirt, etc. can be prevented.
For more complex compositions from ribbons, you need to master the basics of kanzashi.
DIY flower headband
These headbands are always in trend. The process of making them is quite simple, but you will have to spend money on materials. The best option is to buy foamiran flowers. The composition will be complemented by decorative viburnum and various colored forget-me-nots. There are several fastening technologies. Each craftswoman selects the most convenient option for herself. The most neat is to alternately screw the flowers, and then wrap the rim with tape. Since flowers, forget-me-nots and kalinka are attached to a metal wire, it is convenient to screw them to the rim. A tape, 0.6 cm wide, is used to hide this wire. 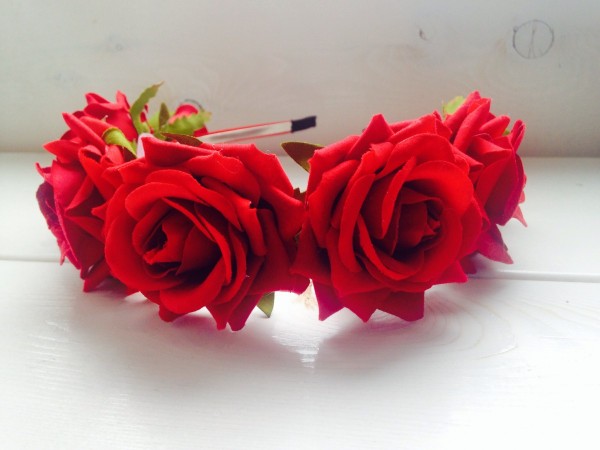
If it is not possible to buy the roses described above, other artificial flowers will do. They can be bought for a penny, but the main thing is to choose fabric, not plastic or paper. Having picked up the necessary options, you should glue the flowers to the rim, add a little greenery or other decorative elements, and secure the composition from below using felt.
To compose the necessary composition, you can use combinations of different colors or make them yourself from lace, ribbons, beads, threads, etc.
DIY cat headband
These headbands are especially popular among young people. Ears can be made from nylon, lace, thick fabric, etc. The easiest way is to make a wire lug frame. They are fixed on the rim, then covered with beautiful lace or nylon. You can make the ears more elegant by adding a small bow or flowers to them. 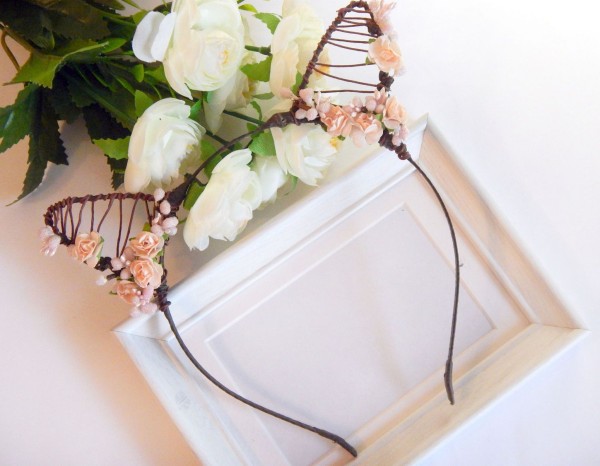
Such headbands are no less relevant, but in a minimalist style. They represent a thin rim, to which a metal frame is attached, which creates the shape of a cat's ears, which is decorated with rhinestones.
DIY bead headband
For such headbands, special velor-covered headbands are used. It is easiest to sew beads to them. Not only large pearls will come in handy, but also ordinary glass beads and seed beads. They must be sewn in random order, using a transparent thread and the thinnest needle (the same tools are used to embroider with beads). The main thing is to periodically make nodes so that all the details of the composition are securely fixed. 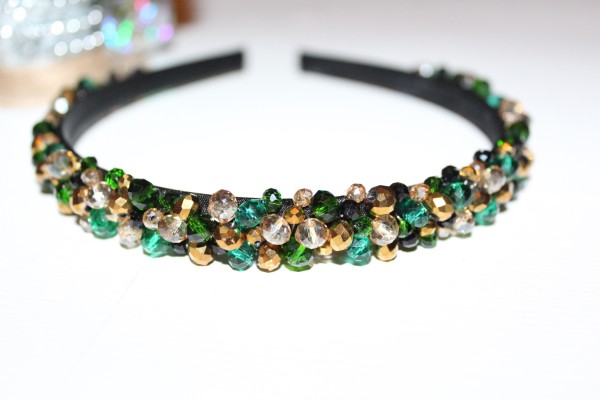
If you don't want to sew, you can glue all the beads and rhinestones. It is advisable to choose transparent glue and various colored beads. It is better to think over the drawing in advance. It is important to prepare your work surface. It can be any glass or a piece of tile. Beads and rhinestones should be laid out on it, glue and a toothpick should be prepared. It is using the latter that you need to apply glue to the stones. It is not necessary to glue the decor on the last 5 cm of the end of the rim from both sides, since they simply will not be visible under the hair.
DIY snowflake rim
It is easy to make a New Year's rim for the image of a snowflake. For this, you can use ready-made compositions. For example, before the New Year holidays, there are plenty of such decor in stores. You only need to buy a suitable snowflake or make a snowflake yourself from glue, then attach it to the headband. If you want something unique, you will have to fantasize and buy some materials. You can use beads, beads, or a satin ribbon. But the last option is considered the most difficult. Even the craftswomen who have been doing kanzashi for years do not always get even and beautiful sharp petals. But, if you wish, you can try to create such beauty using the video tutorial.
In making headbands with your own hands, the main thing is not to be afraid to show imagination and experiment. As the saying goes: "All ingenious is simple"!
