Sculpting the face

Looking at the pages of glossy magazines or photographs of fashionable beauties in the popular Instagram, you probably sighed with envy at least once, paying attention to a perfectly flat, chiseled nose, protruding cheekbones or such a regular oval of the face that, it would seem, these do not happen. Do you want to reveal to you a secret that will turn your whole idea of the makeup that you knew before?
Content
Facial sculpting: what kind of cosmetics is needed
The very word "sculpting" is intimidating and it seems that it is incredibly difficult and can only be done by experienced makeup artists. Of course, the term is borrowed from professionals, but the main secrets of this "sculpting" unknown to you are quite real to learn, as well as to regularly apply them in practice and catch admiring glances on yourself!
To begin with, let's figure out what are the “ideal” facial features? This is healthy, beautiful skin, an even oval of the face and correct contours. It is with the help of sculpting that you can in one moment get rid of dark circles under the eyes, nasolabial folds, a nose that is too long or too wide and bring your face closer to the “reference oval”.

Most girls use foundation, eye shadow, mascara, eyebrow pencil, and lipstick on a daily basis. This is a minimal list of what every girl needs to create a light, daytime makeup. But "correct" makeup, even daytime, includes a lot of additional cosmetics that will not be visible to the naked eye, but with the help of which your face will acquire a healthy, blooming appearance and absolutely correct features. So, what you urgently need to purchase in your cosmetic bag:
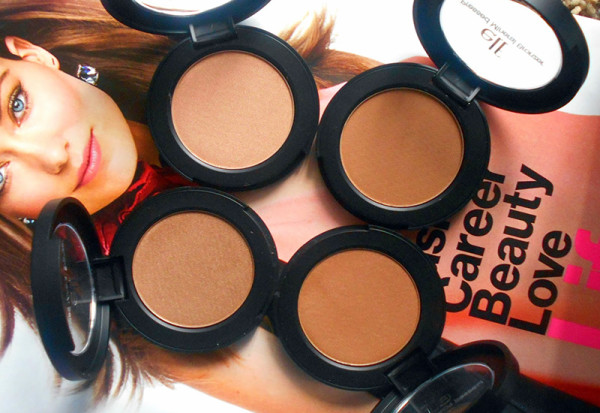
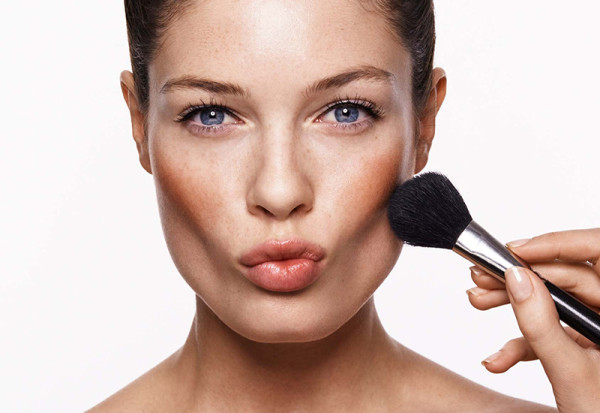
- Bronzer. Ideally, it should be 1-2 shades darker than your foundation and, accordingly, your complexion. It happens liquid, - in the form of a spray, creamy or powdery. By the way, if you have not yet had time to buy it, then you can temporarily replace the bronzer with that unsuccessful powder that has been gathering dust for a long time in your table, which suddenly turned out to be too dark for your skin. A poorly chosen foundation will work too. Here is such a life hack.
- Highlighter, shimer or luminizer. Or everything at once. Should be white, light pink or light beige: be guided by your color type. All of them can be in the form of powder, cream or liquid and serve to lighten and visually enhance certain details on your face. For example, to increase the distance between eyes set too close. As with the bronzer, you can temporarily replace these products with light eyeshadows, but absolutely matte, without any sparkles and pearlescent shine!
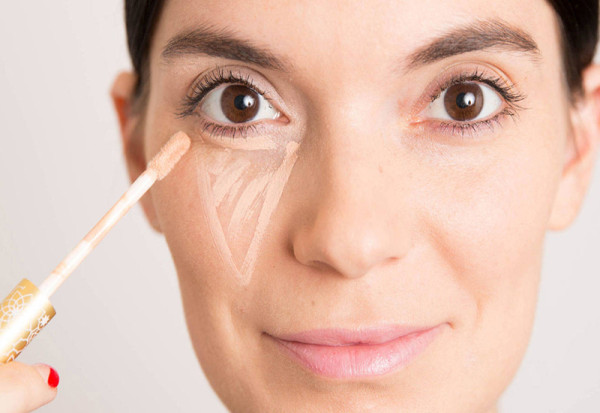
- Concealer or corrector. Pink, green or, - universal - light beige. Choose the one that is more convenient for you: if you basically have to mask small pimples, then it is better to stay with the stick version (in the form of a pencil). For disguise dark circles under the eyes a cream-based liquid product is more suitable. One of the indispensable products in your cosmetic bag!
- Base makeup. Or any light moisturizing day cream. Be sure to make sure that it is not greasy, otherwise your face will shine, and your diligently applied makeup will quickly "flow".


How to contour your face
To achieve the ideal face shape, here, as in any business, you should first of all really assess your shortcomings - what you would like to fix with the help of cosmetics, and your merits - what needs to be emphasized favorably.

For this, it is very important to correctly determine the shape of your face in order to model its contours, bringing it closer to the ideal oval. The meaning is very simple: what we want to increase - we highlight, and vice versa - what we would like to visually reduce - we darken with various shades, but at the same time we try to make such a play of light invisible, and make-up natural.
- Triangular face ("heart"). As a rule, the cheeks are most prominent in such a face, so with the help of cosmetics you need to smooth out the sharp corners a little. Then align the upper and lower parts of the face, darkening the temples with bronzer and without touching the chin. But slightly touch the nose on the sides with a bronzer to visually narrow and lengthen it a little. If you darken the cleft a little over the upper lip, the nose will look a little raised - try it, maybe this is exactly what you want. Lightly touch the chin, nose line and under the eyes with the highlighter, leaving the forehead unattended so as not to weigh it down even more. Finish off with a natural blush in elongated lines towards the chin, right over the bronzer.
- Square face. This face shape is rather angular, so all hard corners must be darkened, giving them smoother shapes. Apply the darkest shade of bronzer along the line along the hair growth, from temple to temple, making the face shape more rounded. Contour the nose as shown in the photo above, making it slightly longer and narrower. Gently, barely touching, highlight the forehead, under-eye area and chin with the highlighter. Apply blush almost across the cheekbones, giving the face even smoother lines.
- Oval face. Although this form is already as close to the ideal as possible and is considered a reference, there is also something to emphasize here. Use a bronzer to slightly darken the lower half of the bridge of the nose, making the nose a little shorter. Touch the cheekbones with a bronzer, quite a bit, otherwise the oval face will turn into an elongated one. Highlight the forehead and chin line to make the face more symmetrical. But you should apply the blush in short, sharp strokes from the wings of the nose to the top of the ear.
- Elongated face. To reduce the chin, visually making the face not so elongated, slightly darken it with a bronzer, then doing the same along the hairline from temple to temple. Darken the eye area, cheekbones and nose up to half of the bridge of the nose. Use the highlighter to touch the bridge of the nose and the distance between the eyebrows. Finally, apply the blush in wide, straight lines towards the nose.
- Round face. For those with this face shape, bronzer is almost the most important tool in a cosmetic bag. Darken the cheeks on the sides, without touching the forehead and chin, - this will make the face as close to an oval shape as possible. Highlight the middle of the forehead, upper cheeks and chin with a highlighter. But it is better to refuse blush at all, because the round face already has cheeks, which we so diligently darkened with the help of a bronzer.

Face sculpting: step by step
- Cleanse face with toner, moisturize with light day cream, apply base - makeup base to make it more resistant.
- Use a matte highlighter 1-2 shades lighter than your skin to mask horizontal wrinkles, carefully hammering in and blending it with a thin layer.
- Use a bronzer and highlighter to shape your forehead according to the tips above.
- Apply a special base to your eyelids to keep the shadows from rolling throughout the day. Lightly sweep the highlighter under the eyebrows, blending it towards the temples. This will raise the eyebrows slightly, and the look will become more expressive.
- Use a light concealer to mask the bruises under your eyes.
- Tighten the nose a little, darkening it on the sides with bronzer and highlighting the bridge of the nose with a highlighter.
- Darken the cheekbones, thinning the face, and apply a natural blush to the convex part of the cheeks.
- Highlight the area above the upper lip with a highlighter, so you lift the nose and make your lips a little plump.
- Lightly darken the chin along the line and on the sides.
- With the final strokes, visually extend the neck with vertical lines of the bronzer.

Face sculpting: photo


