DIY bag: step by step master class
A handbag is an essential accessory for a woman's wardrobe. In every girl's closet, there are sure to be several different variations of bags for every occasion. Today I propose to build a small but handy handbag that can be carried over the shoulder. At the time of building the pattern, you can adjust the dimensions for yourself, to your taste and desire. A smartphone, keys and an impressive wallet fit freely in my purse, if that suits you, you can do everything according to the given calculations.
Bag pattern
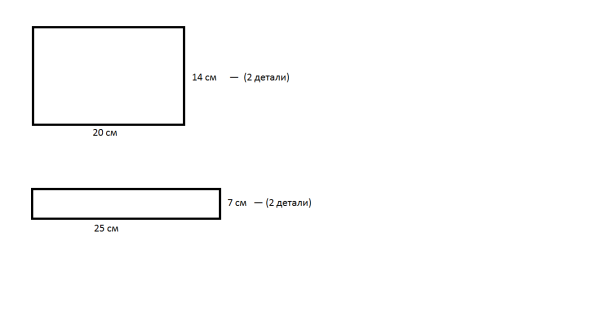
As with sewing clothes, when making a bag, you need to build a pattern. I did not cut it out on purpose, but I did all the markings on the fabric using an angular ruler and a chalk. Schematically, everything looks like this:
This is the frame of the bag: front, back and side parts. As you can see, there is nothing difficult in building a pattern. To be honest, there is nothing complicated at all in sewing a bag, but dreary operations which I also call "the sewing Kama Sutra" lot. So, now let's proceed directly to sewing.
How to sew a bag with your own hands
First you need to decide whether your purse will be soft or hard. In order for the accessory to keep its shape flawlessly, it must be treated with a very hard doubler. I decided to make it soft, and use the doublerin exclusively for edging, so it took me quite a bit. Otherwise, take as much doublerin as leatherette, and glue each one with this material before stitching the parts.
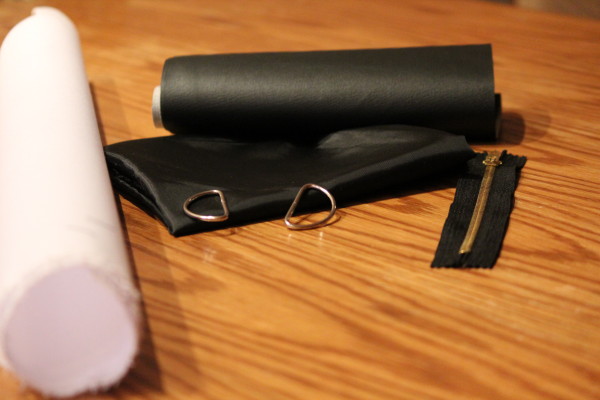
To sew a handbag as in MK, you will need:
- 20 cm of leather substitute;
- 30 cm of lining fabric;
- metal zipper (one-piece) - 18-20 cm;
- half rings - 2 pcs.;
- doublerin - 15 cm;
- threads to match.
I specifically decided to calculate the cost of such a homemade product - only 260 rubles (!). Conclusion - the game is worth the candle! And if you consider that you can decorate the bag as you like, sew it in a variety of shapes and colors - it's just wonderful!
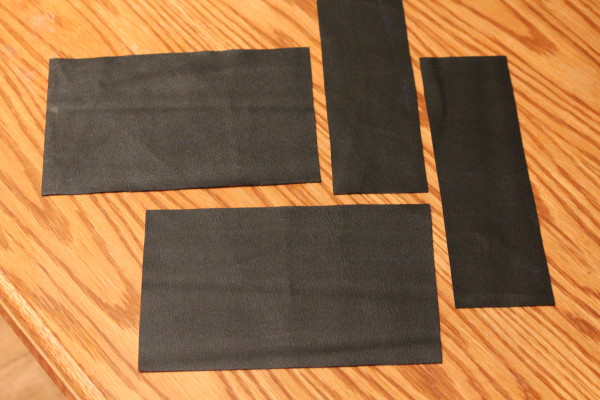
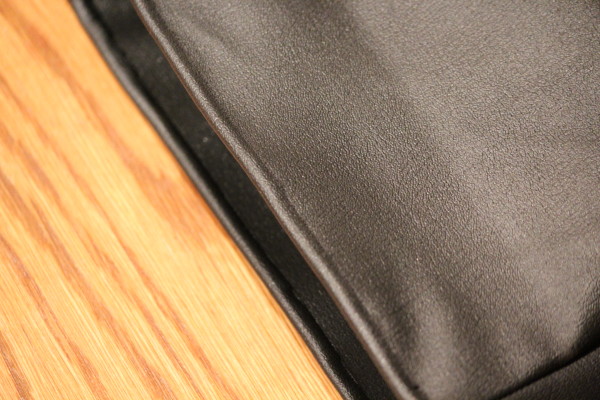
Cut out the side, front and back parts from the leather substitute. If the material is very wrinkled, I recommend ironing it right away, since then it will be problematic to do this. This must be done from the seamy side through the iron. I warn you right away that hot leatherette is very vulnerable and with careless action the front side can be scratched, so after ironing it is better not to touch the material for a while and let it cool completely.
Take the sides of the bag, fold them right over and sew along the narrow side.
Now you need to sew the front and back parts to this side. For convenience, mark on the front (and then on the back) half the center on the bottom and butt the mark with the seam on the sidewall. Then sew the bottom of the bag first, and then add the side seams.
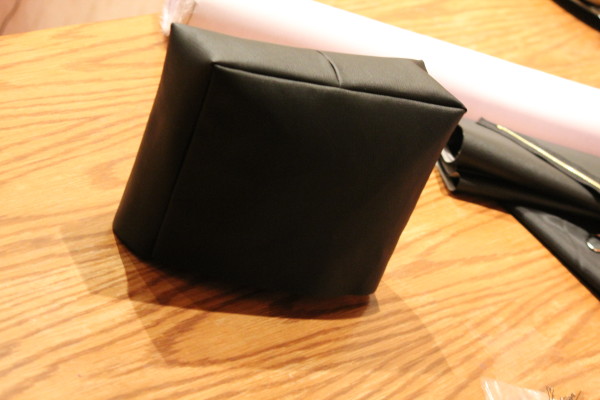
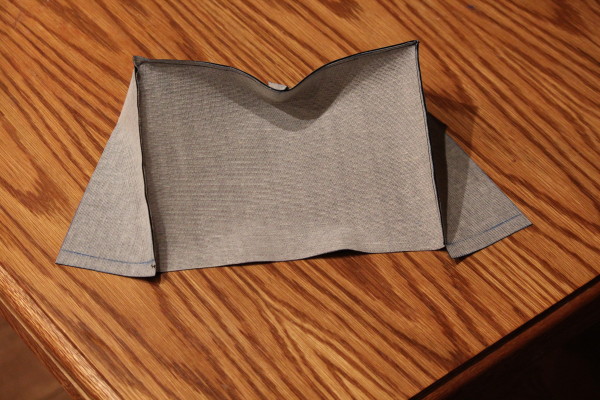 Do not worry if at this stage something turns out uneven and the tops do not fit a little. While this is "rough" processing and you can carefully walk with scissors, trim excess. After all the seams have been completed, you can turn the bag back to its normal position and make sure everything is going well. Here's a frame we got.
But then the most dreary and painstaking process begins.
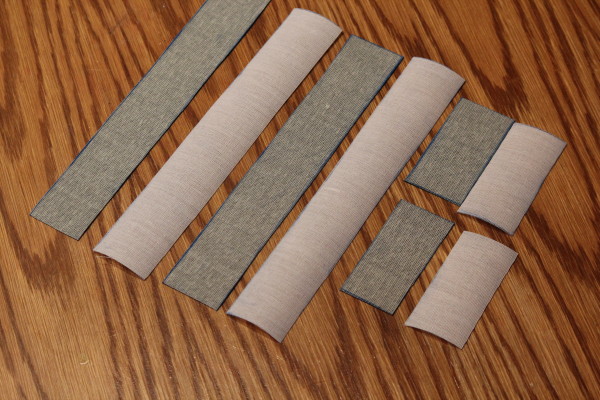
Preparing the facing for the bag. In my case, I decided to make a 3 cm edging. As a result, cut out from leatherette two strips measuring 3 cm x 20 cm and two 3 cm x 6.5 cm. Duplicate the details on a dublerin.
Glue the dublerin to the blanks.
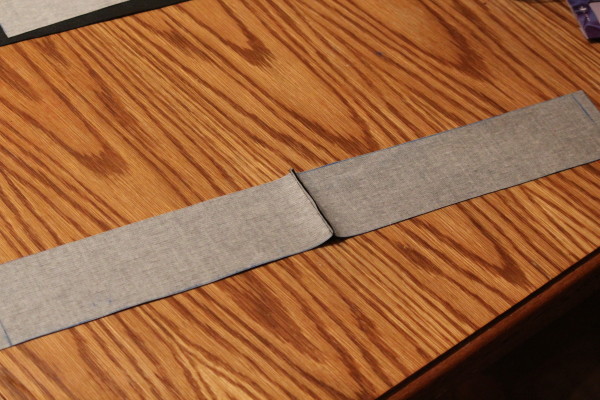
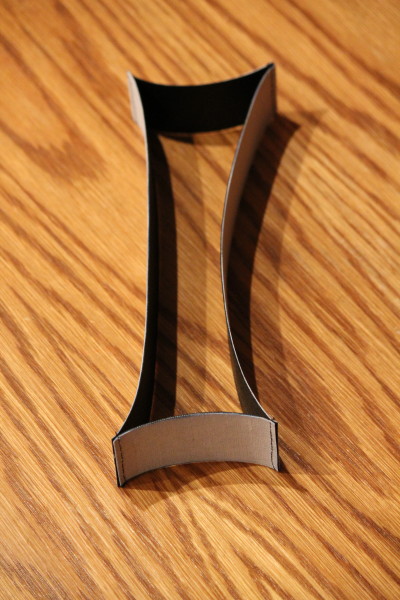
Now the resulting parts need to be sewn together, so that in the end you get such a facing.
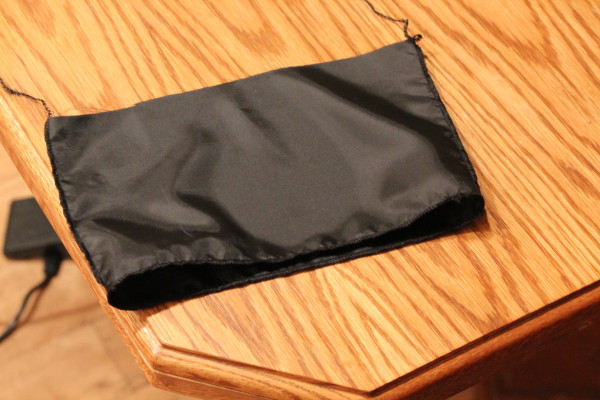
Cut two 15cm x 22cm rectangles from the lining fabric. Sew the sides on the overlock and round the top in a circle. You can also work the bottom in a circle, but in no case do not sew it!
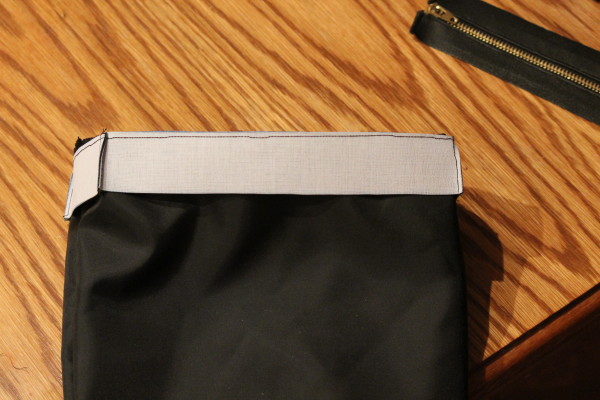
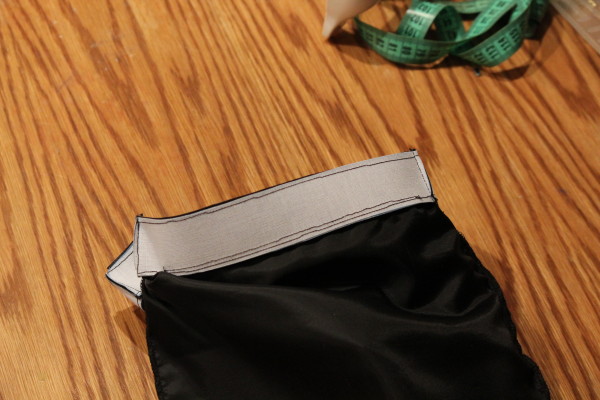
Now the lining of the bag needs to be sewn onto the piping. Fold them right-side up and machine stitch.
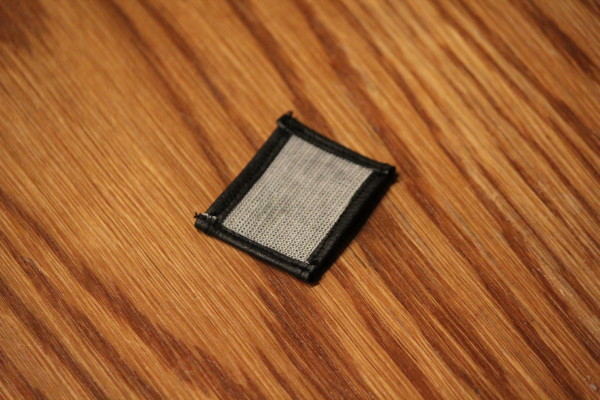
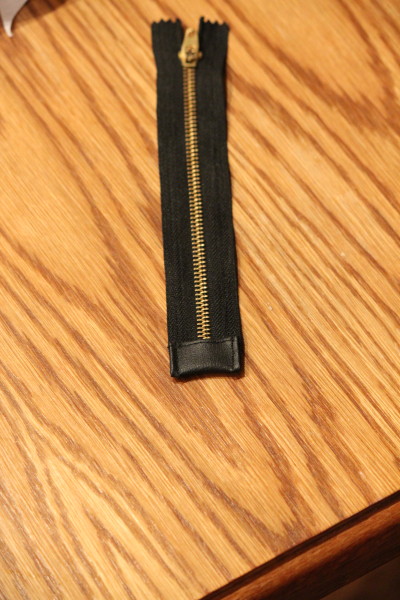
Now let's prepare and refine the lock. Measure the tip of the lock so that you can close the metal catch. Cut out the appropriate square, fold the edges and sew.
Close the tip of the lock with it carefully and sew the side seams so that everything is fixed to the fabric of the lock. As a result, you should get the following picture.
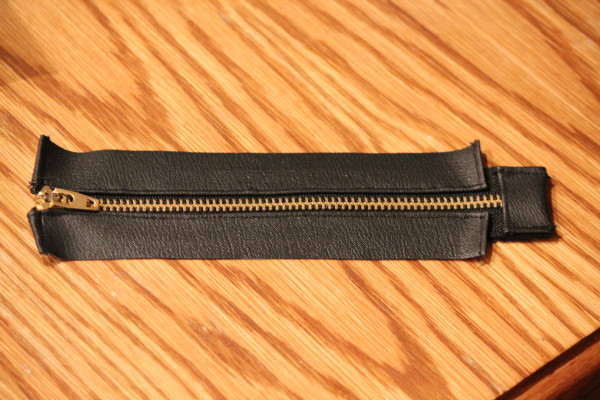
We will also close the sides of the lock with a leather substitute. Cut two strips of the required length (measure by the lock) + a small allowance for the hem near the "doggie" to nicely hide the rest of the material at the lock and the cut. Attach the resulting patch a little short of the zipper, bend it and sew it on. Do the same with the other side. As a result, we get such a lock.
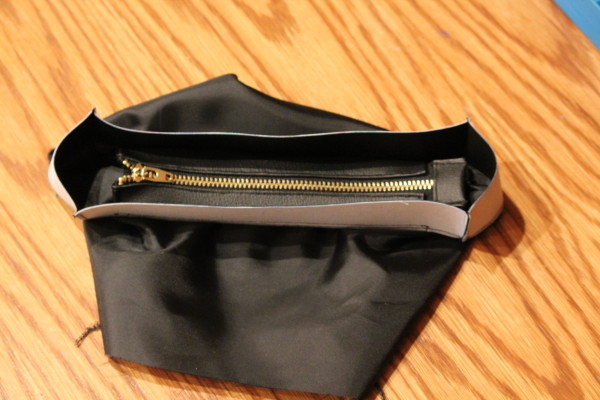
That's all. Now the ready-made lock needs to be sewn to the edging, carefully placing it where it should be. The process is simple, but dreary. Be careful not to accidentally stitch the lining to the zipper. Everything looks like this.
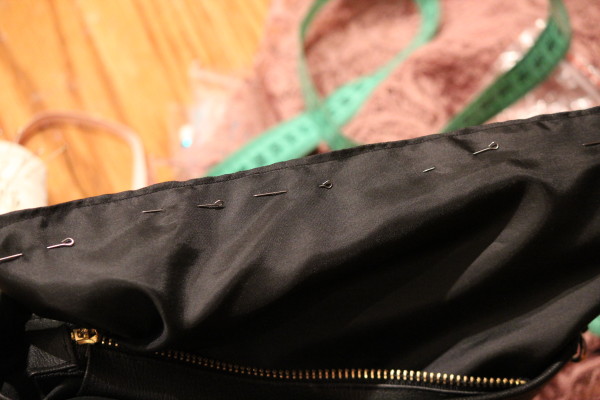
We complicate the task - we open the lock and put the frame of the bag with the lining in the facing with the front sides. Join the corners, if possible, then pin off with very thin needles. Machine stitch along the top.
Turn the bag back to normal by placing the lining inside. Now the facing needs to be fixed - just lay the machine stitch over it, trying to get exactly into the seam from the wrong side. Leave the lining open for now.
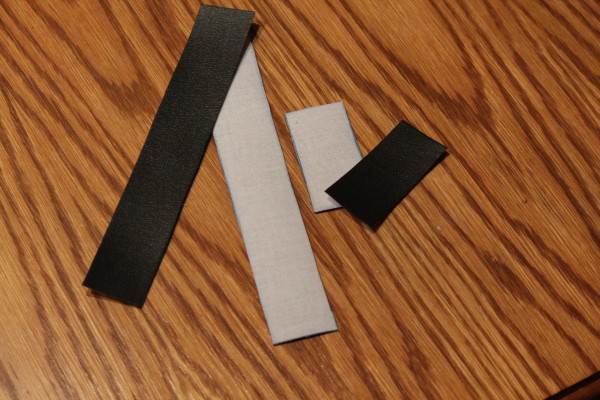
Now you need to attach the handle rings to the bag. Cut 4 rectangles depending on the size of the rings.
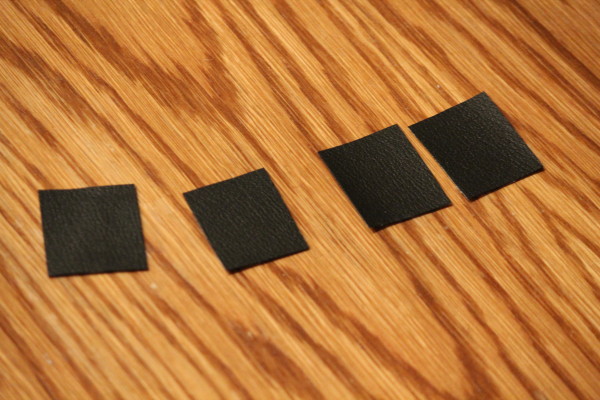 Sew in two with the right side facing each other, sew with one side open, and then twist. Mark the place to which the rings will be sewn. Insert the latter into the ready-made clips and sew to the sides of the bag. This will have to be done very carefully and manually, taking a confidant to help, since the needle is difficult to pass through such a layer of leatherette, and a thicker needle can leave ugly marks.
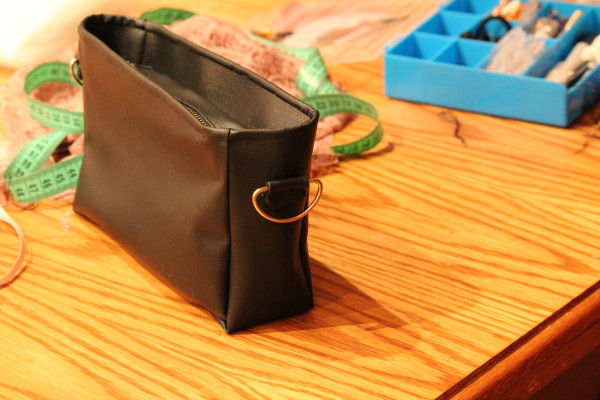 Now, already at this stage, you can close the bottom of the lining. Take it out, place the edges of the fabric inward, pin with needles and sew on a typewriter, slightly stepping back from the edge.
It remains to complete the handle. But this is the simplest thing - measure how long and wide the handle will suit you. Cut out a long rectangle that is the length of the handle and the width is twice the width of the handle. Leave allowances for the side hem. Fold in the edges and machine for a long line. Thread the finished handle into the rings of the bag and sew (this can already be done on a sewing machine).
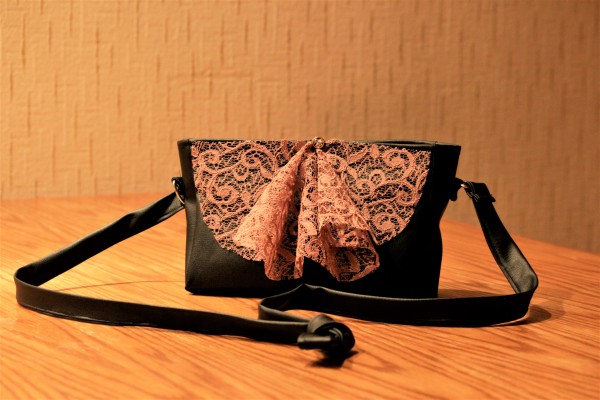
That's all, the purse is ready. You can leave it as it is, or decorate it as you wish. For these purposes, I chose lace, buttons and beads. By the way, instead of such a handle made of leatherette, you can thread a chain or, in a similar way, come up with something of your own.
