DIY diaper cake: master class

One of the most important things for a baby is a diaper. It allows the baby to stay dry and the mother calm. A disposable diaper is enough for 3-5 hours of use, so diapers are always needed, there are never many of them. Giving a package of diapers for discharge, christening, first birthday is not very nice. Therefore, creative women came up with the idea of making various compositions out of them: cakes, cars, bouquets, baskets, bicycles, strollers and others. Such a gift will certainly delight the mother and be useful for the baby.
Content
Diaper cake: what you need to make
To make a cake out of diapers, you need a large pack of diapers: for a two-tiered one - at least 50 pieces, for a three-tiered one - at least 60 pieces. The brand can be chosen based on the preferences of a young mother or from personal experience. I use Pampers Active baby. They have a pleasant greenish color, dense but not thin.
If you want to save money, it is better to buy fewer diapers than the cheapest option. Inexpensive diapers are thin and wrinkle a lot when twisted, more of them will be needed for a cake, as a result, costs will not decrease, and quality will suffer.
Satin and paper ribbons, butterflies from feathers or fabrics, artificial flowers, felt decor, beads, soft toys are used as decorations and decor. 
Inside the cake, you can put baby clothes, cosmetics or a surprise for parents - a bottle of champagne (it must be wrapped in plastic wrap).
In addition to diapers and decor, our cake will require:
- cardboard for the stand;
- regular and double-sided scotch tape;
- transparent and glossy pink film;
- glue gun;
- paper napkin for the cake;
- scissors;
- stationery gum (wash and dry them first).
Making a diaper cake with your own hands
We start making a cake from a stand. On a piece of thick cardboard we circle a lid or a plate of large diameter. I use a pizza pan with a diameter of 40 cm. 
If the cardboard is not very dense, then it is better to cut 2 circles, fold them so that the stiffeners are at an angle of 90̊. In this case, your stand will not fold under the weight of the cake.
Cut off a piece of about 1-1.2 m long from a roll of pink film, put the cut circles in the middle.  We wrap the edges of the film in the center and fix it with transparent tape, and cut off the excess.
  The result is such a round stand, and its front smooth side will be at the bottom. And on top of the folds, we glue a paper cake napkin onto double-sided tape. It will hide all the flaws, in addition, it will ensure the hygiene of the base.
Next, we start rolling the diapers. We lay them out in piles on the table and prepare the elastic bands.  It is better to twist all the diapers at once, so it is more convenient to distribute them in tiers. We begin to twist the tube from the rubber band, fix it with a clerical rubber band.
  The beauty and stability of the cake depends on how tightly and evenly you wind the tubes.
In this cake I use diapers in sizes 2 and 3, they differ in size. The upper two tiers will be made of smaller tubes, the lower one will be large.  You can use diapers of the same size, but with a combination of sizes, the cake is more stable and proportional. After all the diapers are rolled up, we begin to collect the tiers.
For the top one, we need 9 tubes, we connect them with an elastic band (later we remove it).

For the second tier, we make a blank by analogy with the first, put on an elastic band and insert another row of tubes inside.

There is no clear rule for how many tubes to put in a tier, it all depends on the author's desire to make the cake wide or narrow, with a big difference between tiers or almost without it. It took me 25 tubes for the 2nd tier. We try on the tiers to each other, if satisfied, proceed to the third.

The third tier is made similarly to the second, with the addition of another row of tubes.

As a result, we get the base of the cake.

In order for the cake to be stable, you can insert a wooden skewer or a stick for rolls into the center.
Decorating a diaper cake for a girl
After the cake is assembled, we begin to decorate it.
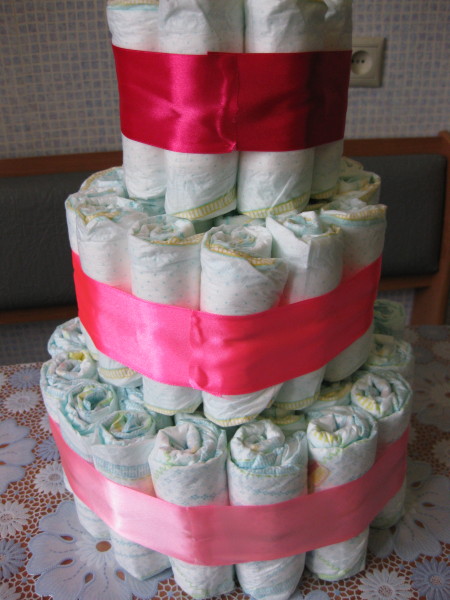
- Each tier must be fixed with a wide satin ribbon. We measure the desired length, cut off with sharp scissors so that the edges do not fluff.
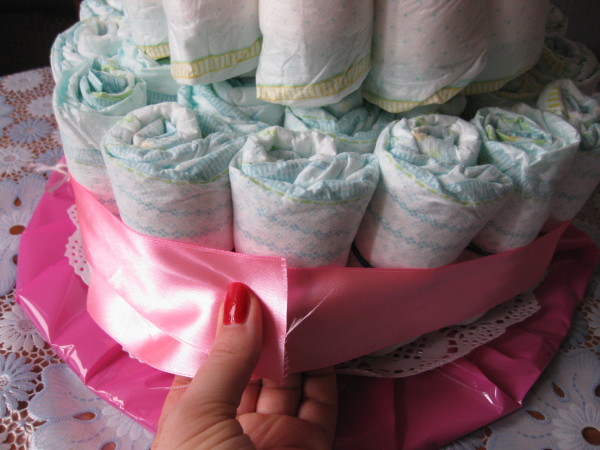 Then, for each tier, he measures 2 pieces of different paper tapes. I like to combine fabric and paper ribbons. Satin is durable, shines beautifully, but the choice of designs is limited.
  Paper ones have a low cost, there are various designs. Then we heat the glue gun, apply glue to one end of the tape, retreating from the edge about 1 cm.
 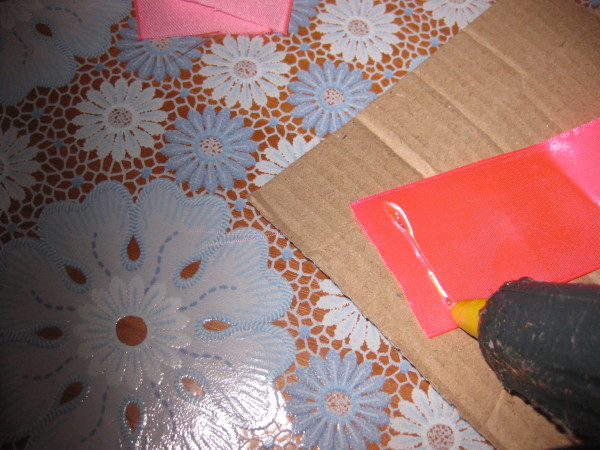 We connect the ends of the tape, press them until the glue sets.
 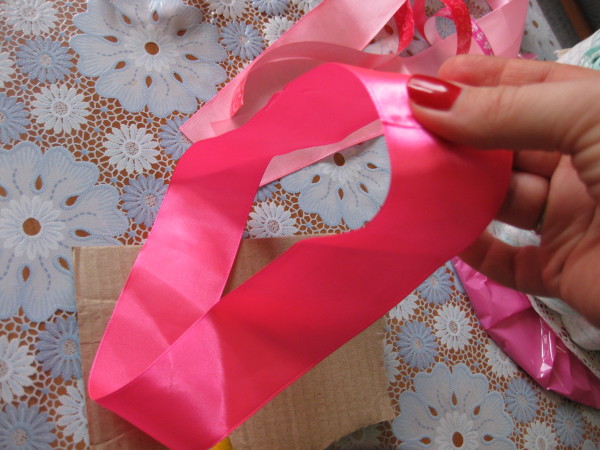 We put the glued rings made of ribbons on the tiers, removing the elastic bands.
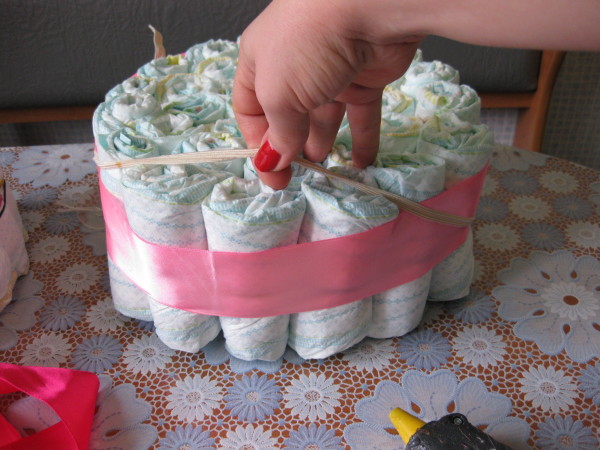
- In my cake, I used different colored satin ribbons for all the tiers. It is better to turn the joints of the ribbons to the back of the cake, later we will hide them under the bows.
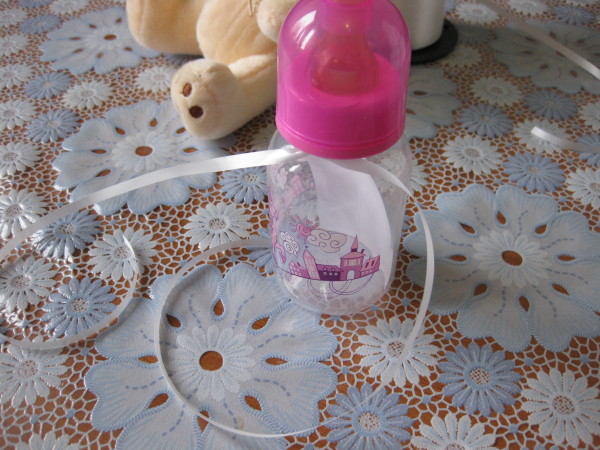
- Upstairs we will put a soft bear with a bottle. We tie the bottle around the neck with a thin white paper or satin ribbon.
 Then he ties it to the toy with the ends of the ribbon.
 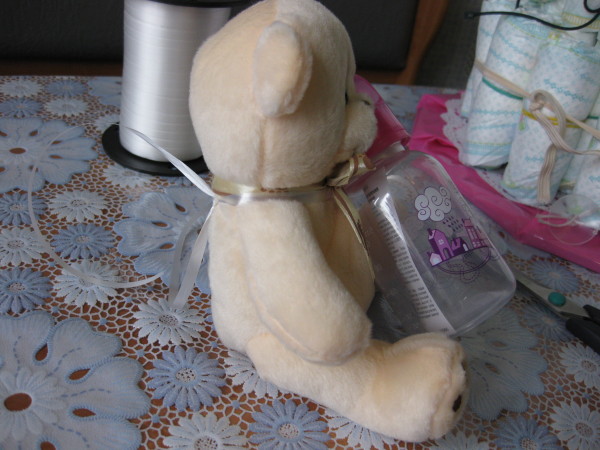 Next, we take a long piece of tape and fix it on the bear’s stomach, as a result, the two long ends should be on opposite sides of the toy.
 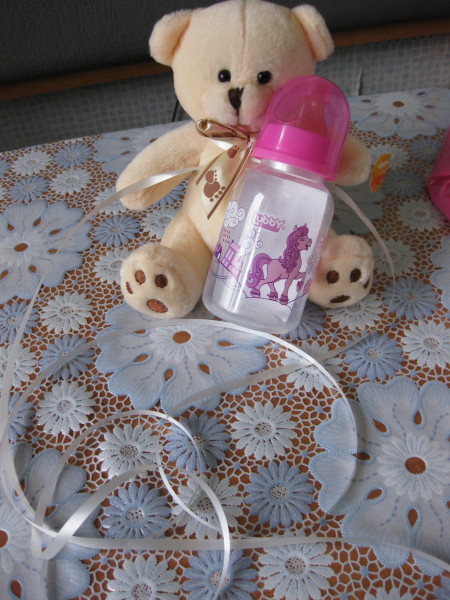 We place the bear with the bottle on top of the cake and skip the ends under all the satin ribbons that fix the tiers.
 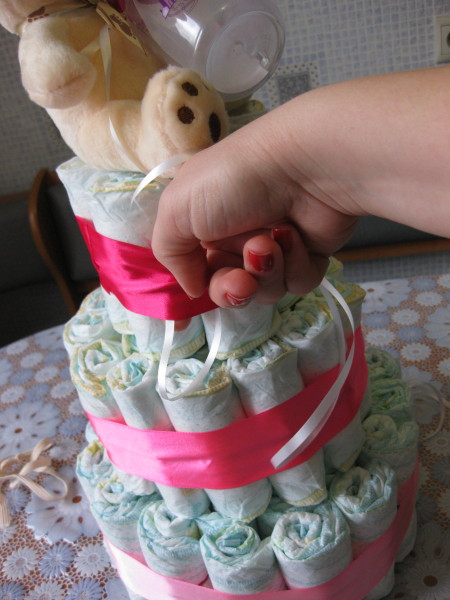 We hide the ends of the tape between the tubes and tie a knot under the lower tier. The ends need to be trimmed.
 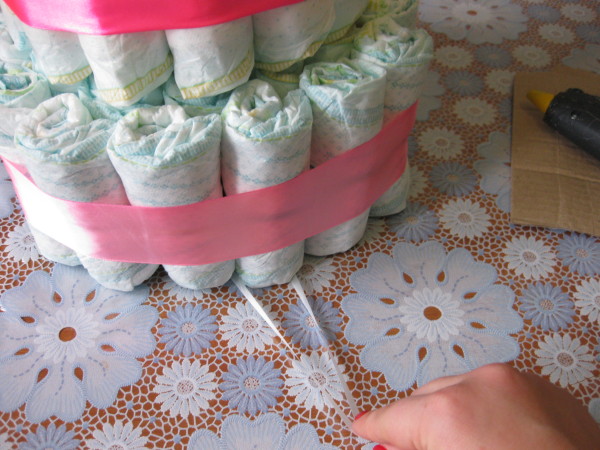 The tape will secure the toy at the top, additionally fasten the tiers together. If you have poorly secured the toy, so that it does not fall from the back side, you can prop it up with a wooden stick. But I didn't need it in this case.
 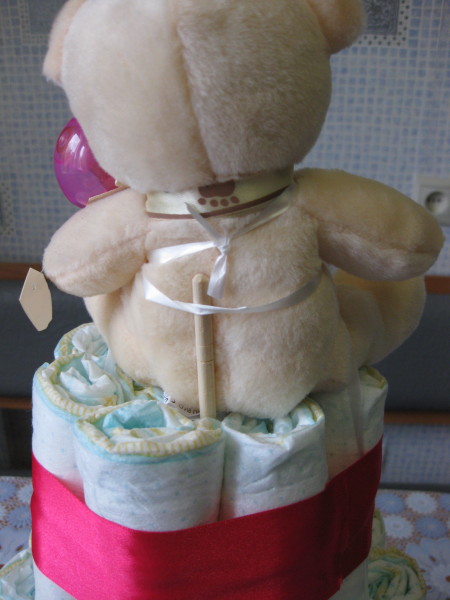 Decorate with glued paper ribbons, align them relative to each other.
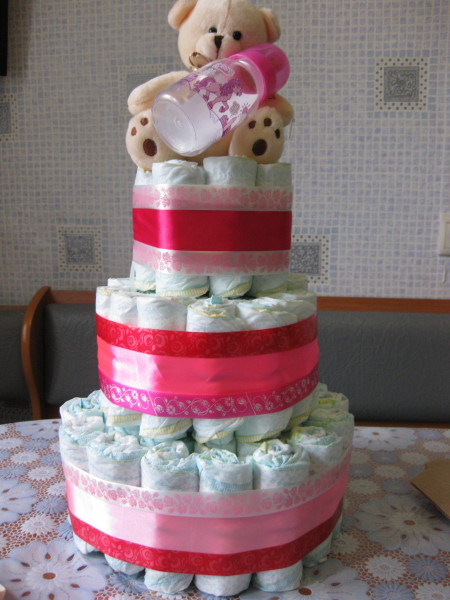
- Next, we prepare all the necessary decor. We collect paper bows, cut off thin tails.
 In the decoration we use roses made of foamed material, we first completely cut off the legs so that they do not damage the diapers.


 I glue the entire decor with a glue gun.

Bows can be tied to ribbons. I also use feather butterflies on wire or clothespins. We also attach them to tapes.  Do not forget to hide the joints of the ribbons with bows.

Add some mother-of-pearl beads as a final touch.

This is how our finished cake looks from the front.

Back view.

7. We proceed to packing the finished cake. I am using transparency film 0.9 meters wide. We unwind the roll, measure the required amount so that a margin of 15-20 cm is obtained from the top edge of the toy.

If you make it smaller, the bow will press down on the toy or completely cover it. We cut off the film and connect it with a stapler on the sides.
Decorate the top of the cake with a large bow.

And the most needed gift is ready!
How to make a diaper cake for a boy
The technology for making a gift for a boy is similar to a gift for a girl. Only the design is done in green or blue colors. The top of the cake can be decorated with a soft toy car, a toy train. A sea-themed cake looks good when rubber toys in the form of marine life are used for decoration: fish, turtles, dolphins.
The finished cake has a weight of 1.5-2 kg, but a solid base allows you to move it without problems. I never make cakes much in advance, it takes 2 days to buy everything you need and make it. It is better not to store open diapers for a long time. Well, of course, we observe the rules of hygiene when making the necessary and beautiful gift for the baby.

