Skirt without a pattern with your own hands: a master class with a photo
A skirt is a versatile piece of wardrobe with which you can create a variety of unique images... It's spring outside the window, which means it's time to tidy up your wardrobe and replenish it with new things, including skirts. Today we'll talk about how in just a couple of hours you can sew a pretty skirt without making any patterns at all. The sewing scheme is so simple that it will suit even beginners.
Skirt without a pattern: what to prepare
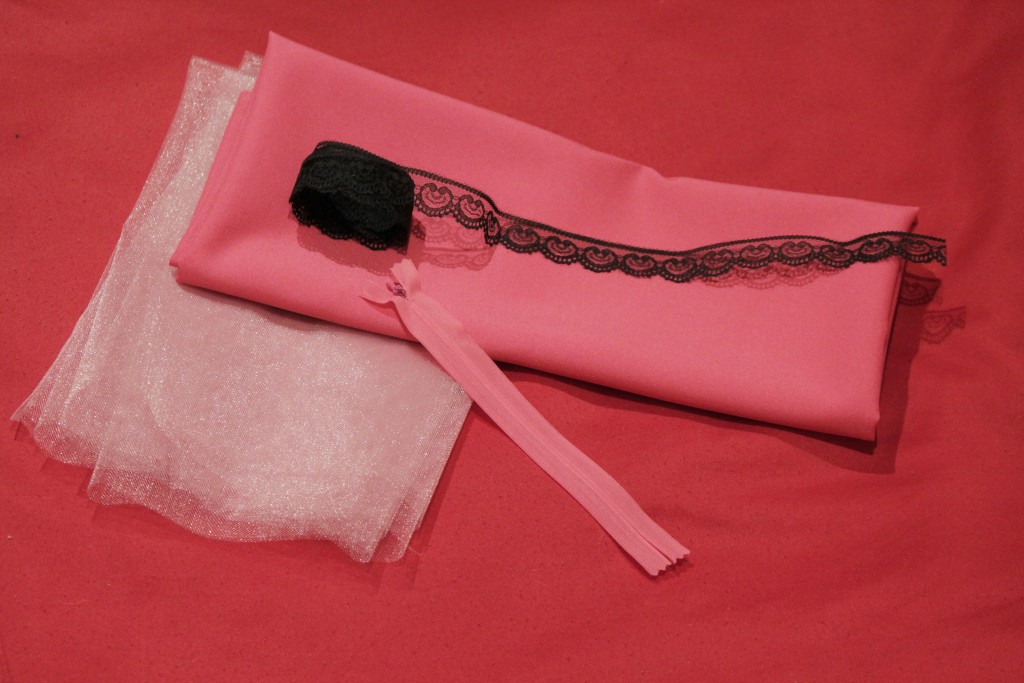
So, first you need to decide what quality skirt you want to make. When choosing a fabric, you should first of all rely on the desired style. Do you want the skirt to be "flying"? Then give preference to lightweight fabrics such as chiffon or viscose. Would you like to get a skirt that will keep a little shape, but not stand with a stake? Then gabardine will do.
In our master class, we will use gabardine. It has a medium degree of drapery, which is very suitable for the chosen style and pliable, which means that it will be very easy for beginners to work with it. The basis of the outfit will be a medium-hard mesh. It will help the skirt to lie down as it should and at the same time keep its shape, not to fall off.
The amount of fabric in this case is one skirt length + belt + stock for seam allowances. Let's look at an example. Do you want to skirt 50 cm with a belt of 5 cm, then you will need: 80 cm of fabric (50 cm + 10 cm for a belt + 20 cm stock) + 50 cm of mesh. Always take the fabric with a small margin. Sometimes stores sell material with defects (clues, holes, etc.), so as not to spoil your future outfit or mood, it is better to foresee everything in advance.
The sewing process will be carried out using the example of 42 sizes, skirt length 60 cm.
What you need:
- gabardine - 1 meter;
- mesh (medium hardness) - 60 cm;
- lace - 1.5 meters;
- threads in the color of fabric and lace;
- secret lock (20 cm);
- non-woven adhesive - 15 cm;
- sewing machine;
- tailor's tools (scissors, ripper, needle, crayons, etc.).
Skirt without a pattern how to sew
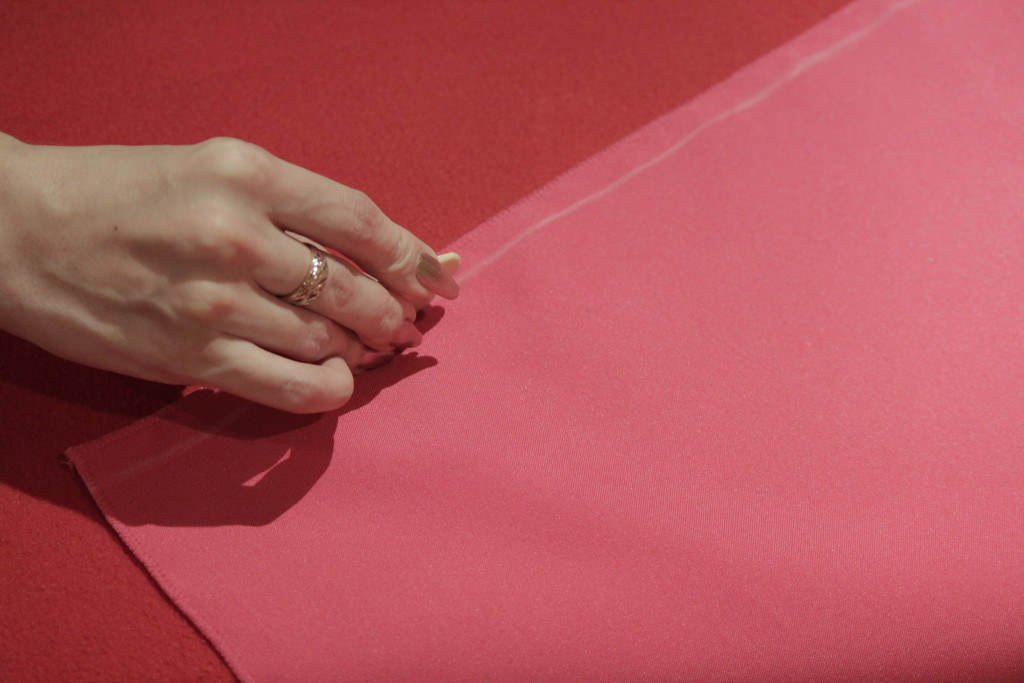
First you need to cut out a skirt. Cut off both sides of the fabric as it is never used in sewing. Then, on the prepared material, draw a rectangle using a chalk. The width of the rectangle (skirt) = the width of the fabric is 150 cm. The height of the rectangle = the length of the skirt (we will sew a skirt 60 cm, if you wish, you can make any length both shorter and longer). Cut the finished rectangle with scissors.
On the remaining fabric, draw a second rectangle for the belt. The width of the rectangle = waist circumference (+3 cm), and the height = double the width of the future belt (i.e. if you want a belt of 5 cm, then the height of the rectangle is 10 cm).
A similar large triangle should be cut out of the mesh, which will be slightly less in height so that the future petticoat does not look out of the hem.
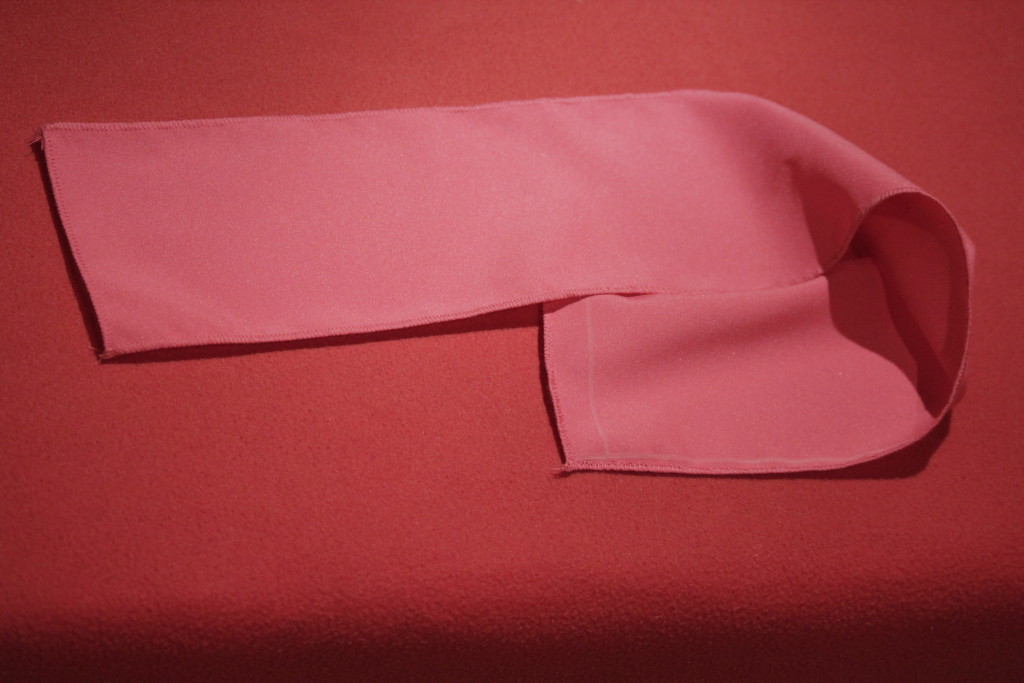
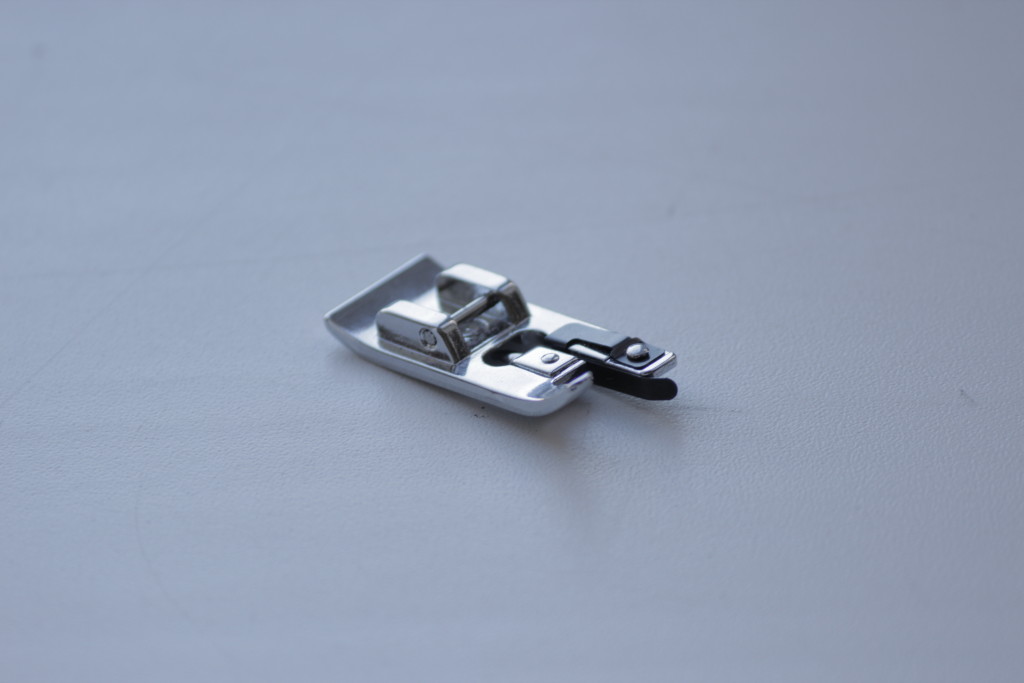
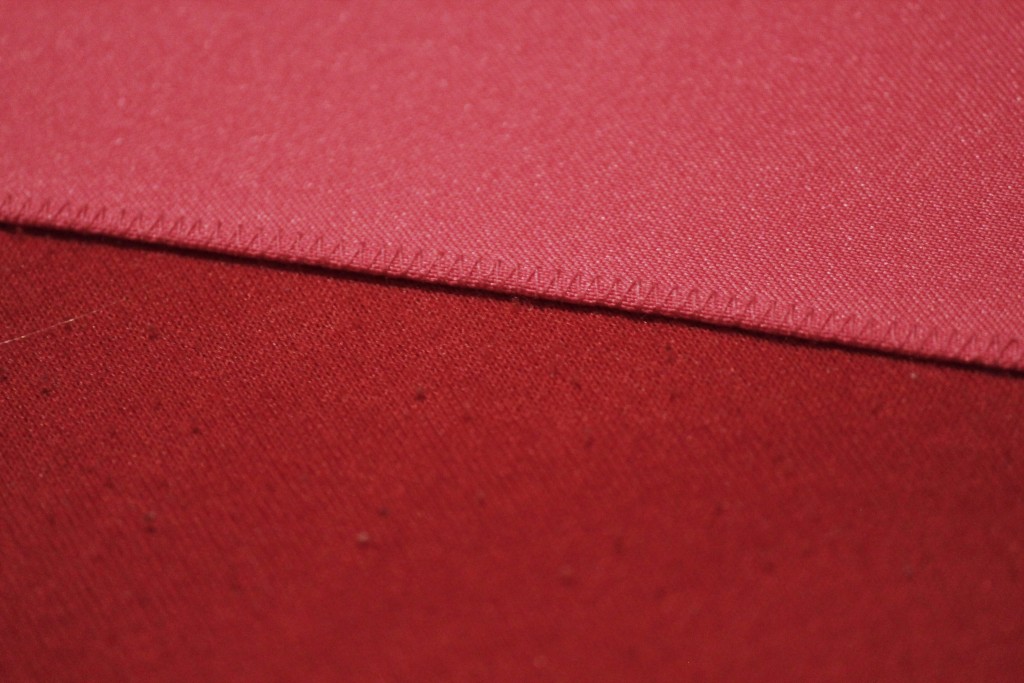
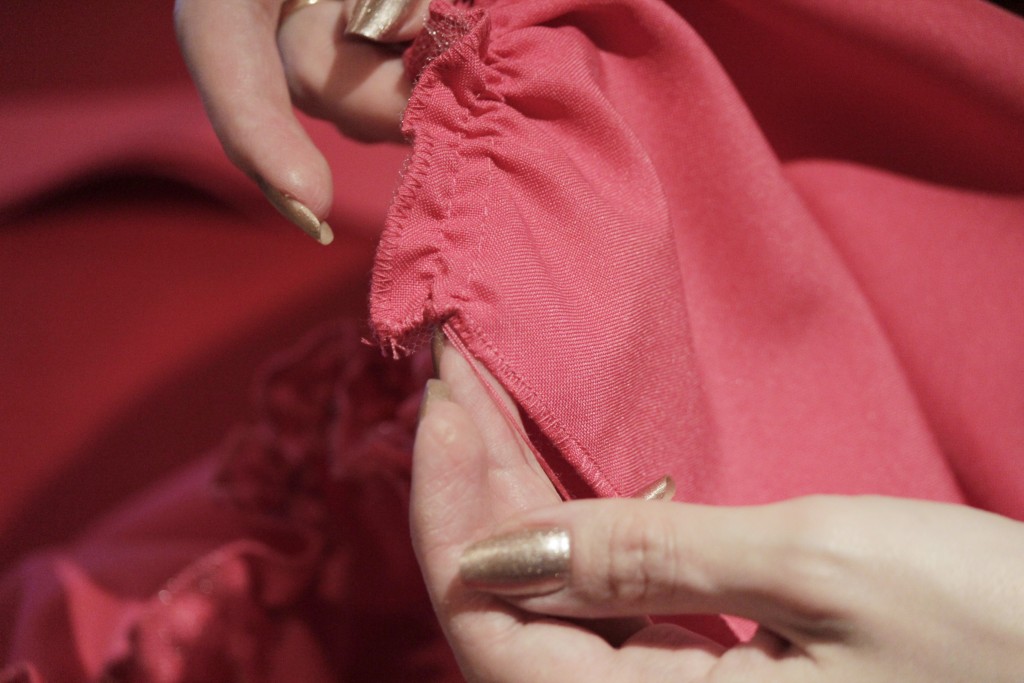
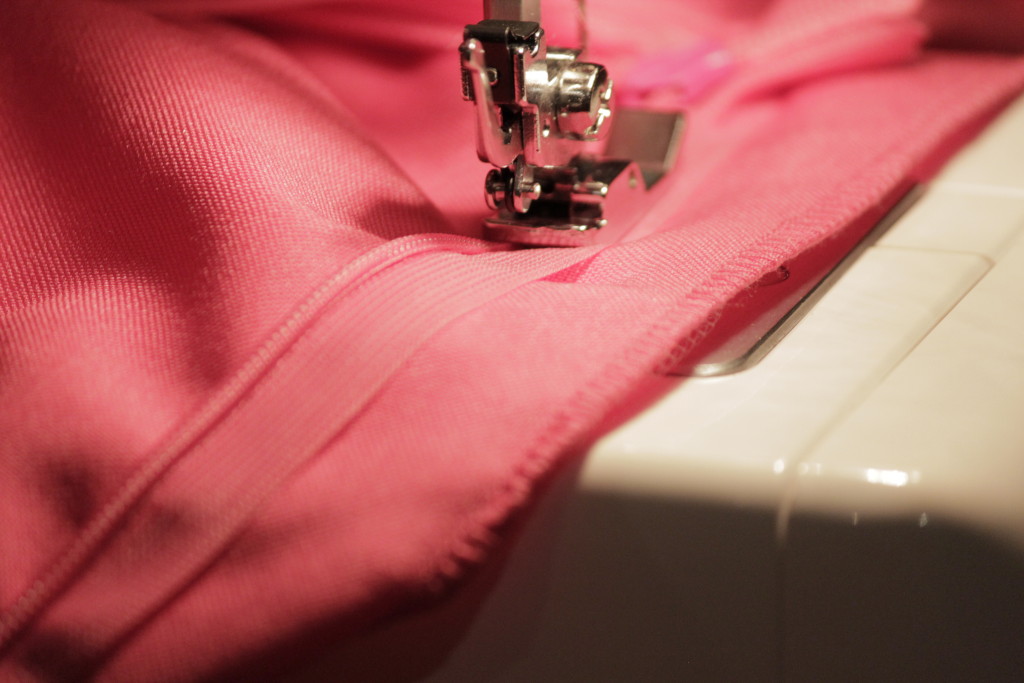
Process two details of the future skirt so that the fabric does not crumble and even looks presentable from the inside out. If you do not have an overlock, you can use a clipper with a special presser foot installed in advance (the mesh is not processed). In the photo below, the skirt belt is processed with such a foot.
On the front side on the hem of the skirt, for convenience, draw a small line along which you will sew lace. This will make everything look smooth.
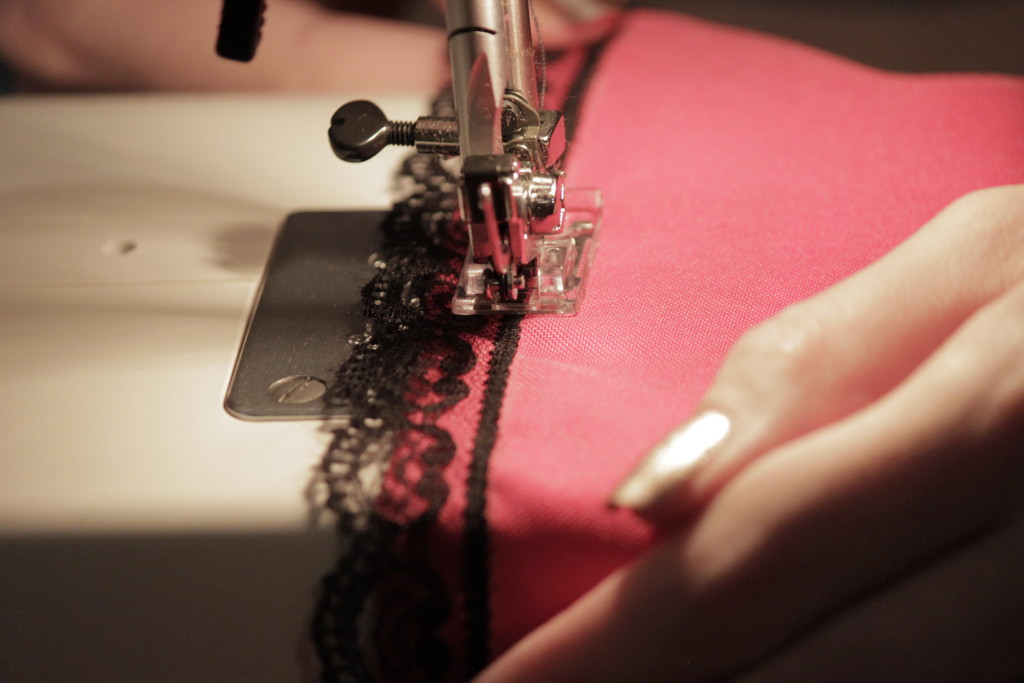
Sew lace along the marked line. It is better to fix the laces at the very beginning, then when the skirt is stitched, the ponytails will go inside, which will look very beautiful.
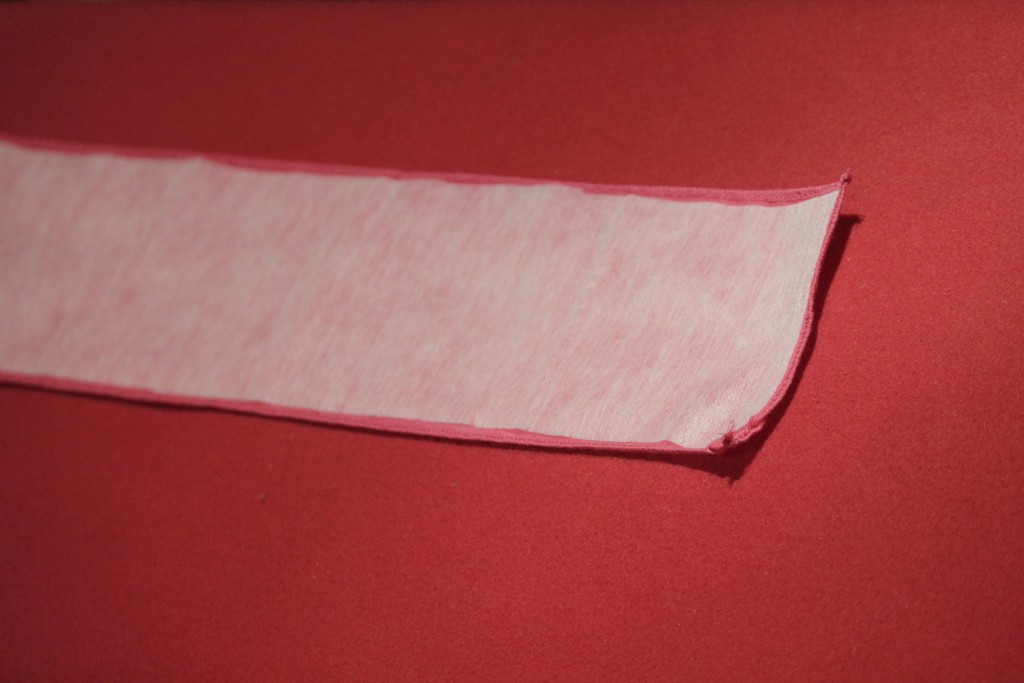
Next, let's prepare the belt. Cut a belt-sized rectangle out of the non-woven fabric, but do so in such a way that the finished edges of the belt remain intact. Non-woven fabric is needed so that the belt keeps its shape, does not twist and "wrinkle" at the waist while wearing the product.
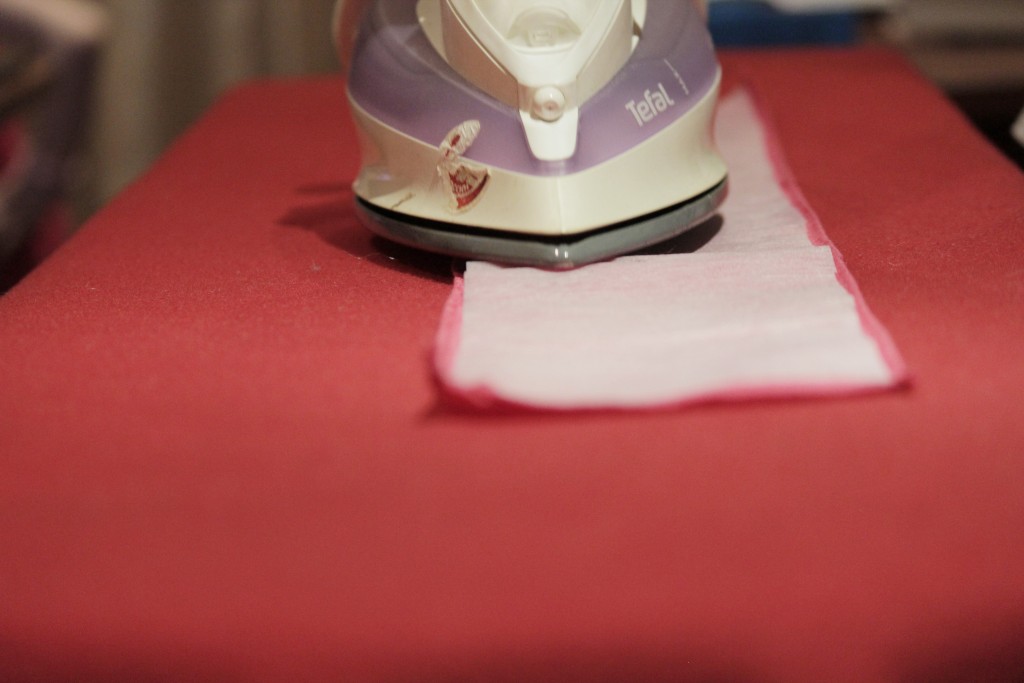
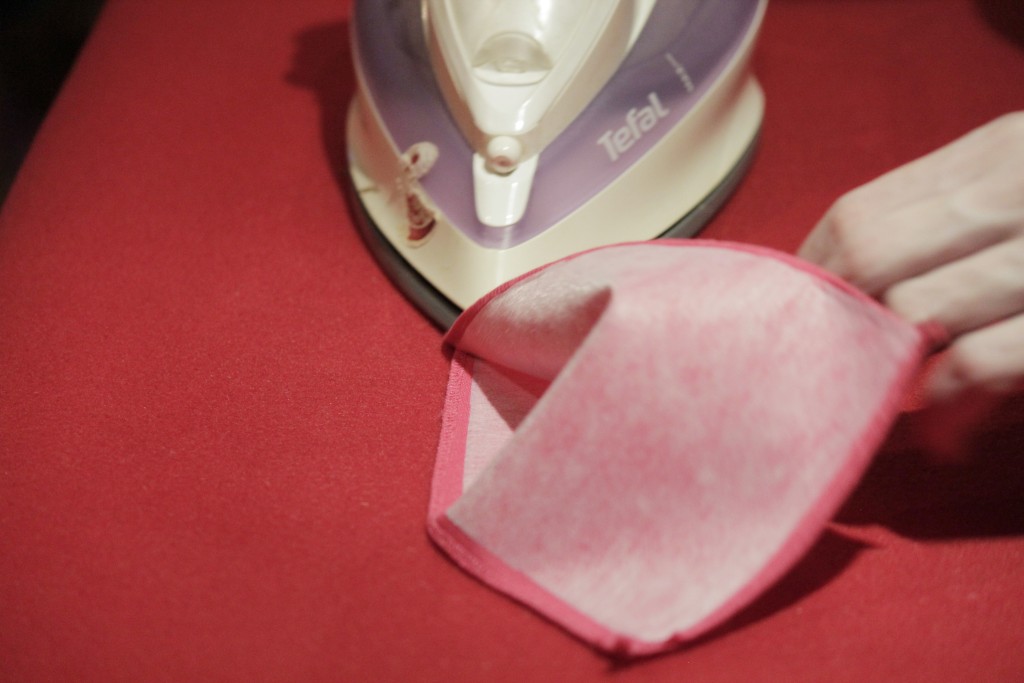
After you have made sure that the non-woven liner is lying properly and sufficiently covers the fabric - make sure it is with the adhesive side inward (the adhesive side of the non-woven liner has a rough surface). Then run over it with a not very hot iron, sometimes adding steam. If the iron is hot, the front side of the non-woven fabric may melt and adhere to the iron.
The future belt can be folded immediately and well ironed.
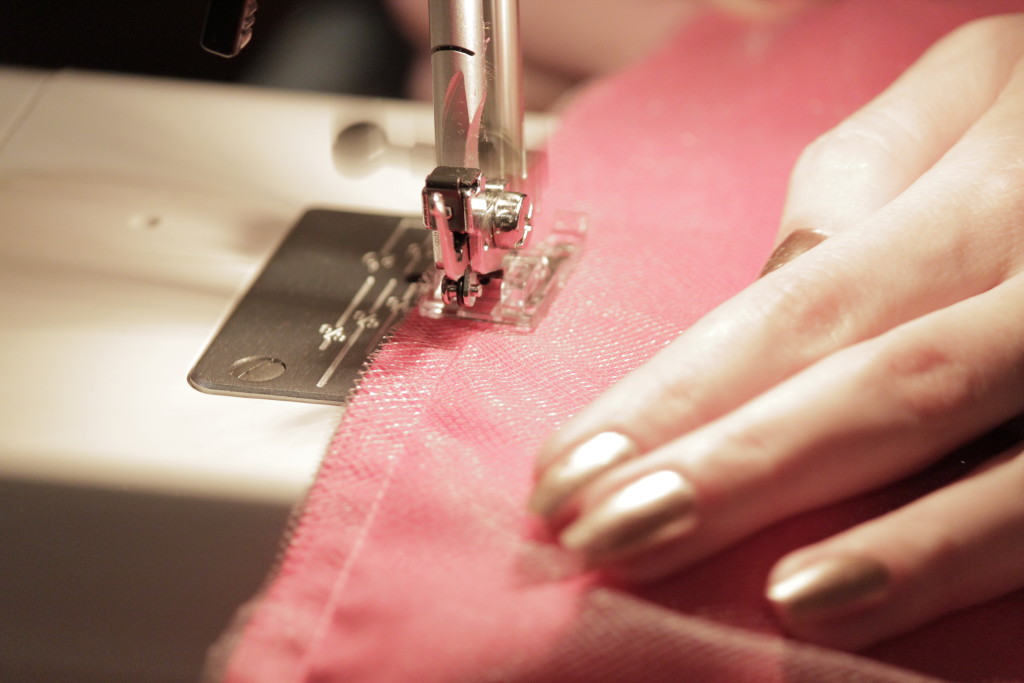
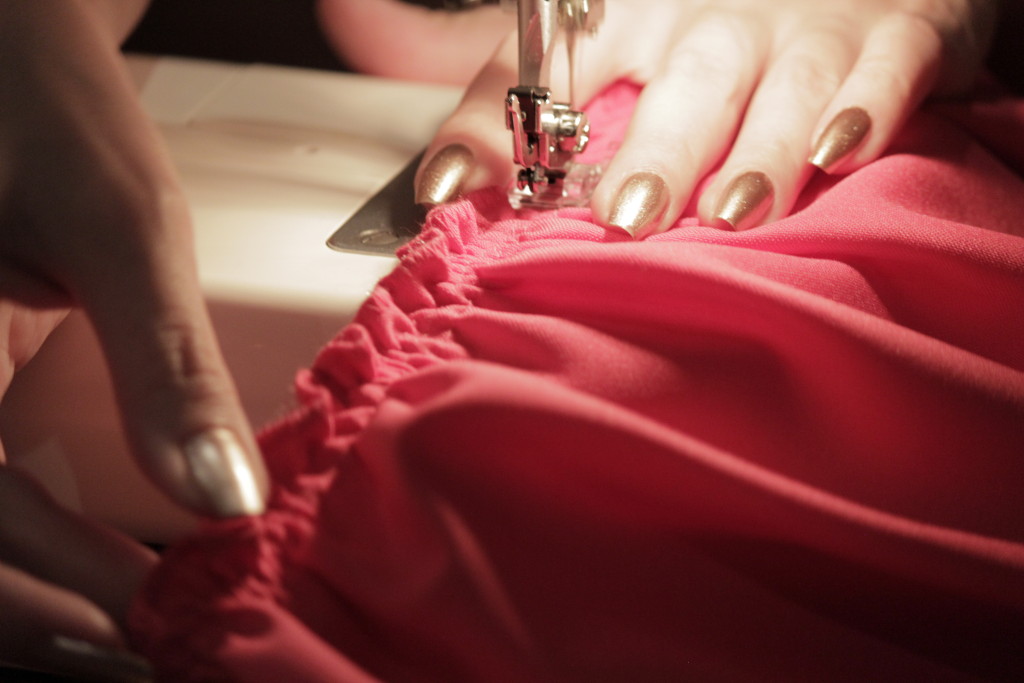
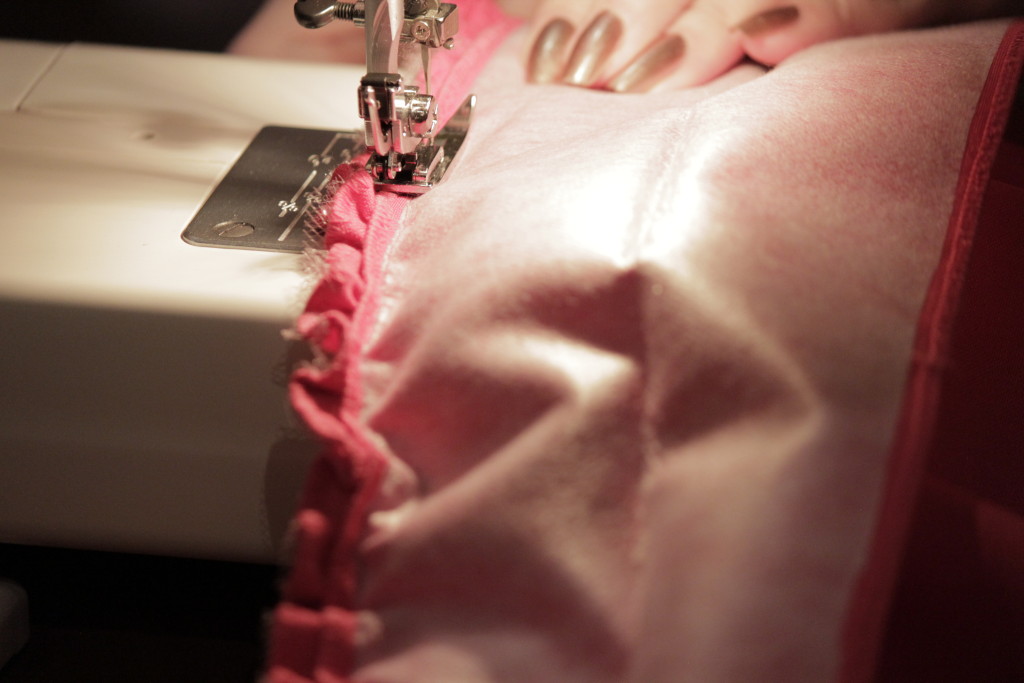
Let's start assembling the product. The mesh must be sewn to the top of the skirt from the wrong side. Preset the stitch length to 4 mm. You will need to make 2 parallel stitches with an interval of 0.5 - 1 cm. When pulling the skirt, this will help to make the assembly smoother.
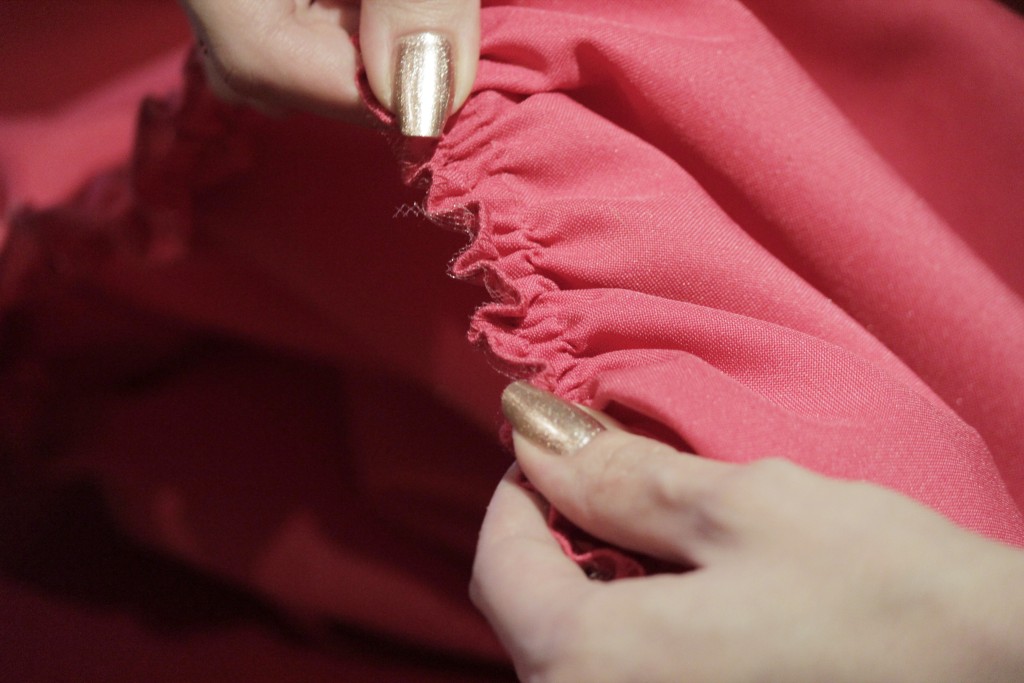
Grasp the bobbin threads hanging from both sides and begin to gently pull the top of the skirt, evenly distributing the fabric on the threads. Do this carefully so as not to break the thread, otherwise you will have to do everything again. Sew on until the width of the fabric is the width of your waistband.
Leave 2 cm of fabric free from the screed at the edges so that the lock can be sewn in.
After that, you need to walk the sewing machine along the top of the skirt again, but already changing the stitch length by 1.5. This will commit the resulting assembly.
The next step is to sew on the belt, but not the whole, but only its bottom. Connect the top of the skirt and waistband with the right side. Place the line just below the assembly fixing line so that the latter is not visible from the "face" of the product. We leave part of the belt free, so that later it would be convenient to hide the lock.
Sewing on the lock.
How to properly sew a lock to a skirt with a belt can be seen in this detailed video.
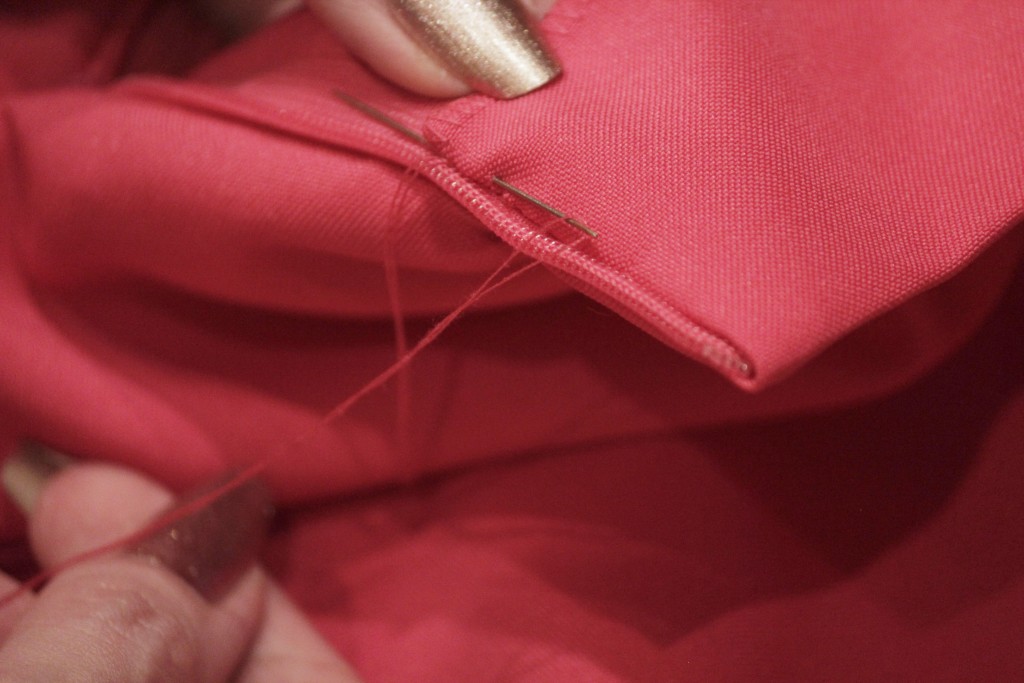
We hide the lock under the belt with a hidden manual seam (with a needle back).
It remains only to close the back seam with a regular sewing stitch. Do not forget to fix the belt that we left loose with hand stitches in several places on the wrong side. Iron the skirt well, paying particular attention to the back seam. At this point, the process of sewing a skirt without a pattern comes to an end. You can try on a new thing and enjoy the fruits of your creativity!
DIY skirt photo
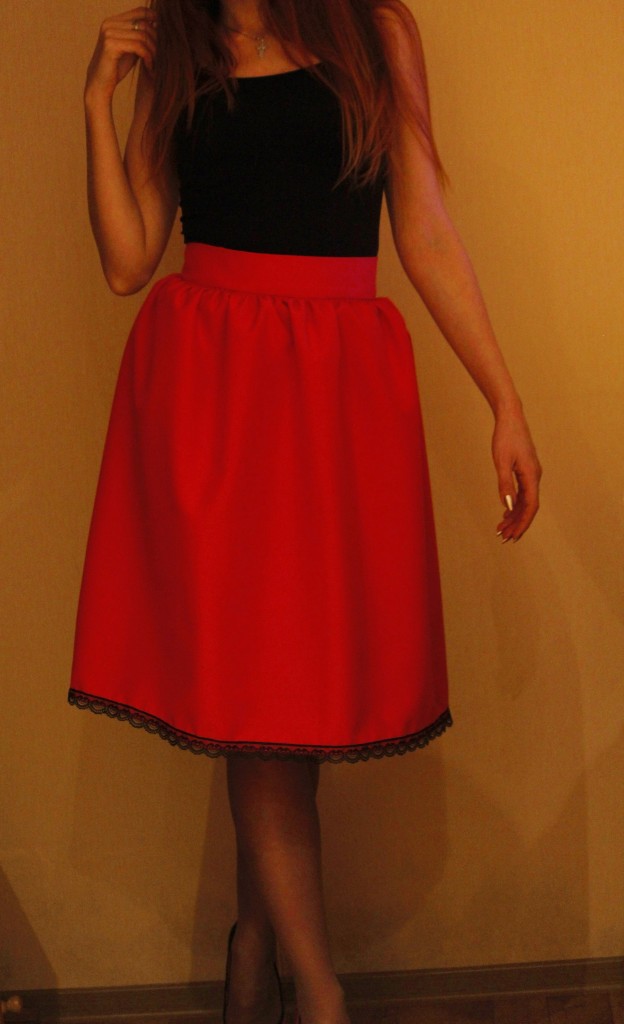
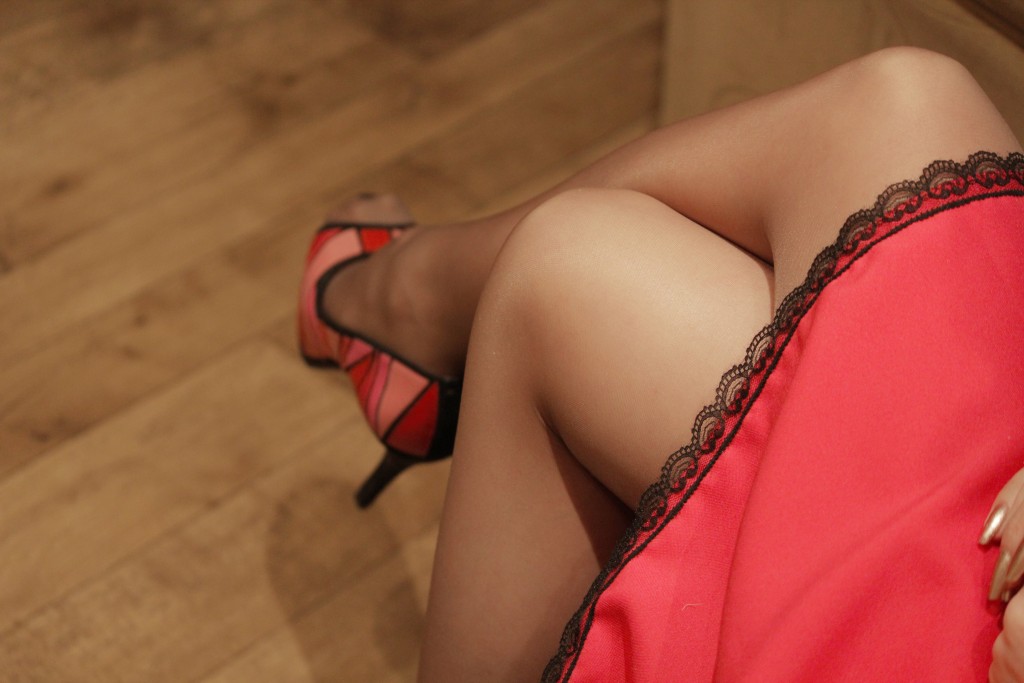
A minimum of effort and time will give you the following result.
Enjoy your creativity and overwhelming success!
