How to make a cheesecake: a master class with step by step photos

Has the day off come? Have some free time? Do you want to please your loved ones with something tasty? Then this recipe is for you. A little bit of diligence and your sweet tooth will be happy.
Making cheesecake
I've always wanted to try and bake a cheesecake. Having tasted it for the first time, I realized - I fell in love. I didn’t eat anything more tender from the “pastry shop” that melted in my mouth. And from that moment the search for the recipe began. I thought it was the hardest and longest cake to make. And the ingredients are very specific. If you do not live in a city, or you do not have a hypermarket nearby, it is unlikely that you will be able to immediately find, say, creams. It is usually prepared for a long time, difficult, and sometimes dangerous (I'm talking about a water bath in the oven).
I kept going through the recipes. And now, having finally worn out and comparing many different options, I came to the following cooking method. All ingredients are readily available and the cooking process is quick and easy.
The cheesecake is baked for 80 minutes.
Designed for 10-12 servings.
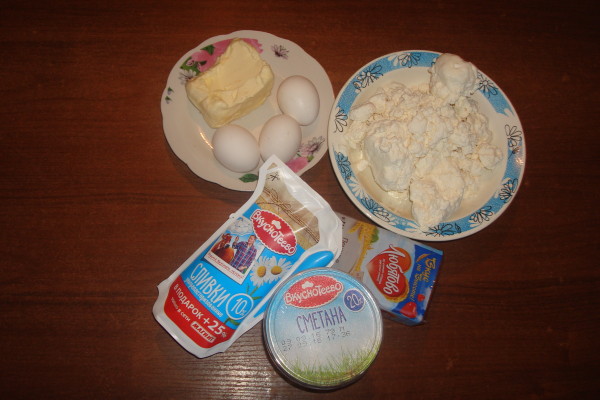
Cheesecake Baking Ingredients
- shortbread biscuits packaging (Rostov, anniversary) 360 - 400 g;
- butter 200 g;
- cottage cheese with a high proportion of fat content 800 g;
- sugar 220 g;
- egg 3 pieces;
- add vanillin to taste;
- fruits or berries for decoration to taste (I used grapes);
- sour cream with a high proportion of fat 300 g;
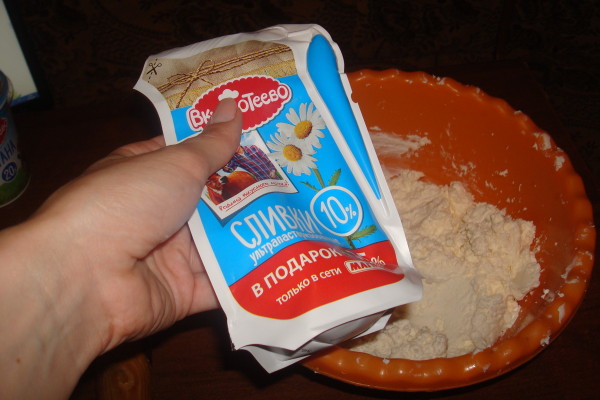
- cream 150 g
Cheesecake cooking process step by step
Gather the ingredients so that everything is at hand. Try to do everything carefully and slowly. After all, the cooking process should be enjoyable. Then you will definitely succeed and the result will delight both you and your loved ones.
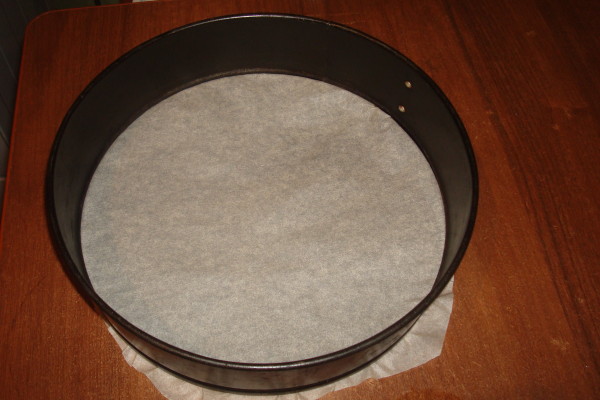
- The products are designed for use with a split mold with a diameter of 23 centimeters. The result is a cake with a high rim.
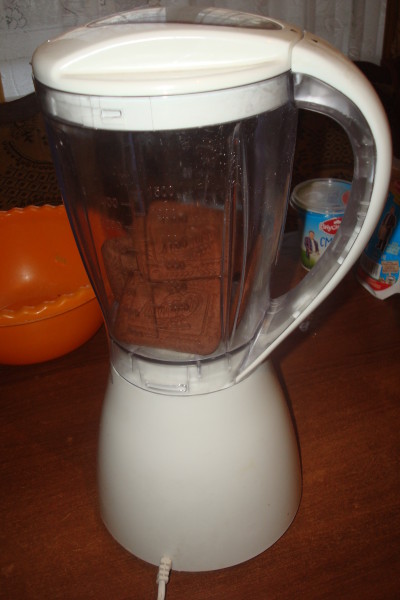
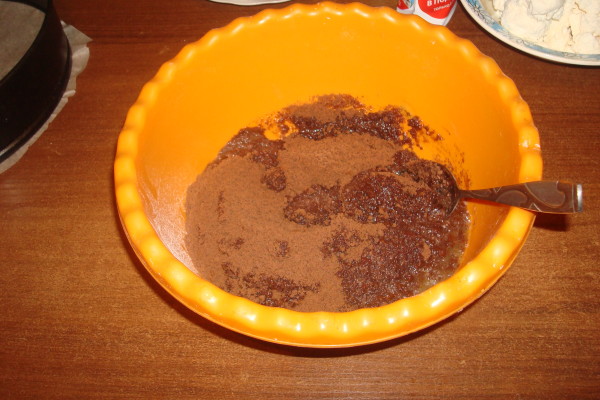
- First, you need to crush the cookies to a crumb state. To do this, you can use a blender (this is much faster), or knead with a crush.
- Then we drown the oil in the microwave (you can also on the stove, as you prefer).
- We put the oil to cool a little, and at this time we prepare the form. Cover the bottom with parchment paper and press with the upper removable part. If there are large ends of the paper sticking out, just cut them off. For safety reasons, I grease the sides with a small amount of butter.
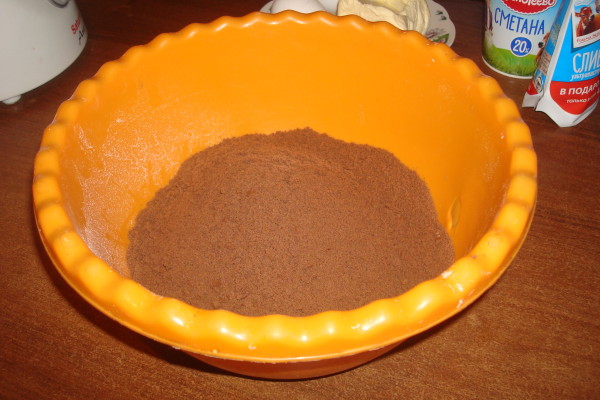
- Now thoroughly mix the crushed cookies with butter.
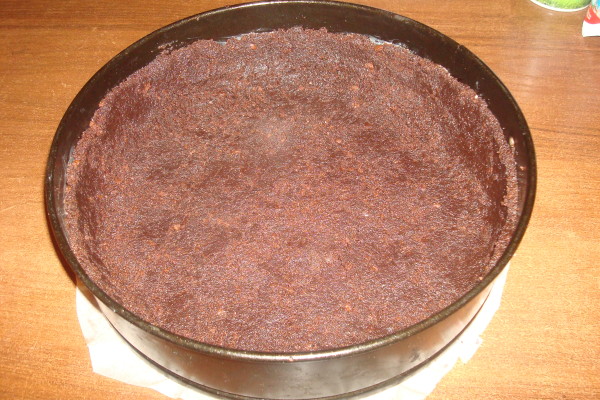
- We spread the consistency in a mold and ram it well, distribute exactly how much it turns out, making the base. It is necessary that the bottom of the cheesecake is no thicker than a centimeter, the sides are about half a centimeter, a little more. After all the manipulations, place the base in the refrigerator. We turn on the oven and heat up to 180 degrees. And we take on the filling.
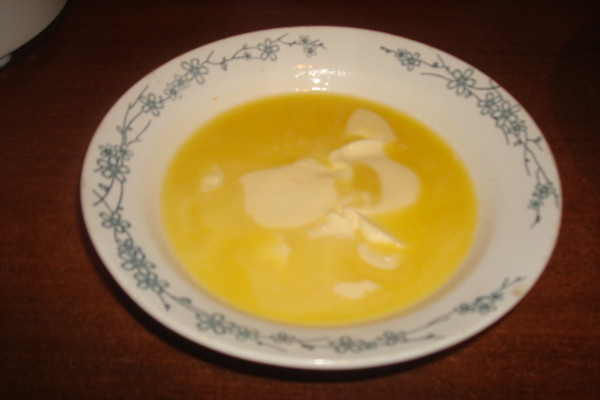
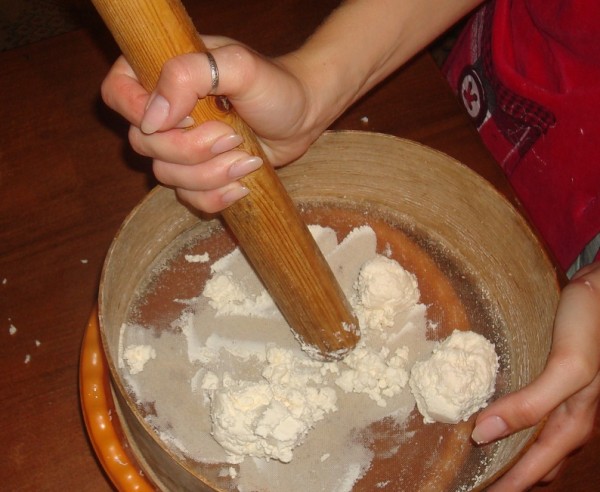
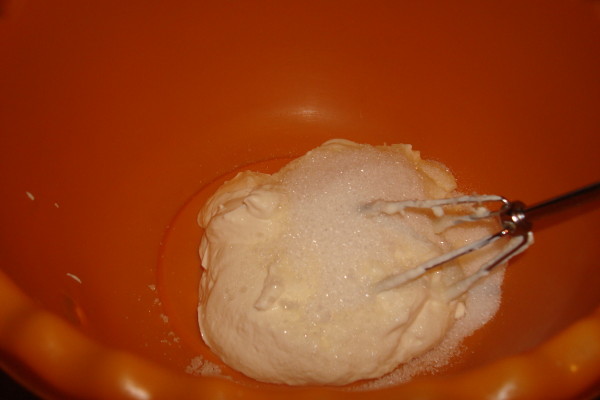
- We take cottage cheese. It is best that it be fat (I took 18%), so it will be easier to disguise it as the so-called cream cheese. If you take cottage cheese with a low proportion of fat, you will not be able to make the mass homogeneous, since its granular consistency will not allow this. Beat the cottage cheese with a blender or grind with a sieve. I used the second option, as my blender does not work as well as a sieve. The whole thing took me about seven minutes.
- Now we make cottage cheese like a creamy crêpe. Add cream there and grind again. The mass should shine a little, like a gloss.
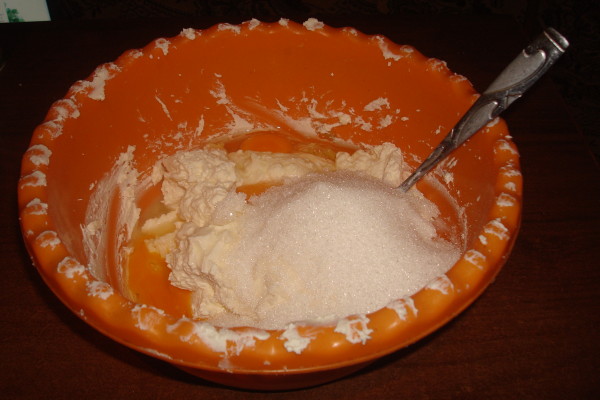
- We break three eggs into the resulting mass, add 200 g of sugar and a little vanillin. Grind again. If you will be using a blender, try to move it around the mass so as not to oversaturate it with air.
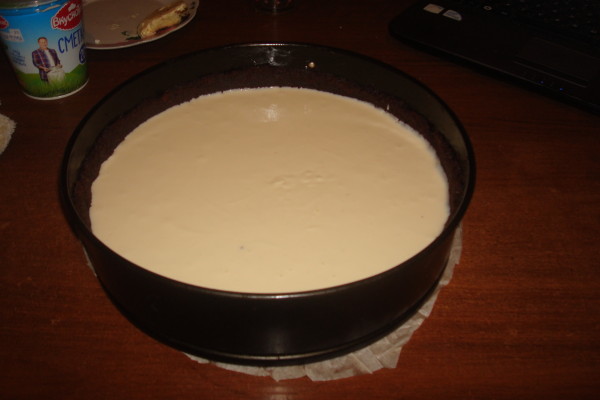
- It's time to take the mold with the base out of the refrigerator. We fill it with the resulting "crême", try to do it evenly. As the final stage, you need to hit the table with a shape, it will help rid the mass of excess air and level it a little.
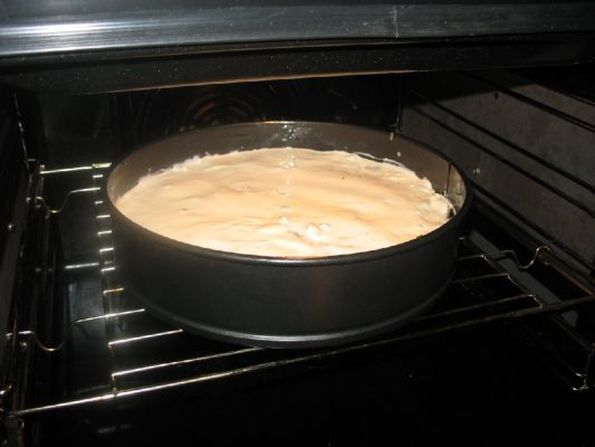
- You can send the cake to the oven. The temperature should be 180 degrees. We leave it in the oven for 50 minutes. You can rest assured and don't jerk the oven door every ten minutes. The mass will not spread, burn or rise. You can devote this time to any business.
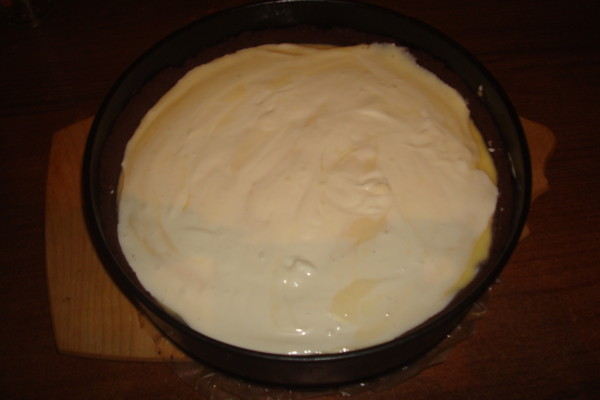
- Next, beat the sour cream with 20 g of sugar, with the addition of vanillin, until smooth.
- After 50 minutes have passed, we take out the cake. It will immediately become clear that the mass has become strongly compacted. Now it is worth increasing the temperature in the oven to 200 degrees. Pour the mass of sour cream and sugar on top of the cottage cheese and put it in the oven for another 10 minutes.
- After 10 minutes are up, it's time to remove the cake from the oven. Now you can start decorating. We spread as you like, fruits or berries whatever your heart desires, let the cheesecake cool. Then we send it to the refrigerator for 12 hours.


Time has passed. We take out the frozen pie from the refrigerator - the cheesecake is ready! Bon Appetit!!


