How to make shellac at home
Long-term manicure is a reality. Shellac is to some extent a hybrid of regular varnish and gel varnish. It does not harm the nails so much, retains its aesthetically pleasing properties for a long time and allows you to forget what a manicure is for 3 weeks. We will talk today about how to make shellac correctly at home, which lamp to choose and whether it is possible to make a long-lasting manicure without a lamp.
Content
Shellac set
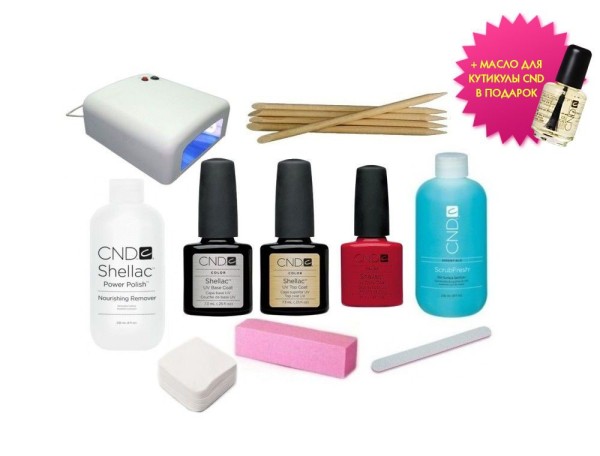
Professional cosmetics stores offer to buy all the elements for shellac not individually, but immediately as a set. It is worth noting the prudence of such a purchase, because, as in any other situation, wholesale is cheaper. The kits are different, and each store gives them its own name, for example: "Starter"; "Basic", "Professional". Each of the kits must include a lamp, shellac remover, base coat and top coat. The rest may vary. Some of the kits include the entire toolkit (buffs, nail files, orange sticks, etc.), a certain color set of shellac. The latter is completed at the request of the client.
This is all the essentials that will allow you to create a shellac manicure. The cost of the sets directly depends on the configuration and varies, depending on the store and the territory, from 1,500 to 6,000 rubles. If you buy each of the components separately, it will come out much more expensive. In addition, the advantage of the kits is that initially all consumables are invested taking into account “one manufacturer”.
Shellac lamp
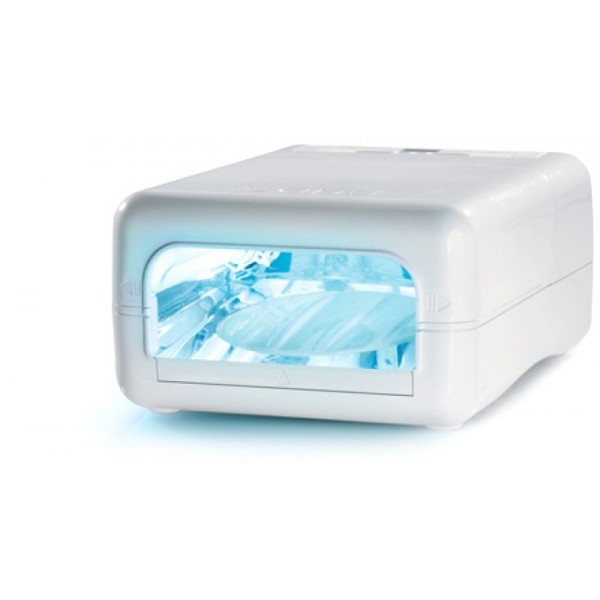
A good shellac lamp is the key to a quality manicure. At the moment on the market you can find two types of lamps for shellac and gel polish: UV and LED lamps. At first glance, the difference is almost impossible to notice, but in practice, each of them is still different. It is UV lamps that are more popular among girls. This is primarily due to the price, which is significantly lower than its competitors. However, it is the UV lamp that has the longest drying time for shellac. The difference, although not so great (30 seconds in UV, 10 seconds in an LED lamp), is still noticeable.
Mercury is used in the production of a UV lamp, while in the manufacture of LED it is not. Another advantage of the latter is durability. The device has a working life of about 36,000 hours, which means that when buying a lamp it will not take a long time to change. And by the way, buying an LED lamp with a power of even 9 W, it will be tantamount to buying a UV lamp with a power of 36 W. And as you know, in order for the shellac to dry quickly and efficiently, you need to purchase a unit of just such a capacity.
LED lamps are usually used by professional manicurists in order to save time and satisfy clients with the end result. For home use, a good LED lamp will cost a lot, so if you buy it just for yourself, you can get by with regular UV. But the final decision is up to you.
Gel
At the moment, there are many manufacturing firms specializing in the production of shellac. A large selection can lead potential buyers to a stupor: how to choose a quality product? So, good, high-quality shellac should meet the following requirements:
- the coating should not form cracks and chips for as long as possible (usually about three weeks);
- optimal consistency: it should not be too liquid or, conversely, thick; it should also not spread when the composition is applied to the nail, at the same time it is good if it fits tightly, but not very much;
- good shellac has a comfortable brush, leaving behind an even stroke;
- it should be well removed: high-quality shellac is removed from the surface of the nails in 15 minutes;
- it should not contain a large amount of harmful chemicals that will harm the nail plate;
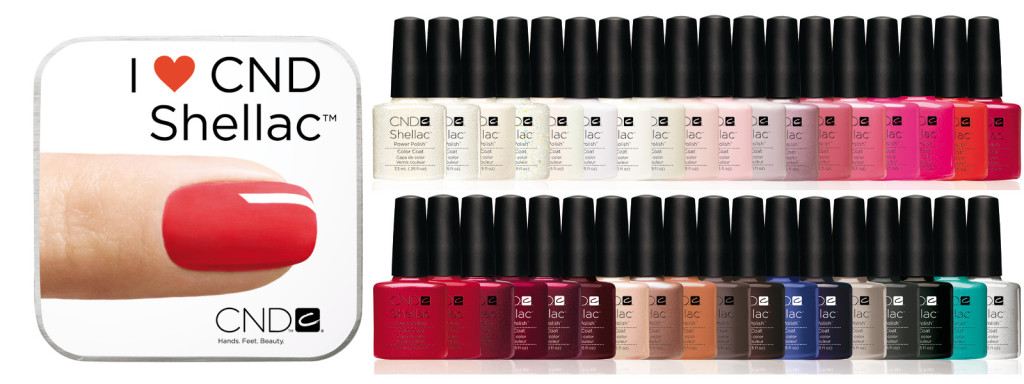
- ideal when the selected shellac has a wide color palette of different shades;
- it has a high degree of pigmentation: the applied colors are very rich and juicy;
- has an acceptable odor that does not "cut" the nose.
If a reasonable price and a large bottle are added to all of the above, then this is an undeniable ideal.
Throughout its existence, the Chellac CND brand can be confidently awarded the palm. It meets all the requirements for high-quality shellac, but its price varies between 900 and 1100 rubles for 7.3 ml (about 10 applications), which can greatly affect the wallet if you regularly purchase several colors. By default, it is considered a professional nail care product.
OPI Gelcolor and Gelish Harmony have proven themselves well, the latter, by the way, is considered the safest of shellac. Are in the same price range as CND.
But there are also cheaper options that will be affordable for most, and maybe everyone, who also distinguished themselves by their high quality and durability, these are: Kodi Professional (approximate price - 470 rubles), Laque RuNail (approximate price - 230 rubles), Bluesky (230 rubles), Pnb (Professional Nail Boutique) (very persistent, price - 400 rubles), Canni (170 rubles).
Shellac without lamp
In theory, shellac can dry out without a lamp, in direct sunlight. However, according to these theorists, you will have to sit under the sun for almost hours. And if you consider that you need to dry not only shellac, the number of layers of which can reach 4, but also the base and top, then one day for a manicure may not be enough. The unique composition of shellac simply requires the presence of an LED or UV lamp - alas, you cannot cope without it, the varnish simply does not polymerize.
Now you can find a lot of varnishes under the slogan "varnish-gel that dries without a lamp", but this is nothing more than an advertising gimmick. In fact, these are ordinary polishes that, at best, just keep the shine, just like the gel. According to the reviews of those who have already tested the new products, these varnishes have nothing in common in terms of durability with gel and shellac. Chips and cracks appear as always, if not faster.
Design solutions
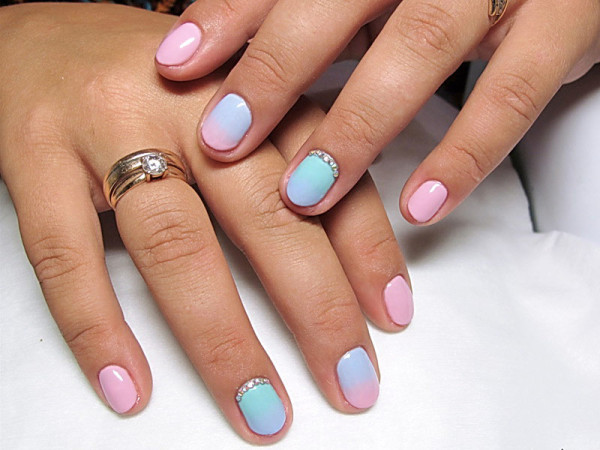
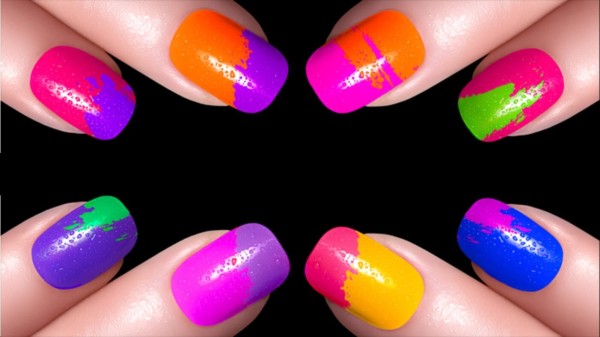
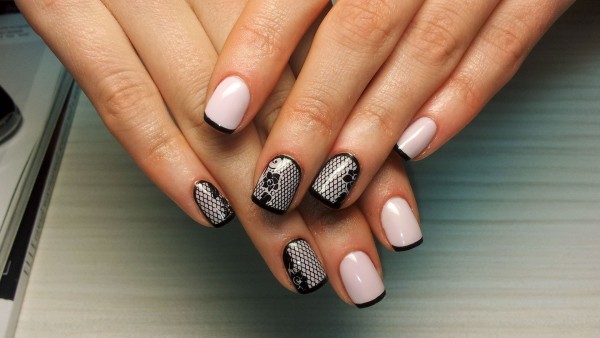
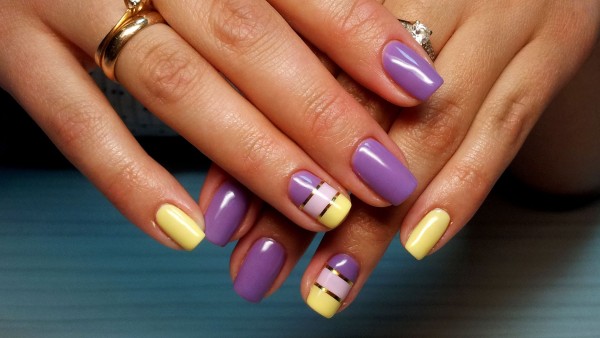
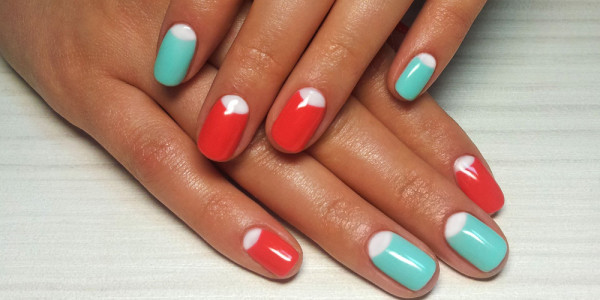
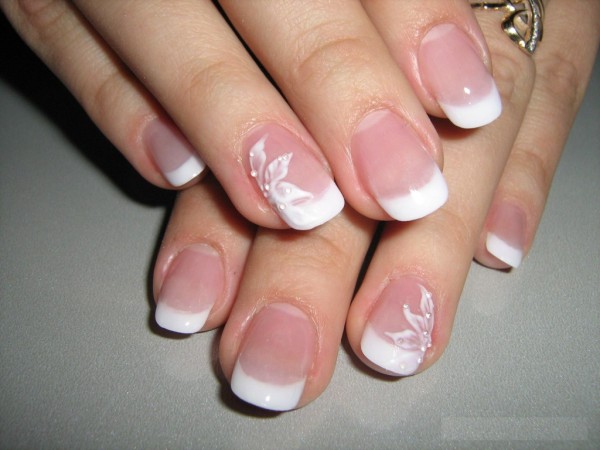
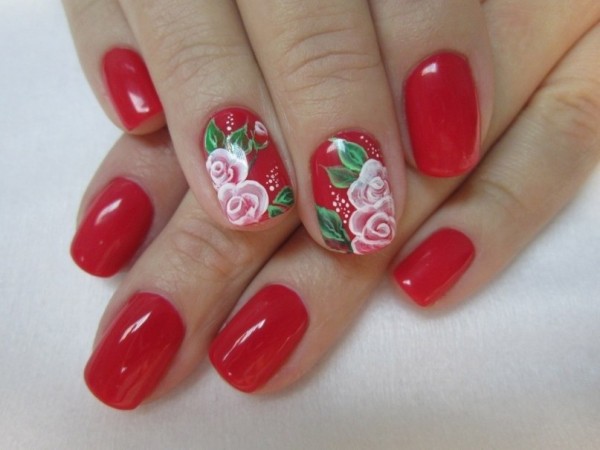
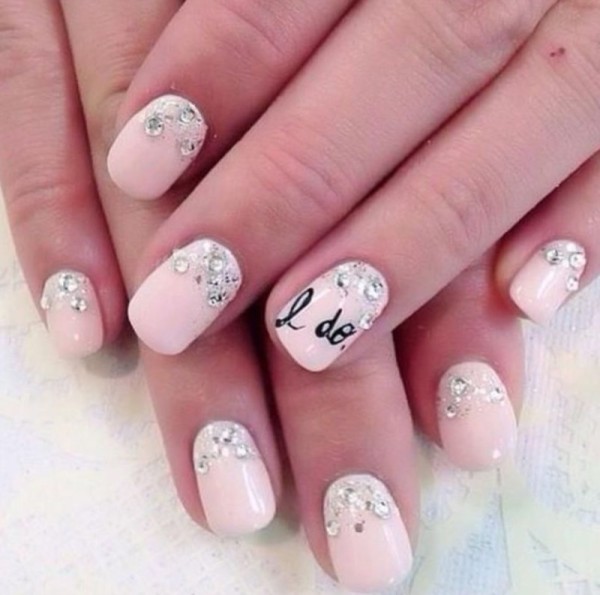
Another advantage of shellac is the scope for imagination, with choosing a nail design... You can afford the most masterpieces of drawings and other decorative elements you want. The main thing here is the ability to draw. True, in stores you can find many stickers and other devices that will help you create a unique manicure, even if you have never taken a pencil and a sheet of paper.
We bring to your attention a selection of interesting nail design options that will surely inspire you to be creative.
How to prepare your nails for shellac
Before carrying out shellac, the nails need to be properly prepared. In principle, the process is quite primitive, which does not need to be learned. Every girl knows about it by default, because she does it regularly. Simple European, Classic or hardware manicure prepares your pens for shellac application. The main thing is that the marigolds are polished, but not to a shine, but to a slight roughness. This will allow the base coat to firmly adhere to the nail plate, and subsequently to the shellac itself.
Just tidy up the cuticle, process the lateral ridges of the nail. Give the nails the same shape and "walk" on them with a buff, abrasiveness no more than 220. After that, degrease the nails and you can start applying the base coat.
How to apply shellac correctly
At first glance, applying shellac does not seem to be such a difficult procedure. However, unlike conventional varnish, shellac should be applied in very thin, almost transparent layers. Otherwise, if you still apply thicker layers, then, firstly, its surface may bubble during drying, and secondly, after 2-3 days such a manicure will fly around. If you want to make the color more saturated, it is better to apply shellac in 3-4 layers, but each of them should be thin. During the application of shellac, experts do not advise to "seal" the ends of the nail, as it is done with the base and top coat.
Shellac procedure with step-by-step description
- Prepare your nails for the procedure: file, remove cuticles, process the rollers on the sides of the nails.
- Go over the nail with a buff, slightly removing the glossy shine.
- Degrease the nail plate with a special shellac compound.
- Apply a base coat to the nail, carefully sealing the ends of the nail. Dry the cover under the lamp.
- Apply the first thin coat of colored shellac and cure under the lamp.
- Apply another thin layer. If necessary, you can increase the number of coats to 4, but each should be dried.
- Apply a top coat and dry.
- Using a special shellac cleaner and a lint-free cloth, remove the sticky layer from your nails.
That's it, the shellac manicure is ready! A detailed description of how to properly apply shellac on nails, with step-by-step pictures and tips, on what and what funds you can save well, - read in this article.
