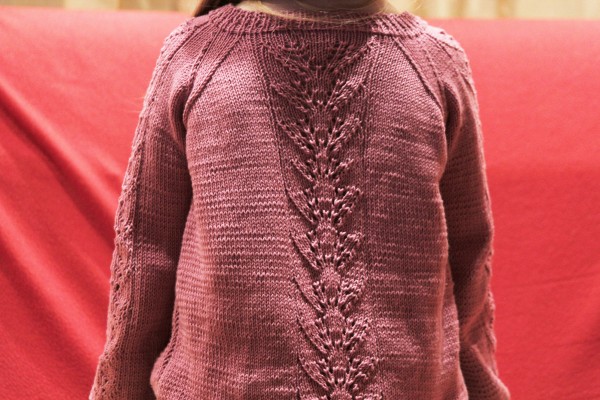
Master class: knitted sweater for a girl
Today we suggest you try to knit an original and at the same time simple sweater for a girl. A detailed description of each stage will help even a novice needlewoman to cope with the work.
Content
For work, prepare:
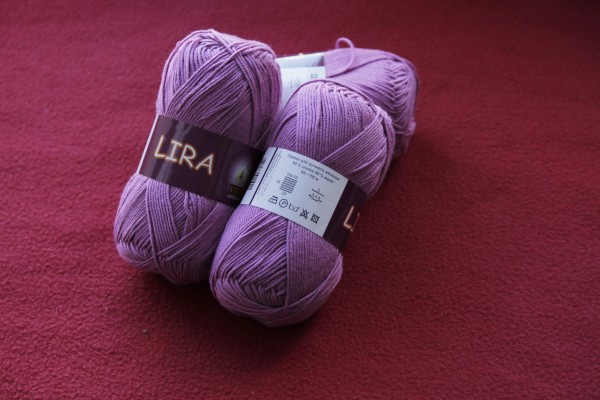
- LIRA yarn 50 g / 150 m - 4 skeins;
- knitting needles 2 mm;
- stitching needle.
In the master class, we will knit a sweater for the age of 6 years.
Work technique
Start knitting from the bottom. Tie the back, front and sleeves separately until the armhole. Then connect the pieces and continue knitting in a circle until the neckline.
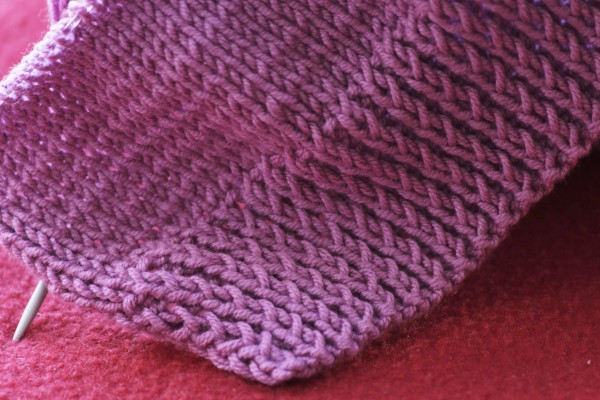
The elastic will look much prettier if, instead of the usual front loops, you use the front crossed (i.e., the loops tied behind the front wall).
How to knit in front of sweaters
Cast on 80 stitches on the needles and knit 3 - 4 cm with an elastic band:
- 1 row - 1 edge loop, * 1 front for the front wall, 1 purl loop, * 1 edge loop; repeat from * to * to the end of the row.
- Knit 2 and subsequent rows according to the pattern, knit the front loops for the front part.
Now add 14 stitches. To do this, knit two from each fifth loop. 94 stitches are formed on the needles.
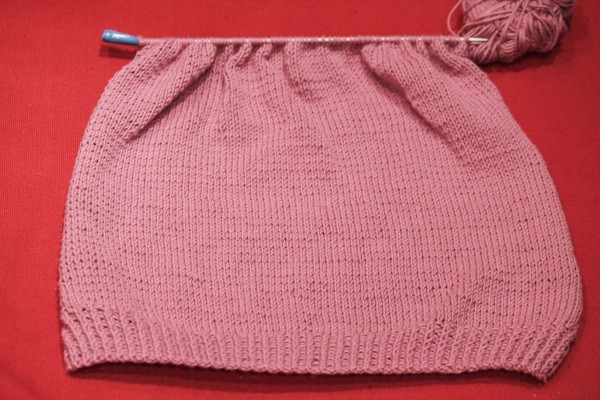
Until the armhole, about 27 - 30 cm, knit the front part of the sweater with the front stitch, without adding or subtracting the loops.
- 1 row - front loops;
- 2nd row - purl loops.
Transfer the work to the stocking needles, and go to work with the back.
Knitting the back of a sweater
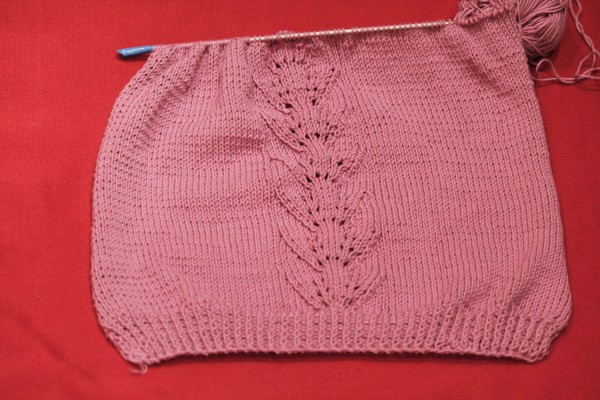
Cast on 80 stitches on the needles and knit 3 - 4 cm with an elastic band and add stitches to 94, as indicated above.
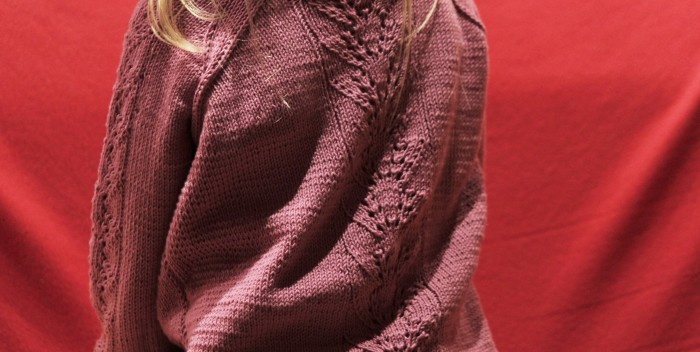
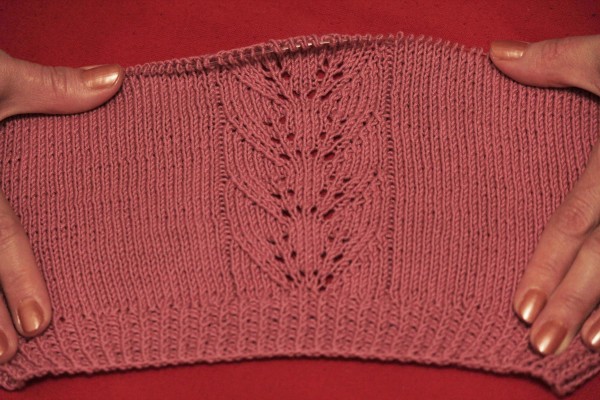
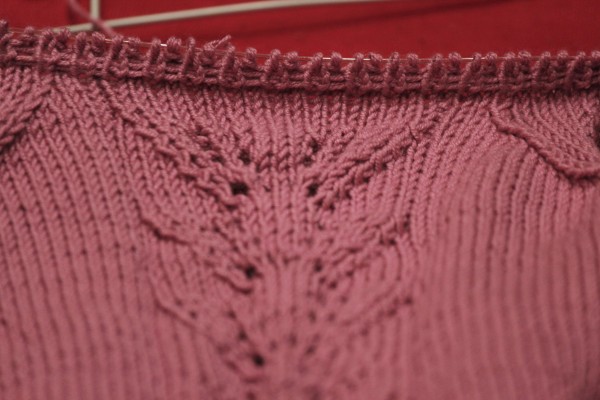
A drawing runs along the back, which will add some flavor to your product. Therefore, distribute the loops as follows:
- 1 edge loop, 36 front stitches, 19 pattern stitches, 37 satin stitches and 1 edge stitch.
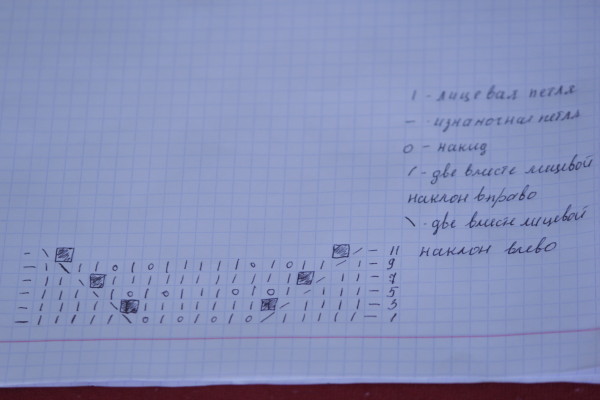
Knit the figure according to the scheme below.
Knit purl rows according to the pattern. The filled squares are given for symmetry, and indicate the absence of a loop, do not pay attention to them when working.
Having knitted 27 - 30 cm to the armhole, transfer the work to the stocking needles, and proceed to work with the sleeves.
How to knit sleeves
Cast on 40 loops on the needles and knit with an elastic band 4 cm.
Add 15 stitches. A total of 65 stitches are formed.
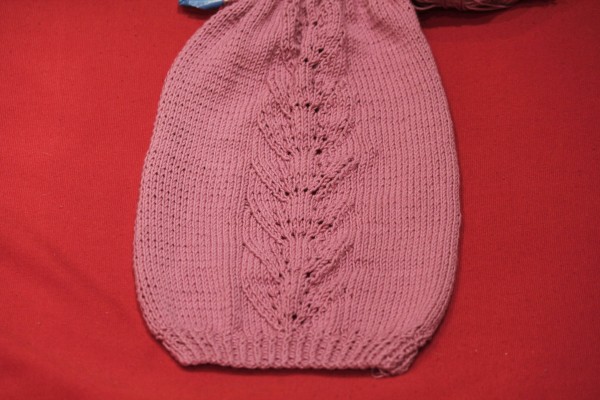
Now distribute them evenly: 1 hem, 22 sang of the front surface, 19 loops - pattern, 22 loops of the surface, 1 edge loop.
Knit with a cloth, without adding or subtracting the loops by the length of the sleeve to the armhole, I got 30 cm.
You can move the pattern to the right or left if you want. When finished, transfer the sleeve to the stocking needle.
Tie the second sleeve in the same way and also transfer it to the stocking needles.
How to knit raglan
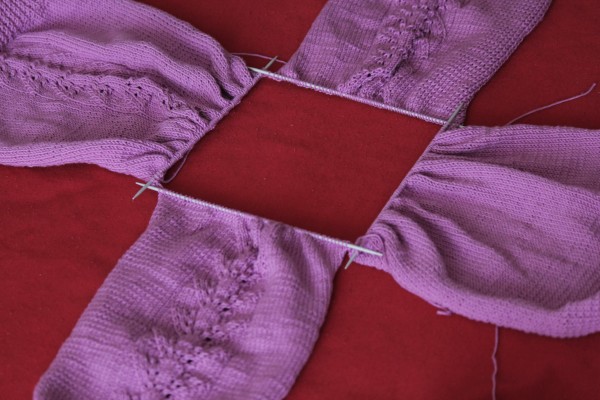
Thus, you have knitted four pieces to the armhole. To knit raglan, arrange them in the required order:
- back;
- sleeve;
- front end;
- sleeve.
Please note that the product lies with the wrong side down, the front side up.
Start knitting the sweater completely, in a circle. For convenience, knit 3-4 rows, observing the pattern, but without making the raglan.
Now knit the raglan. To do this, knitting the back and front part, in each row, reduce one loop on each side, leaving 2 - 3 sang for the raglan, i.e. knit the third and fourth stitches on each side together.
Since you have less loops on the sleeves - 65, here make a decrease on each side through the row, also leaving 2 - 3 loops for the raglan.
As a result, you will have a beautiful and even stripe of raglan.
Continue working until you have completely knit the armhole.
Neck decoration with knitting needles
Now you have thirty loops left on four knitting needles. It's time to move on to the design of the neck.
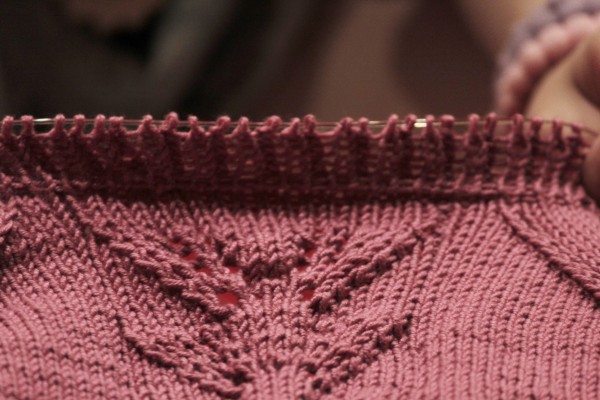
In order to highlight this area, knit 4 rows with a hollow elastic band:
- 1 row - 1 front, 1 purl;
- 2 row - knit 1 front, and remove the purl, and leave the thread before work, and so on.
- Then knit 3 to 4 cm with regular elastic and close the loops.
You need to finish the work competently so that the neck does not tighten the product and at the same time does not hang. Pay attention to the correct closure of the elastic loops. It's easy to do, the video tutorial will help you with this.
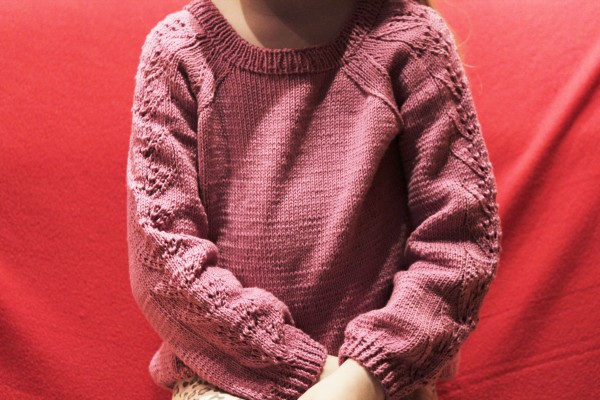
The result is such a wonderful sweater that will decorate every girl's wardrobe.
