School uniform for the last call: master class
The last bell will come very soon, which means that Russian schoolgirls are puzzled by the search and selection of the USSR uniform for such a significant day. Sometimes, it is difficult to find something worthwhile in stores, and tailoring in an atelier will cost 5,000 - 7,000 rubles. There is another option, much cheaper - to sew a suit with your own hands, especially since it is not at all difficult. A detailed master class with step by step photos is in this article.
Content
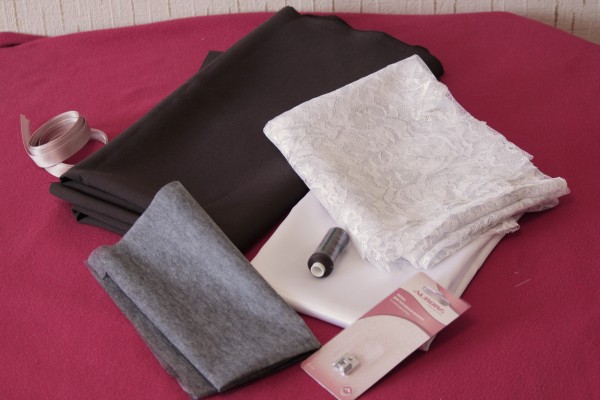
To sew a suit of 42-44 sizes (dress + apron) you will need:
- gabardine (brown) - 1.5 meters;
- non-woven (dark) - 20 cm;
- doublerin (white) - 0.5 m;
- oblique inlay (white) - 3 m;
- oblique inlay (brown) - 2 m;
- the threads are white and brown on the spool;
- atlas (white) - 0.5 m;
- secret lock 50 cm;
- foot for a secret lock;
- tracing paper and graph paper.
School uniform pattern
The dress was cut not entirely, but in parts. That is, the top was built on the principle of a dress with embossed seams "Princess", through a base pattern. And the skirt was created separately, from a regular rectangular cloth, with bow folds.
How to create a base pattern and model a dress with embossed seams - read here... There is also detailed information on how to build a sleeve pattern.
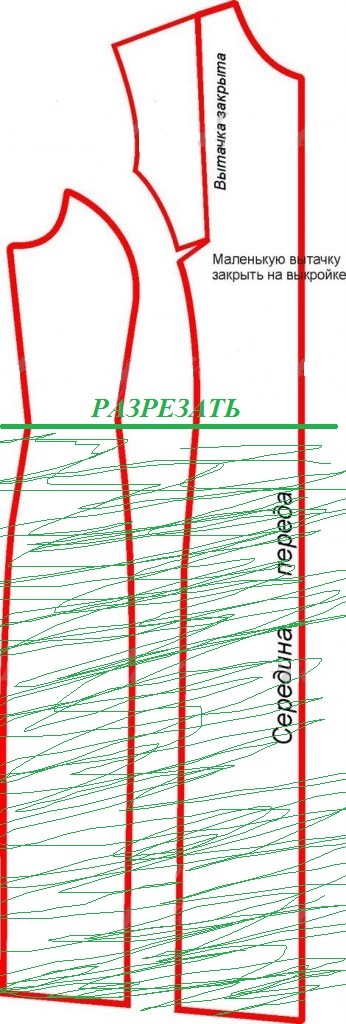
As soon as the pattern of the embossed dress is ready, cut it along the waist line. Only the top is required, the bottom is not needed.
Cut out the details of the pattern and lay out. When chalking, do not forget about the seam allowances, which are 1 cm. 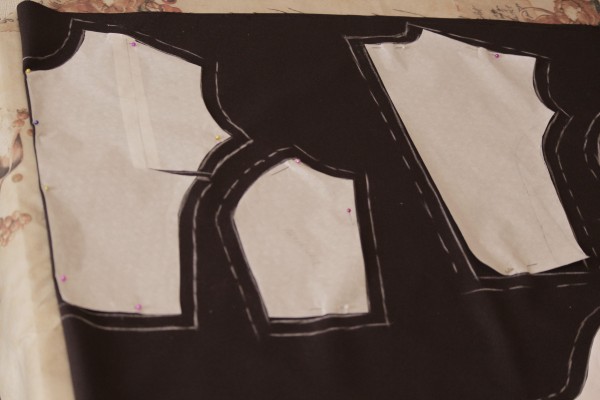
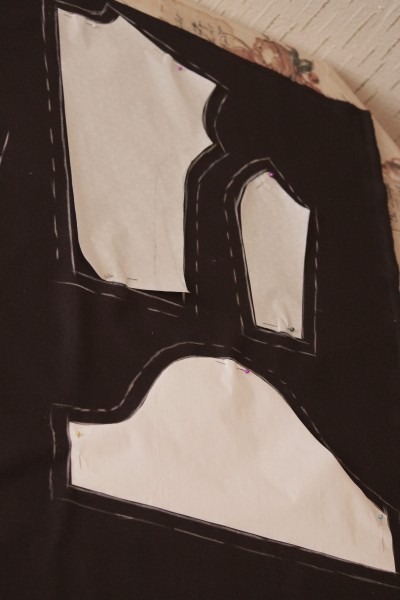
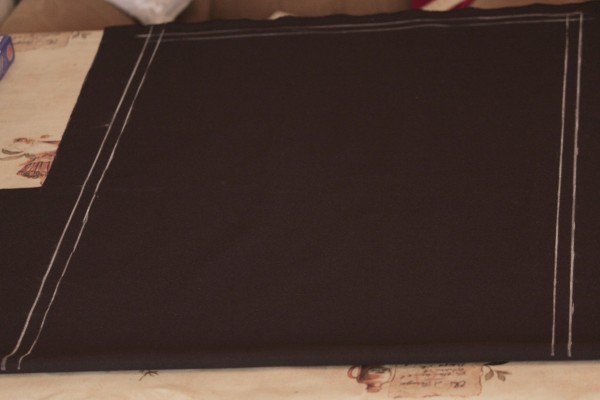
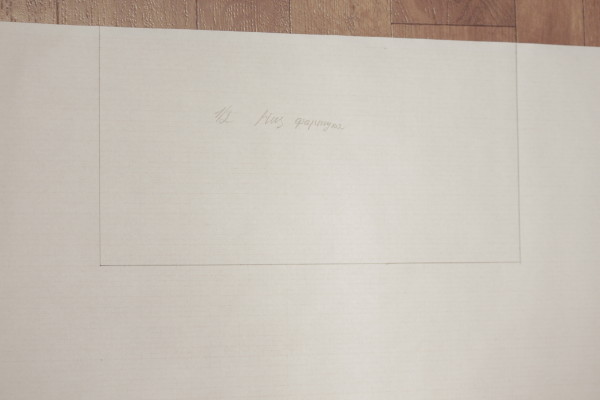
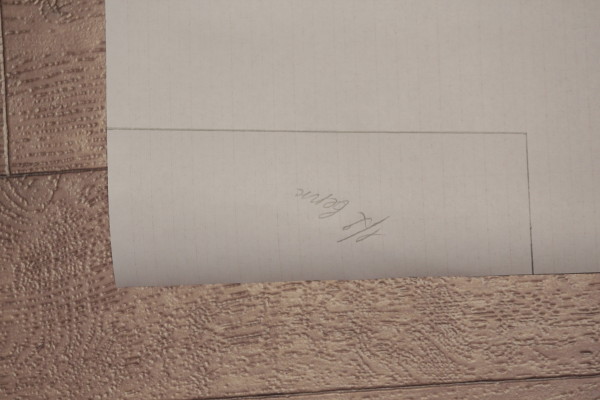
Cut out the skirt immediately. Fold the fabric in half and draw a rectangle. Length = the length of the skirt, and calculate the width yourself. You need to know the waist circumference (should be equal to that used when sewing a dress, with the same allowances), and then calculate the number of folds and their width. In our example, the width of each fold is 9 cm per side, that is, one takes 18 cm of fabric, there are 4 of them, which means 72 cm in total.Waist 71 cm + 72 cm + 2 cm for allowances (1 cm per side) = 145 see. You can make the number and width of folds at your discretion.
USSR school dress
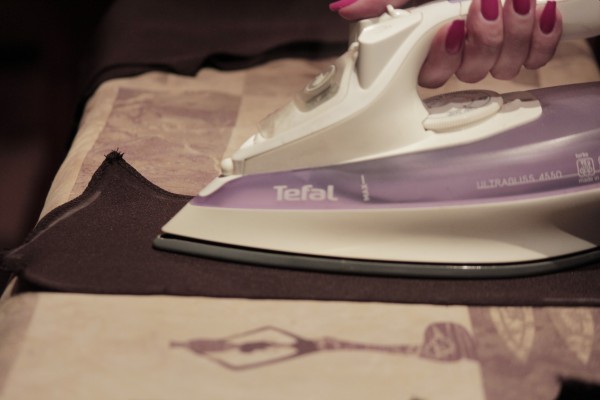
Cut out all parts, finish the edges and iron well using steam.
Let's start sewing the dress from the sleeve, then make the top and move on to the skirt.
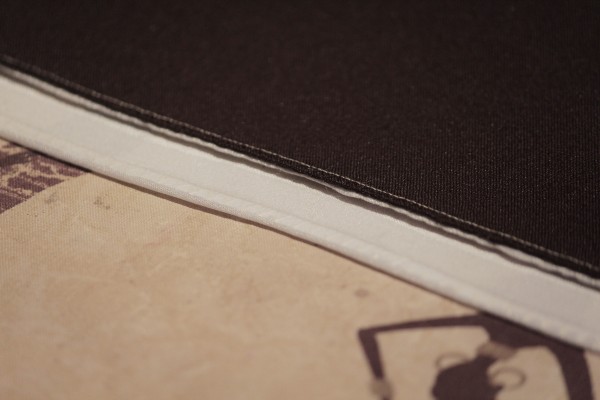
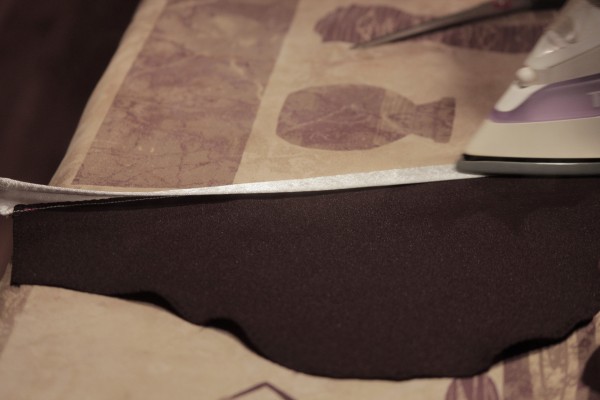
Measure the hem of the sleeve in width. Determine how wide the border you want to make. In the photo, the width of the edging is 2 cm. Cut 2 strips from the atlas according to the parameters you have identified. To the seamy side of the strips, using an iron, fix the dublerin, this will help the edging to keep its shape and not gather.
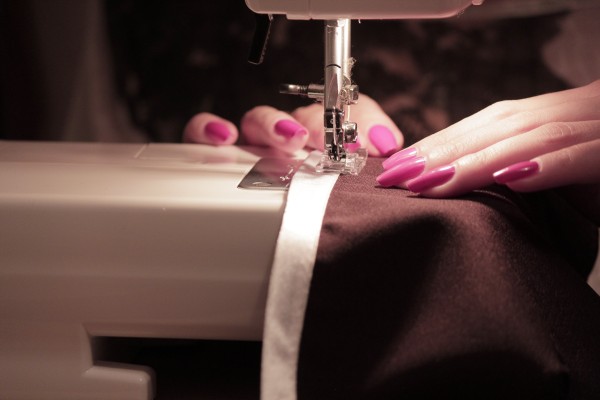
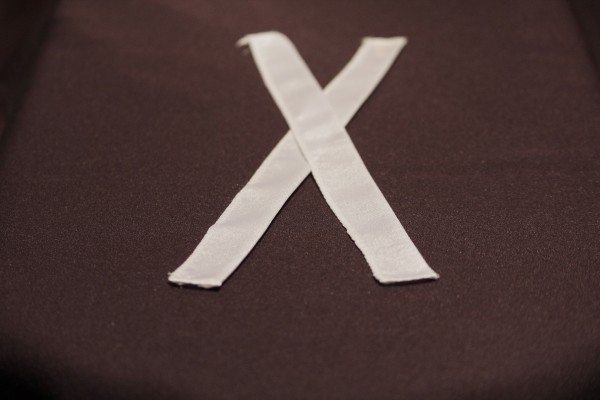 Put the finished piping right side on the wrong side of the sleeve and sew it on a typewriter, initially sweeping it by hand. Iron.
Now turn the sewn piping to the right side of the sleeve, iron it well. Make sure the fabric is flat and there are no bumps anywhere.
Now sew it already on the front side, at the very top.
Fold the sleeve in half, right side in, and sew the main seam to close the sleeve. That's all over with this.
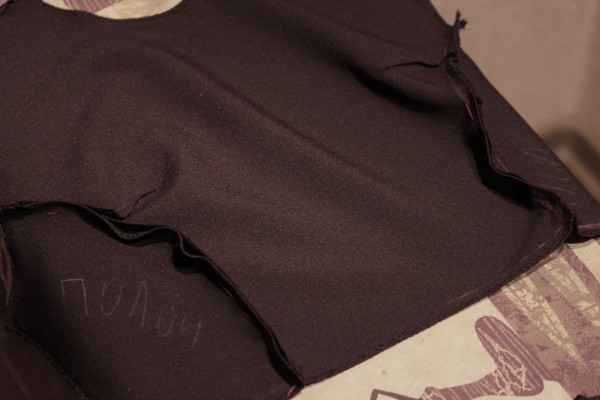
Produce from the side of the cut out parts of the top. First, sketch everything by hand and only then on a typewriter.
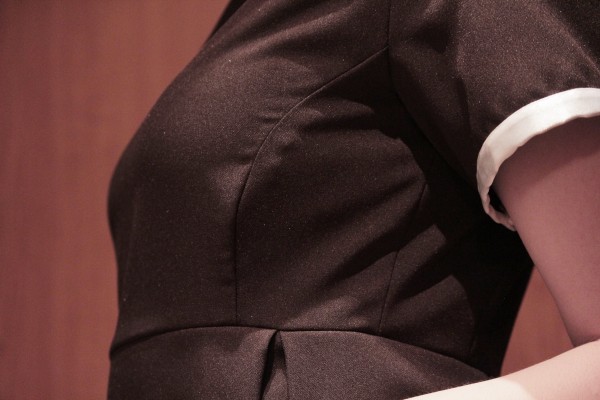
Bend the allowances of the front seams inward and sew from the front side on a typewriter, literally 5 mm from the main seam. You will get such embossed seams on the shelves.
If you are afraid to make it uneven, use a double needle, but then be careful that the left needle falls exactly into the main seam.
When you finish assembling the shelves and backrests, be sure to try them on. Make sure the armhole is not bulging, nothing is pulling anywhere. This is how the top should sit if all is well.
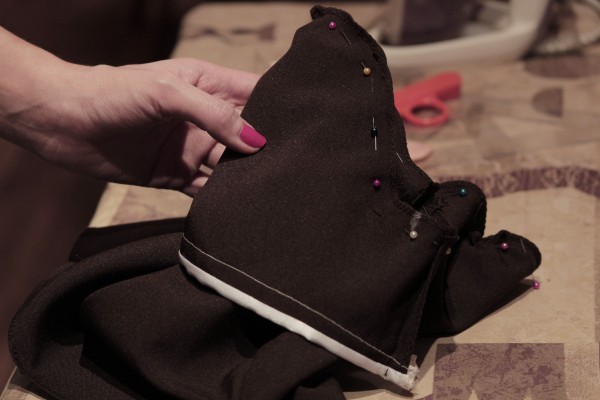
Use the needles to secure the sleeves. Start securing at the side seam of the dress and sleeves, working evenly upward on both sides. If suddenly the sleeves turned out to be larger than intended - gather it a little at the very top.
Gently, slowly, sew the sleeve to the dress, gradually removing the needles.
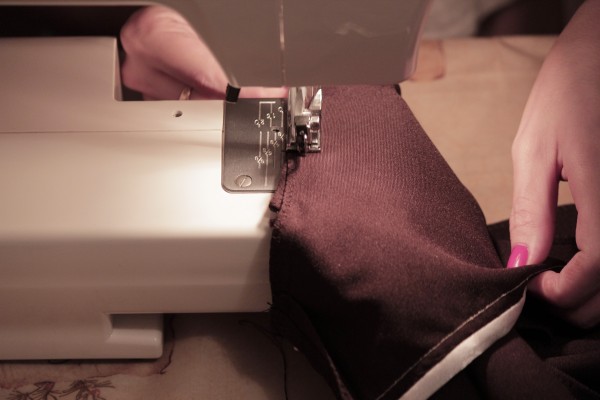 Try on an outfit to make sure everything fits right.
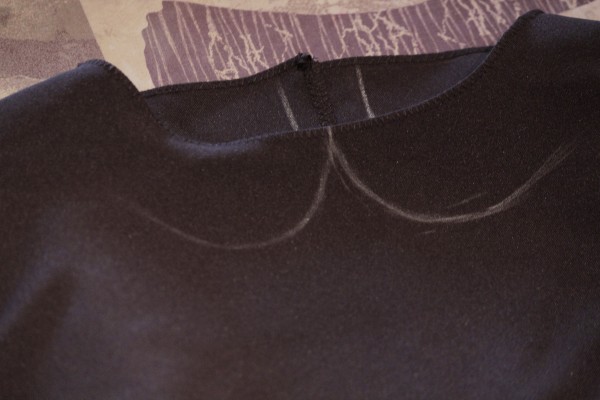
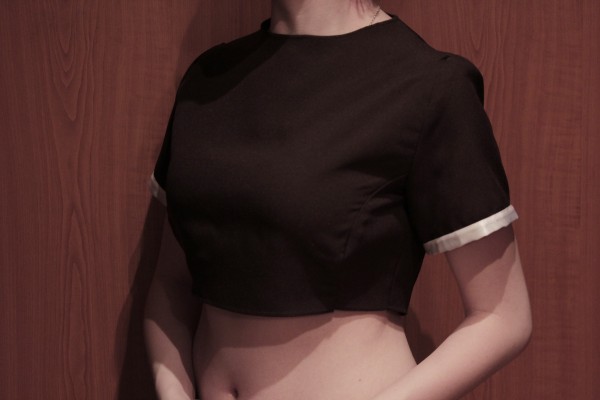 Go to sewing the collar. It is very easy to make it even for a novice seamstress. First, mark the shape and size of the dress on the dress itself.
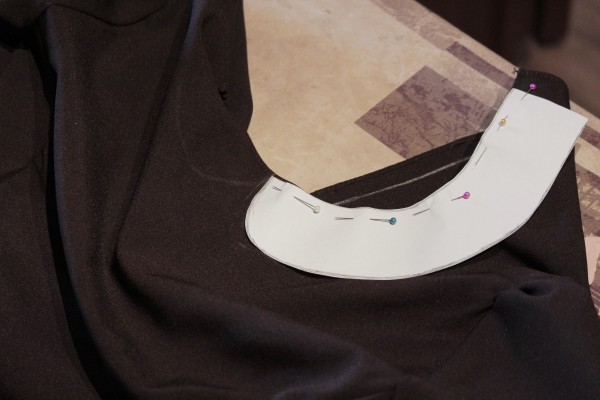
Then fold the dress in half by grasping the back seams and the middle of the front of the neckline. Secure the collar with needles and attach it to a piece of white paper. Carefully, with a pencil, transfer the drawing from the dress to the sheet.
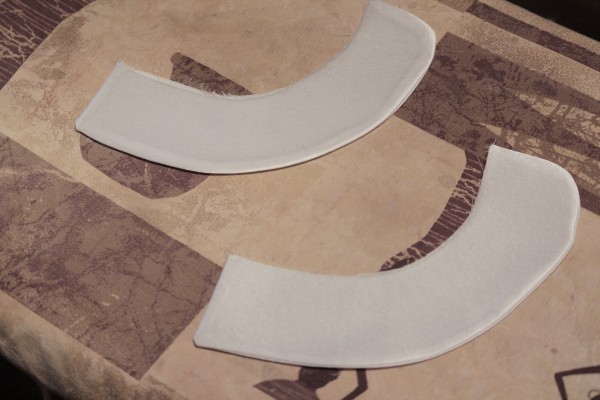
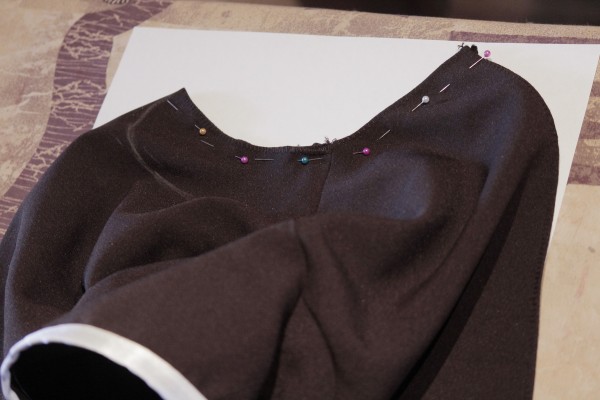 You will get a collar pattern. Since the castle will pass from behind, the gate will consist of two parts.
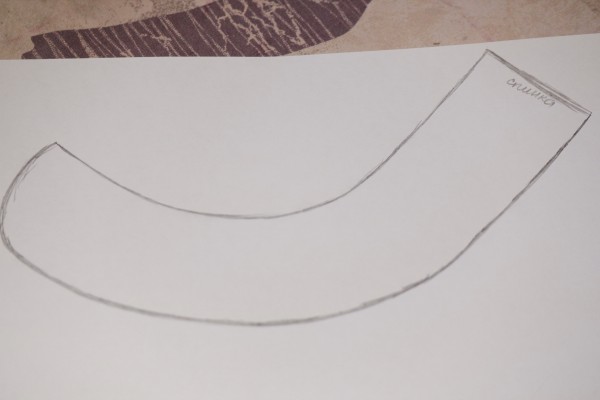 To understand that everything has been done correctly, try on the collar to the neckline, securing it with needles.
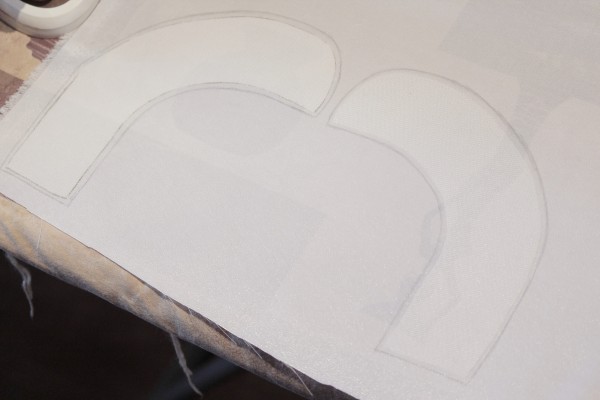
Remember that the back of the dress should have seam allowances and space for the lock free, so do not make the collar close to the back seam. Cut out the collar elements on the understudy, and then transfer them to the satin and iron them. Cut the collar only along the shared thread! Mark small seam allowances and cut out. Then, according to the ready-made forms, make 2 more parts from the fabric, these will be the collars.
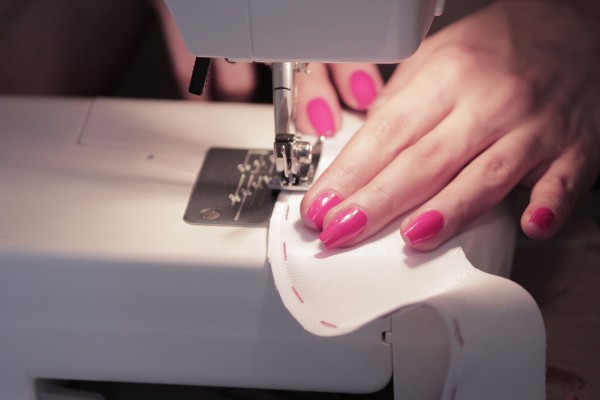
Fold the elements right side up. Sweep away. Sew on the machine, leaving the inside seam uncovered.
Turn out and iron well. The collar is ready, now it remains to fix it on the dress.
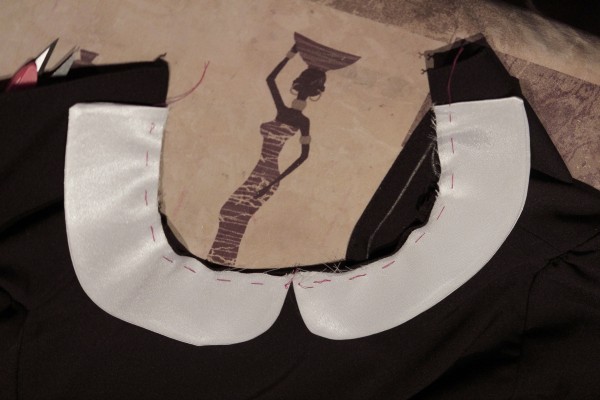
Place the details on the front of the dress, joining them in the center. Be sure to sweep by hand.
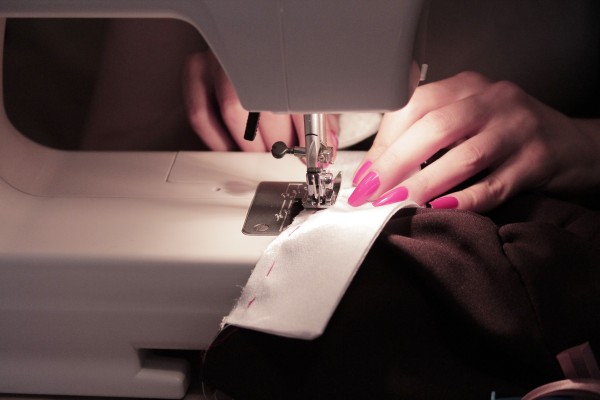
Sew on the collar on a typewriter, stepping back about 0.5 cm from the edge.
On a typewriter, zigzag the neckline to make everything look neat (you can use an overlocker, only with care).
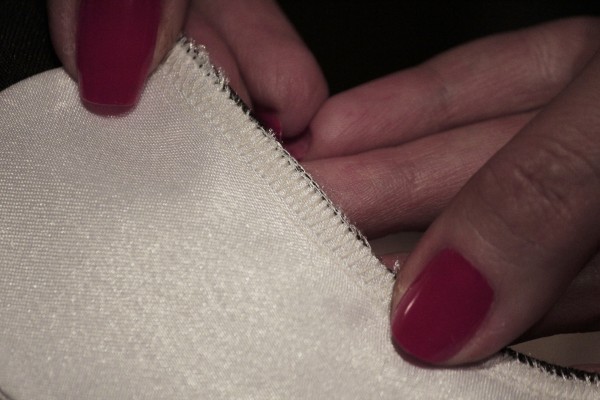 Now fold the collar inward like this.
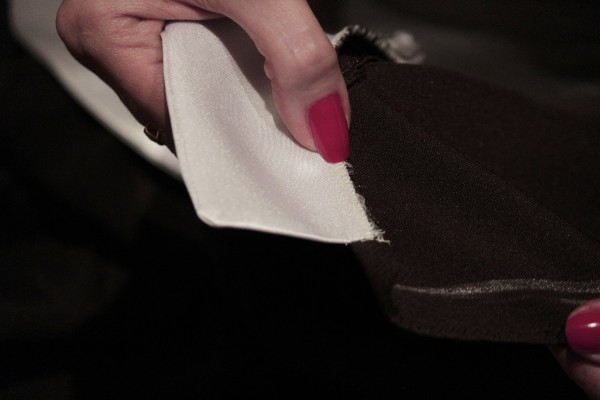 And sew from the front side here, about 4 mm from the junction of the collar and dress. Remember to sweep by hand first.
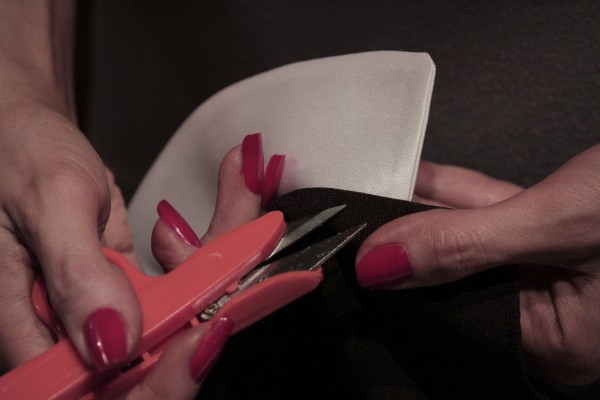 Try on the product to safely continue sewing.
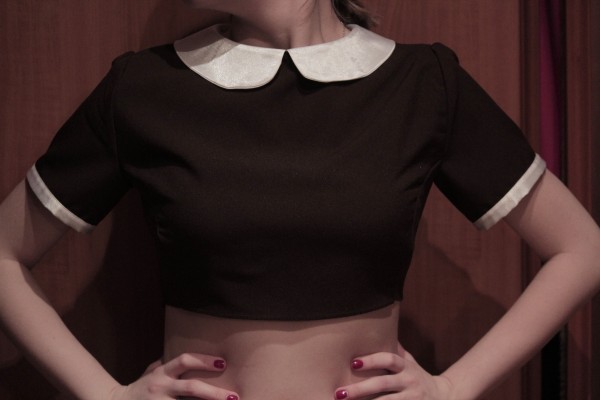 The top of the dress is ready! Now the skirt. Run a bias tape along the bottom. You can take a white one, we have a brownish one.
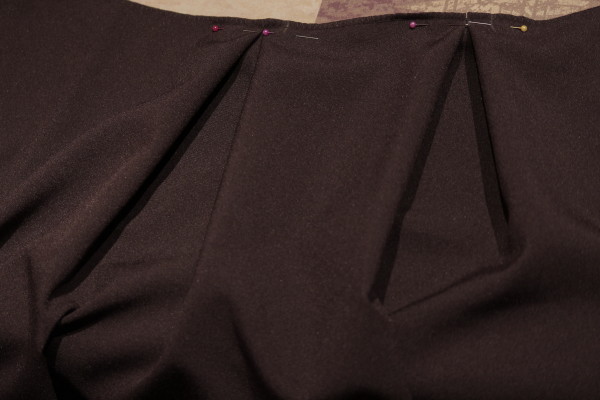
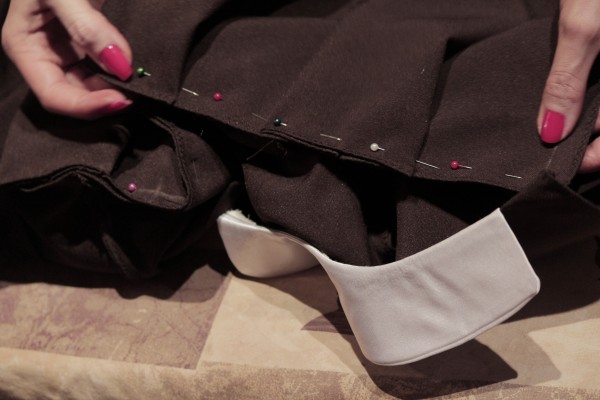
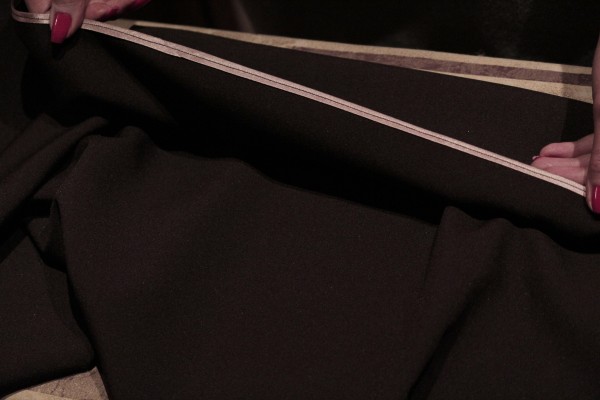 Now, lay out the skirt on a flat surface and begin to fold in the folds. Fix them with needles. Once everything is ready, do not rush to the typewriter. Measure the ending width of the skirt and compare it to the width of the top. Everything should be centimeter to centimeter. Only after that, fix the folds with a machine stitch, having previously swept away.
Now fold the skirt and top of the dress with the front sides, fix the position with needles. Make sure the seams fit well again.
Then create a machine stitch.
Iron the seams. It remains to sew the lock.
At the back of the dress, glue non-woven strips equal to the length of the lock with an iron. This step is necessary so that the fabric does not stretch and the lock fits well and evenly.
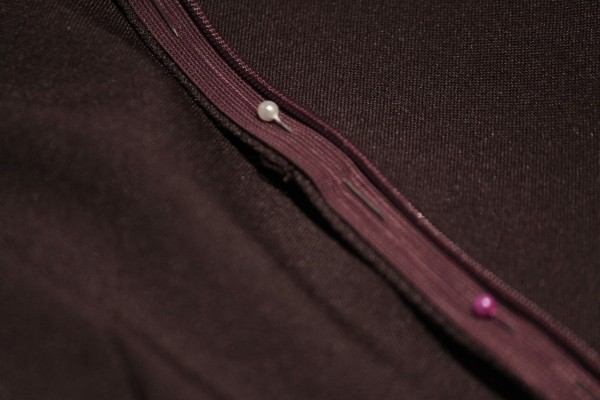
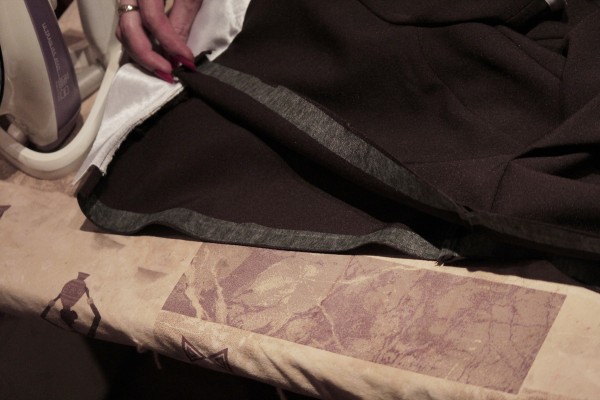 Put a lock on the front side of the back of the dress, also with the front side. Secure it with needles.
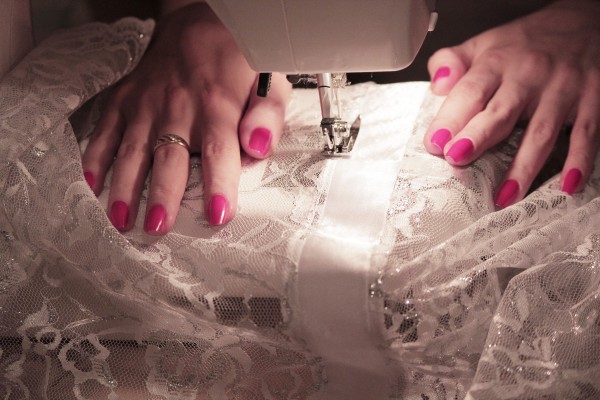
On the opposite side of the teeth, sew the machine stitch first on the regular foot.
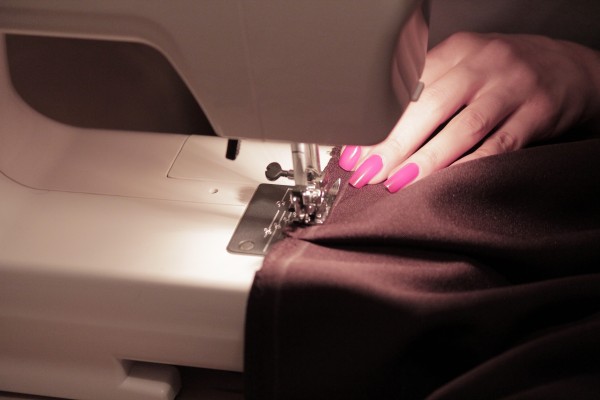
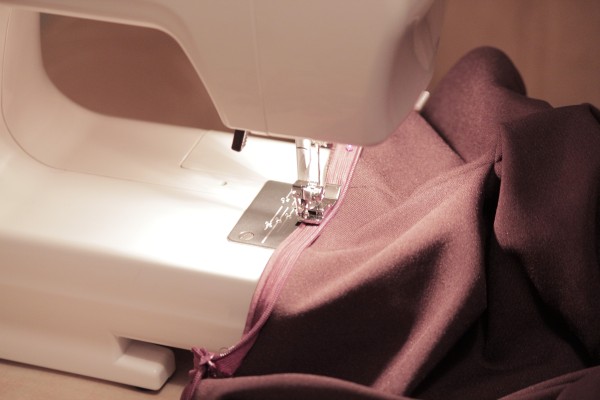
Then go over the lock with a special foot. The sewing needle should fit into the groove under the teeth. It is impossible to do it well with a foot for a regular lock. Therefore, purchase a special one in advance. It has grooves that independently, without additional help, push the teeth to the side, helping the needle to hit exactly the target. The seam with this foot looks very even and neat.
Do the same with the other side of the lock.
Just in case, watch the video, which clearly shows how to sew a secret lock.
At the end, be sure to check that the seams are joined at the back. Close the back of the dress.
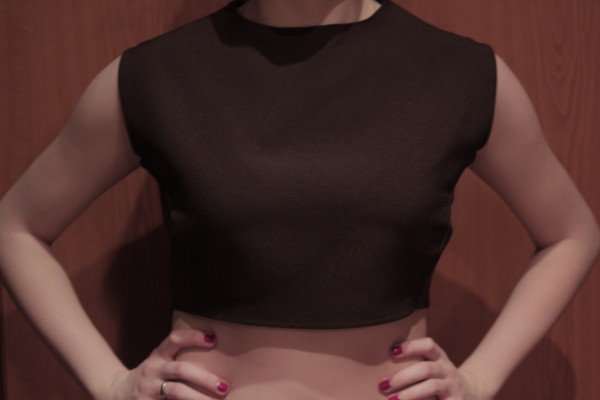
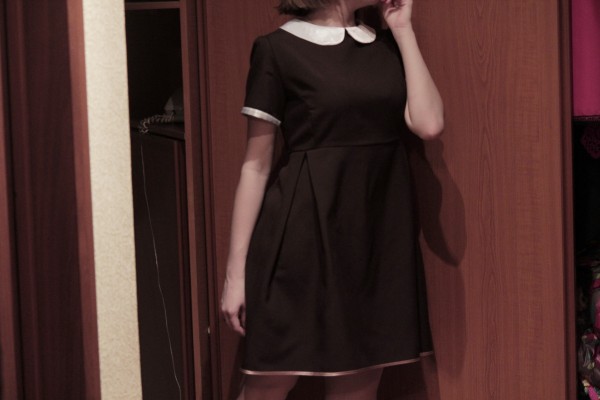
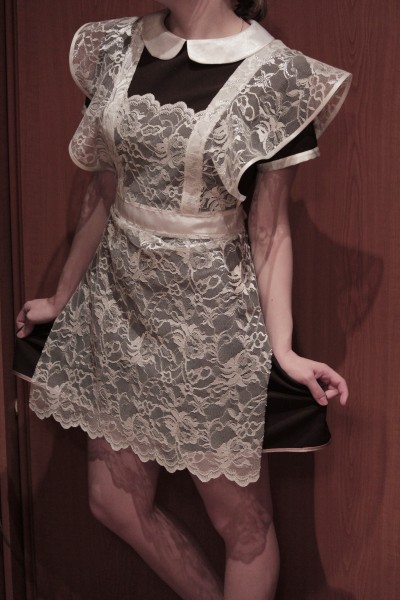
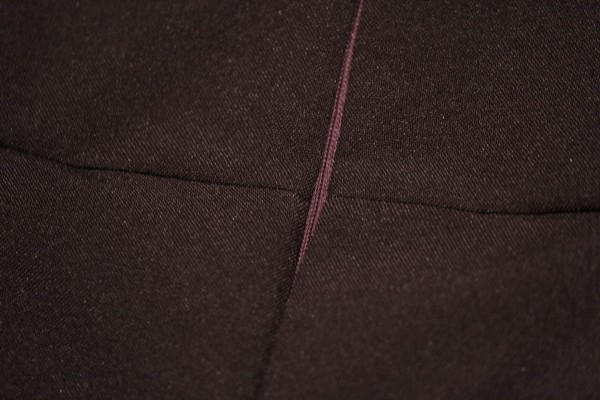 That's all, the dress of the times of the USSR for the last call is ready! This is how it turns out from the front.
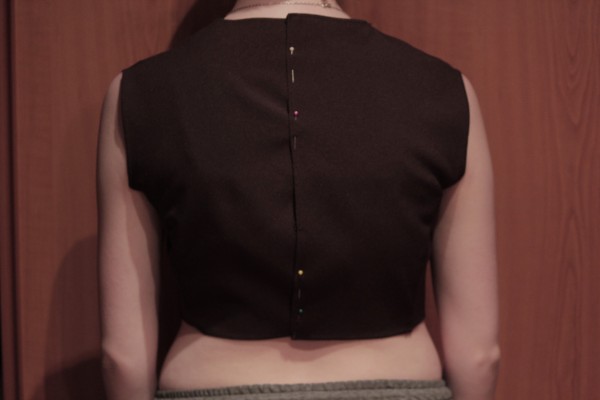
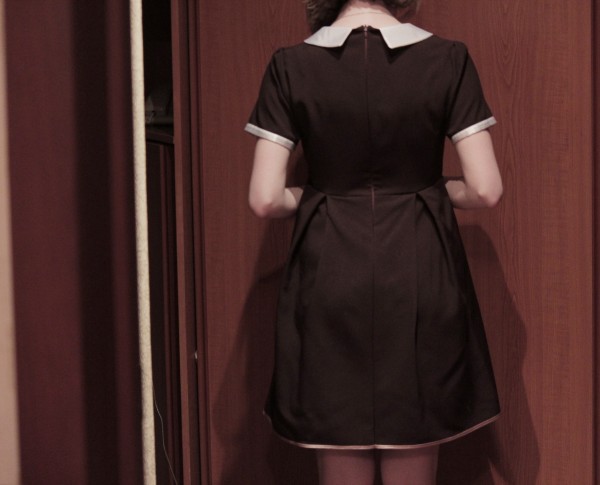
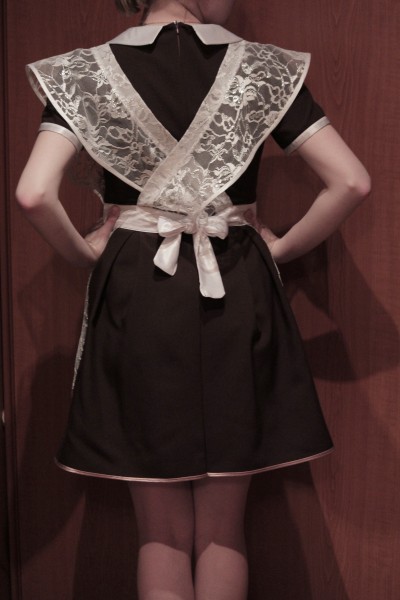
And so in the back.
If the result of the fitting suits you, hang up the product and start cutting the apron.
Apron for the last call
Apron pattern for the last call
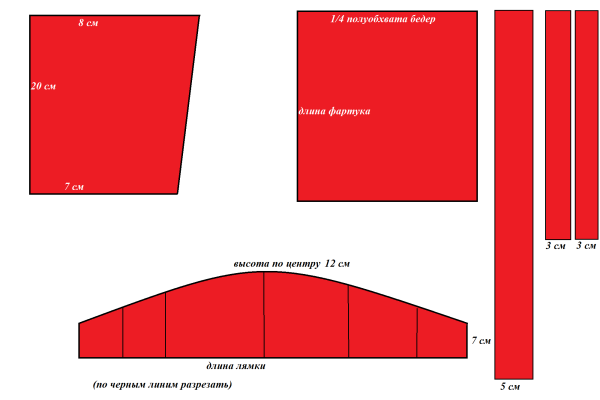
The apron pattern is schematically as follows.
Apron components:
- top - 1 piece;
- bottom - 1 piece;
- straps - 4 parts;
- belt - 2 parts;
- wings - 2 parts.
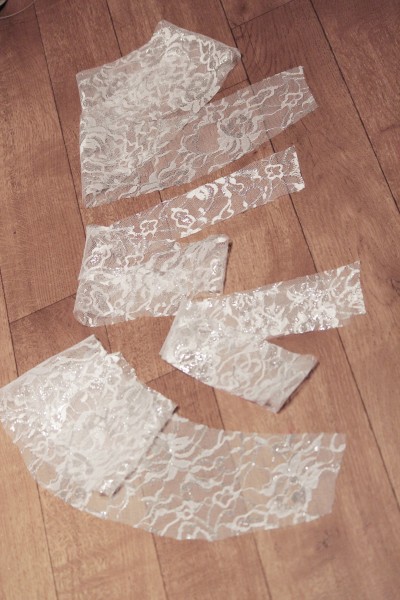
Prepare your pattern and cut out the details.
How to sew an apron for the last call
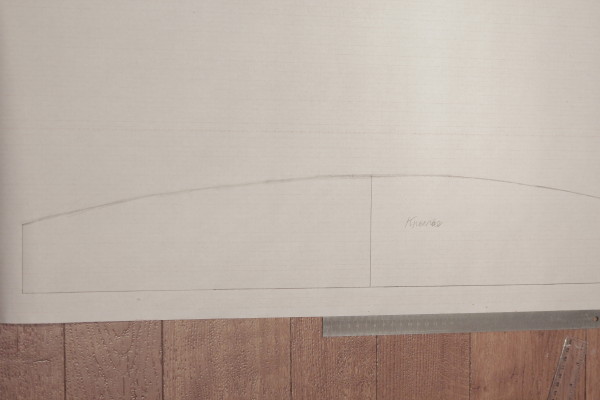
Cut the wing along the marked lines. The more fluffy you want to get the frill, the more cuts you make and the wider you open the “fan”.
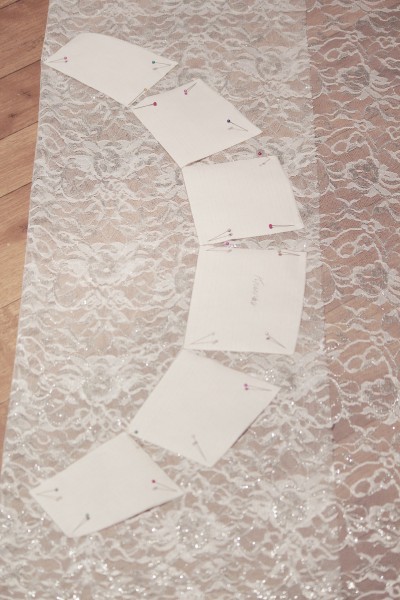 Cut the items out of the fabric.
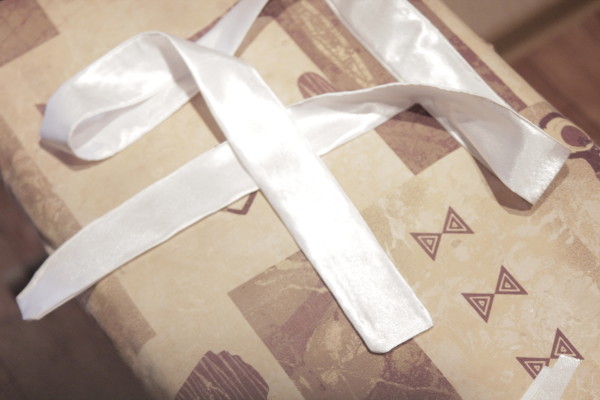
Glue the doublerin on the seamy side of the straps, then fold them in half and iron them well. As a result, the straps should be 3 cm wide.
Cut and sew the belt.
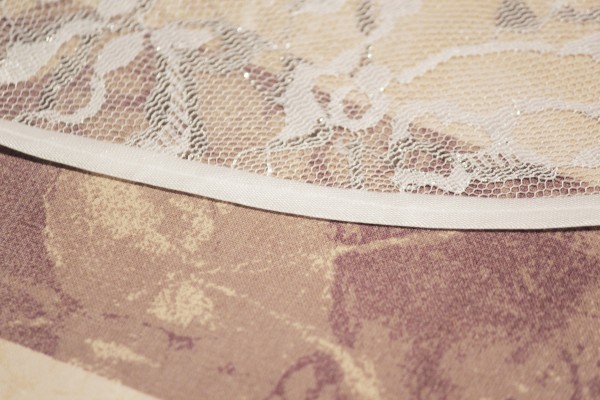
Put a bias tape on the outer sides of the wings.
Sew the straps to the top of the apron. First, along the very edge, folding them right side:
and then with one more seam from the front side, but having already turned the strap as it should:
Fold the wing and the strap with the right sides and pin them together.
In the same way as in the previous step, sew the wing first from the wrong side:
and then from the front.
Use the needles to attach the top to the belt, having previously joined the middle of the canvases. You also need to sew: purl-front.
Find the middle at the bottom of the apron and its belt - dock them.
Pin on pins.
Sew on the same principle.
It remains only to sew the straps to the belt, crosswise. To do this, you need to try on an apron and fix everything on the model.
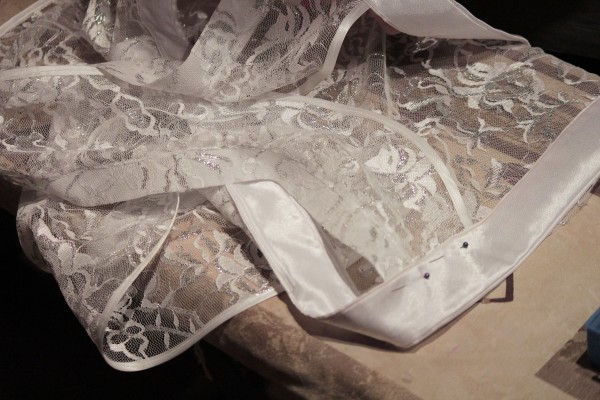 That's all! The apron for the last call together with the dress are ready. Now it remains to make the final fitting and enjoy the results.

