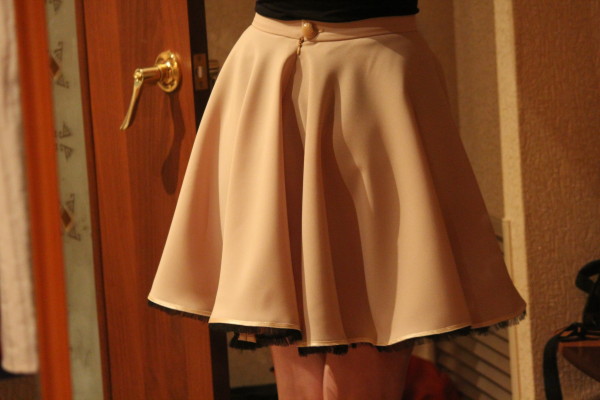
Skirt sun: detailed master class
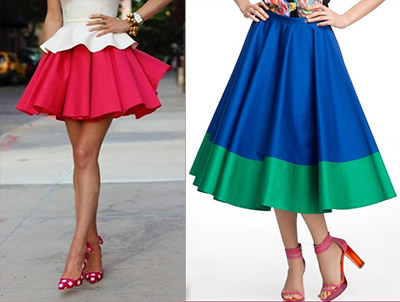
A skirt is always beautiful and feminine, and a sun skirt is a thousandfold femininity. Sewing the latter is very simple, and wearing the fruits of your creativity is many times more pleasant than a purchased item. Today's article is a detailed, step-by-step master class with photos. After reading it, you can sew a wonderful skirt in just a couple of hours of free time.
Sun skirt fabric
The choice of fabric is one of the fundamental success factors in sewing a product. Even if you correctly determined the style of the outfit that suits your body type, color scheme, but at the same time bought the fabric of the wrong structure, texture and quality, the result will disappoint you. In other matters, most of the material is suitable for a skirt, you just need to know what kind of product you want to get. The most optimal option is a fabric of medium hardness and the same degree of drape. Gabardine is perfect for this description. This is a very high quality fabric that does not shrink during washing and is durable. Garments sewn from gabardine retain their original appearance for a very long time, they are easy to iron and slightly wrinkled.
Skirt sun pattern
In our master class skirt sewn in 42 size (waist circumference 64 cm). The fabric consumption is based on the length just above the knee (45 cm from the waist). If you are planning a skirt longer or, conversely, shorter, then you will need more or less fabrics, respectively.
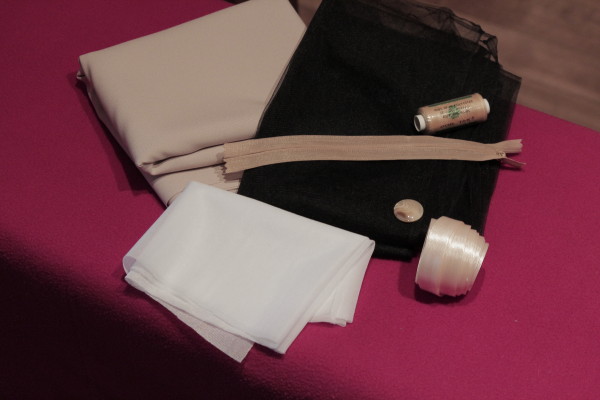
So, for work you will need the following materials:
- gabardine - 1.3 m;
- doublerin (or non-woven) - 30 cm (with a width of 150 cm);
- oblique inlay - 4 m;
- secret lock 20 cm;
- spool of thread to match the fabric;
- button;
- soft mesh - 0.5 m.
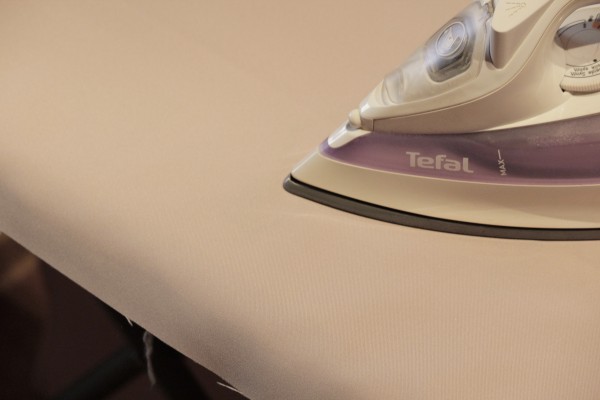
Before starting work, be sure to iron the fabric. Firstly, the material will shrink slightly, and secondly, it will be much more pleasant to work with the fabric.
The pattern of the sun skirt is so simple that it can be done immediately on the fabric, without translation from paper.
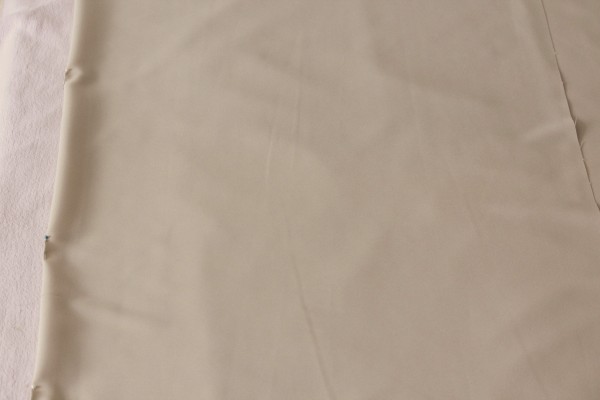
Fold the ironed fabric in half. To prevent the material from "running" during the construction of the pattern and cutting out parts, carefully pin the fold with needles.
Then measure and mark the middle of the fold of the fabric with contrasting chalk.
Next, you need to calculate the radius. In order not to build complex schemes, just divide the waist circumference (+ 0.5 cm) by 6.28. For example, if the waist circumference is 65 cm, then the radius will be: 65.5 / 6.28 = 10.4 cm. Attention, if you plan to sew a sun skirt with an elastic band, then calculate the radius by the girth of the hips, otherwise you simply will not be able to put it on.
From the marked center, measure the resulting radius to the right, left and down at a right angle. Then connect the three dots to create a semicircle like this. To keep the figure straight, use the centimeter as a compass.
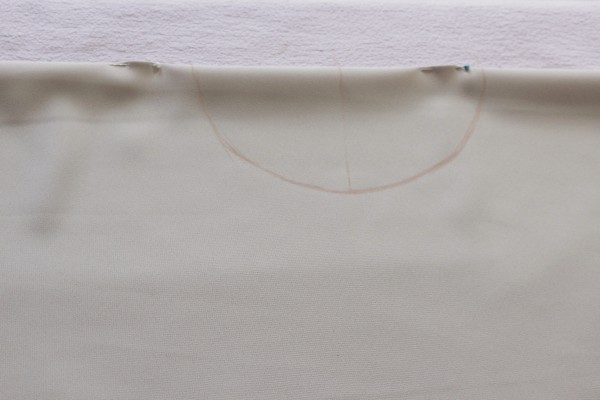 Now you should postpone the length of the skirt. From the edges of the drawn semicircle, measure the desired length of the skirt with a ruler. And draw another semicircle.
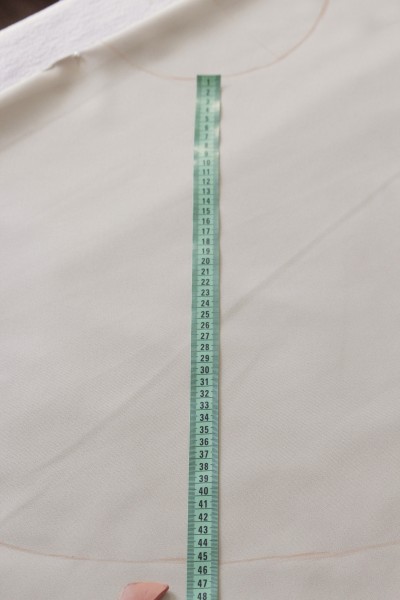 Draw a straight line in the center of the skirt - this is the future seam where the lock will fit.
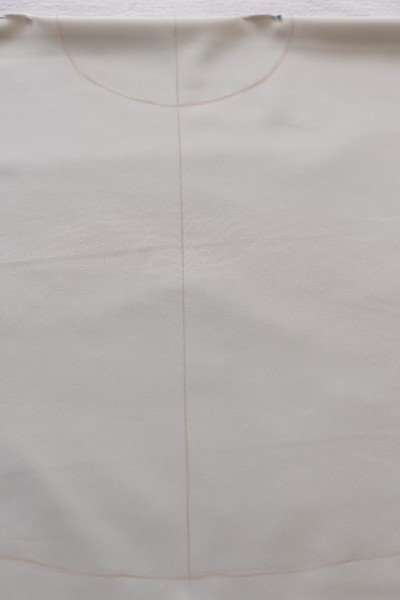 That's all, the pattern of the skirt is ready, you can start cutting it. You will get such an element.
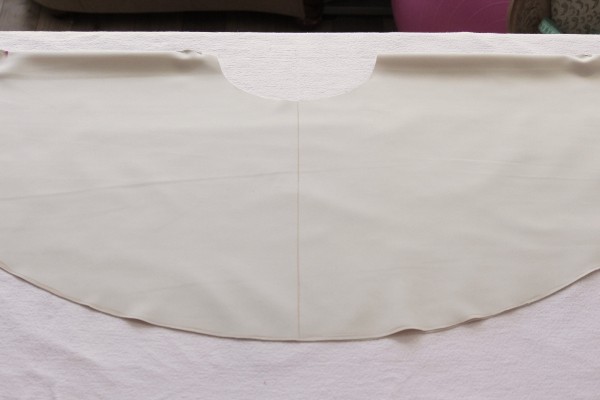 Cut the skirt along the “seam” you marked earlier. If the skirt was sewn with an elastic band and the radius was calculated according to the circumference of the hips, then there will be no seam.
We sew a skirt to the sun
Now be sure to try it on. Wrap a skirt around your waist and check that everything fits well. If the waist circumference of the skirt turned out to be much larger, the excess fabric should be removed. To do this, determine exactly how much you have to cut, then divide by 2 and measure the difference from the two edges of the skirt - cut. Attention, never cut off all the difference on one side, then the edges of the skirt will not come together and you will simply ruin the material.Remember that you must always have seam allowances. It is 1 cm along the waistline, 2 cm along the side seam, and 0.5 cm along the hem (for a sun skirt).
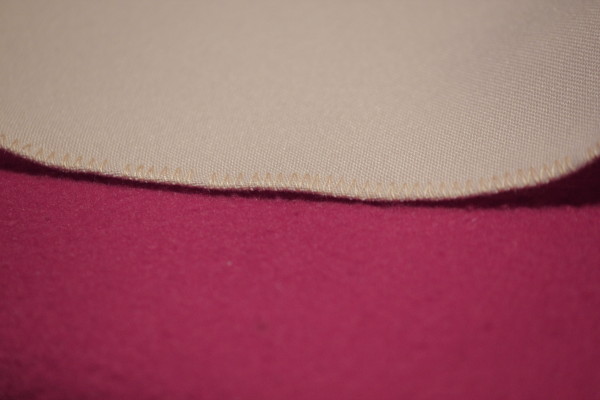
Overlock or machine the edges of the skirt: hem and side seams. Leave the waistline intact.
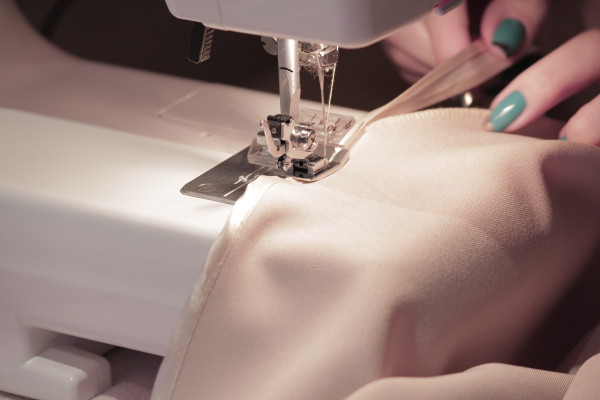
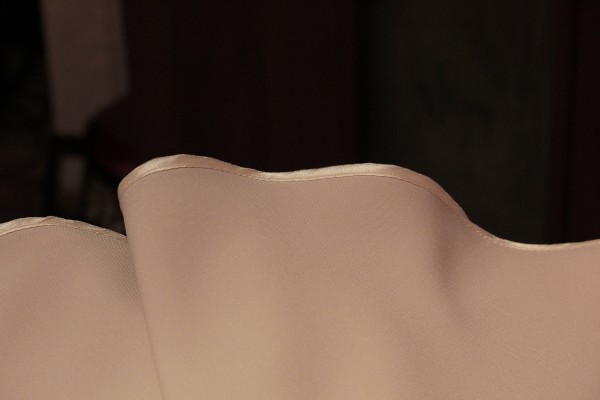
Then "walk" along the edge of the skirt with an oblique inlay.
Despite the fact that the edges of the skirt will be almost invisible, still carefully consider the process of edging. If you do not have a special foot, then it is better to baste the tape before sewing it on.
The next couple of paragraphs will focus on the decorative element of the skirt, which is made at will. If you want to leave only a slanting inlay at the bottom, then just skip the article below.
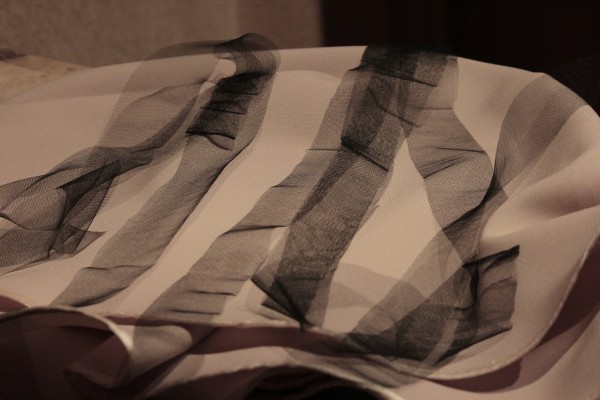
Cut strips from a soft mesh, about 2-3 cm wide. This is a future decorative assembly. The number of stripes depends on the width of the bottom of the skirt. For reference: the width of the skirt in the photo is a little more than 3.6 m, 11 such strips were used to decorate it.
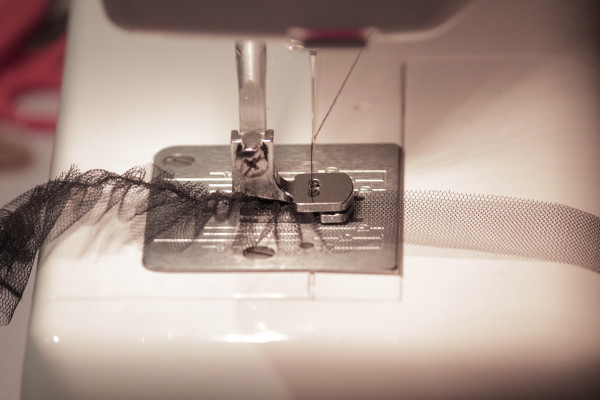
Sew the strips together, turning them into one long ribbon. Then set a stitch of at least 3 mm on the machine, loosen the thread tension and lay the stitch along the tape, one centimeter from the edge. Then, with your hands, gather the strip, forming ruffles. For these purposes, you can purchase a special foot (pictured), which will immediately make a decorative element from any fabric.
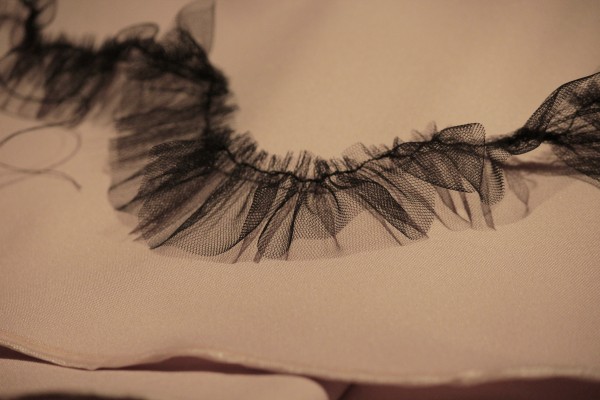
You will get such nice ruffles.
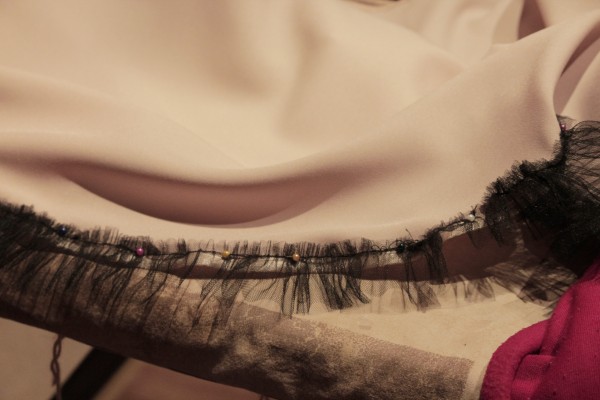
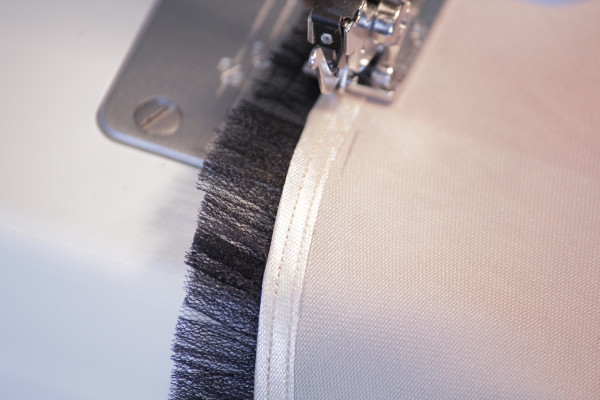
Fold the ruffle to the seamy side of the skirt so that the wavy mesh peeps out from the front, but the seam is not visible.
Stitch them on a typewriter. It is advisable to sew the ruffle along the same line as the bias tape, or so that the new line runs parallel to the previous one. Don't worry if you can't make the ruffles even, as soon as you sew them to the skirt, just trim it with scissors and that's it.
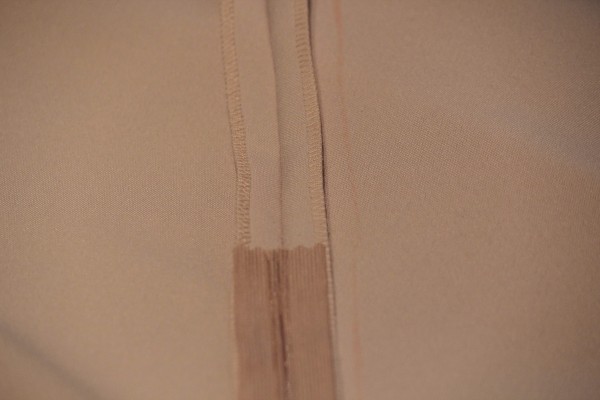
Now fold and iron the back seam allowances.
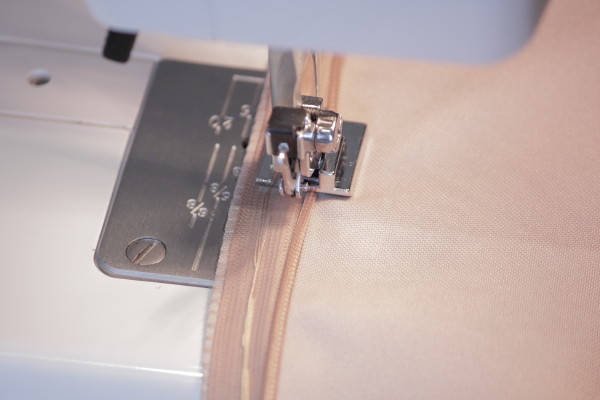
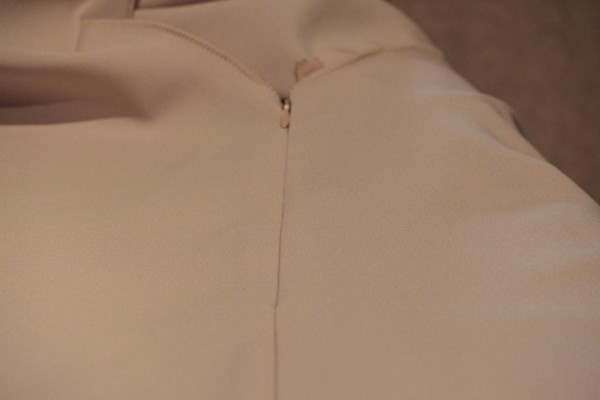
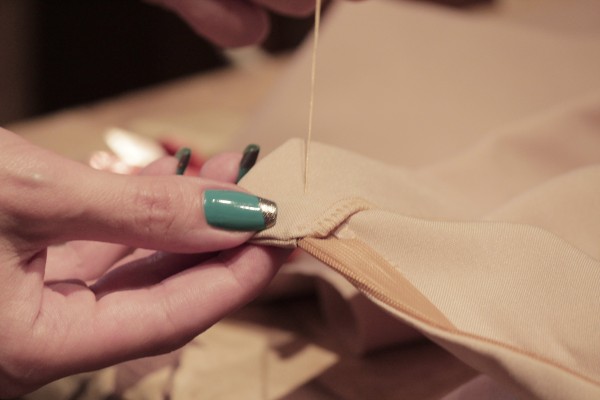
Baste the lock and sew it on using the special slip-lock foot.
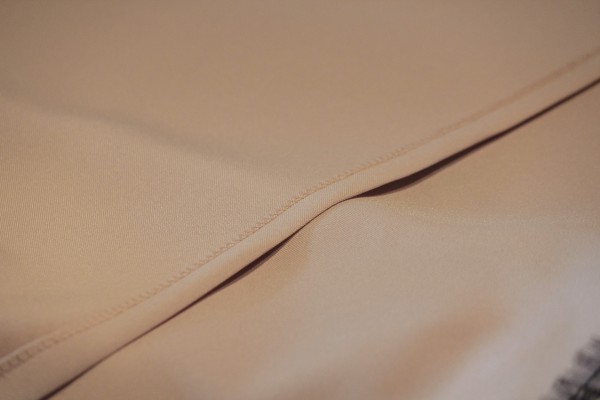
Close the back seam.
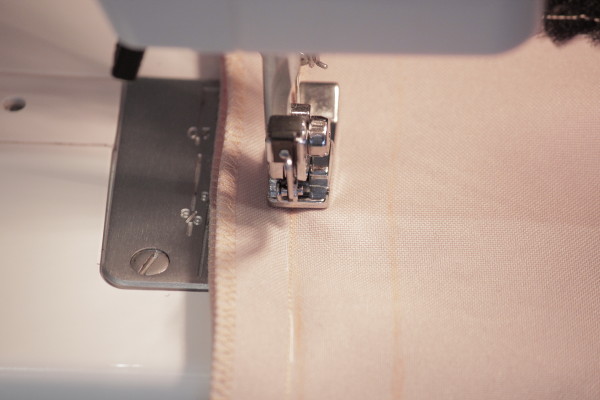
The hidden lock on the front must not be visible.
Press back seam from wrong side.
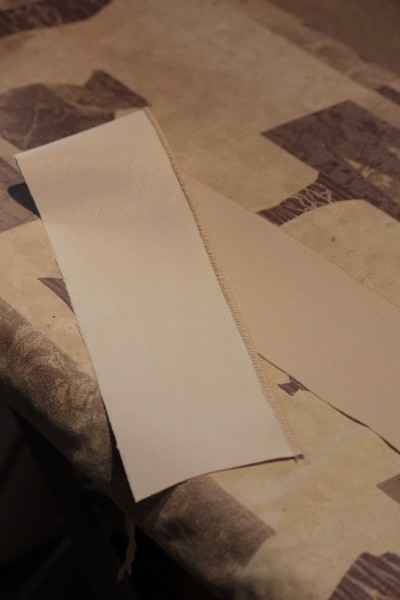
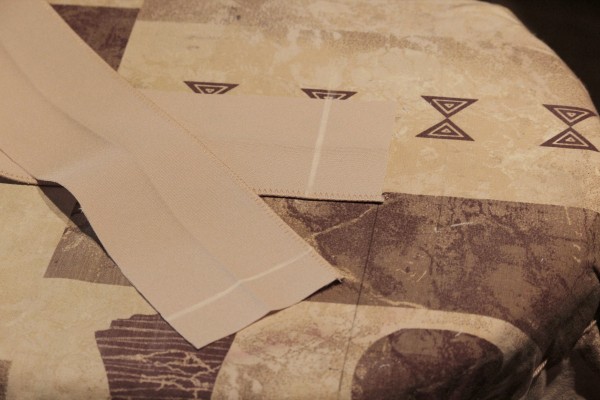
Now we start sewing the belt. To do this, cut a rectangle out of the fabric. Its length should be 5 cm greater than your waist circumference (of which 3 cm for the entry and 2 cm for processing). The width is equal to twice the width of the desired belt + 2 cm for processing. Those. if you want to make a belt of 5 cm, then the width of the workpiece will be 12 cm (5 x 2 + 2 cm). Cut a similar rectangle out of the dublenine (you can use non-woven fabric, it is cheaper). Attach the dublerin glue base to the wrong side of the belt and glue it with an iron. Then work one side of the belt on the overlock.
Mark the allowances left earlier. The button will be located on the right side, so we leave there 4 cm, and on the left side 1 cm, there will be a loop. Mark the lines, taking into account the fact that the belt will be sewn to the skirt with the raw side.
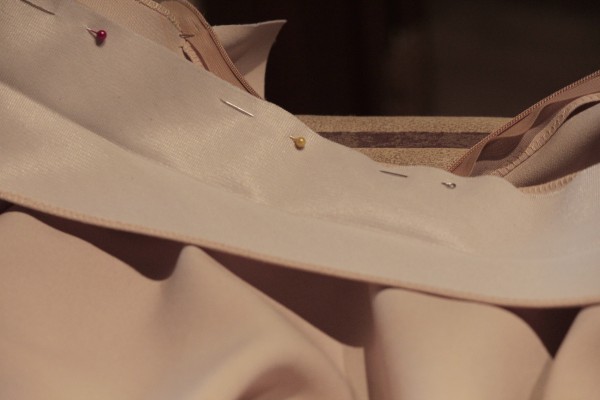
Use needles to baste the belt to the skirt, leaving the marked ends free.
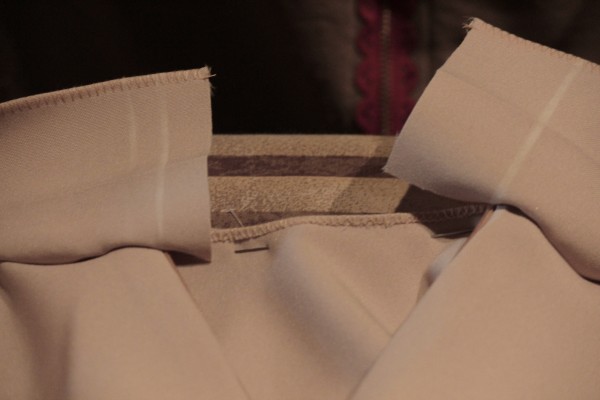 Sew the raw side of the waistband to the skirt, 1 cm from the hem.
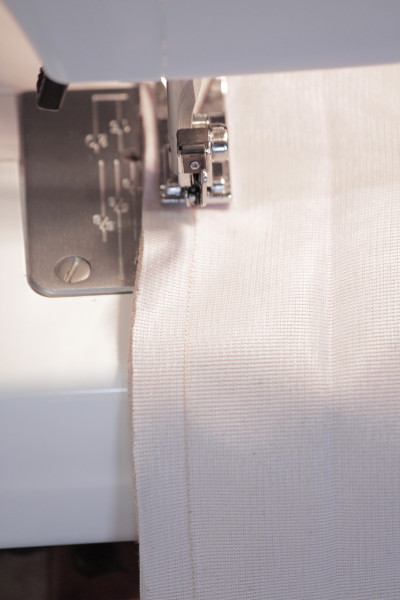 Before proceeding with sewing, be sure to make sure that the back seams of the waistband fit together. All irregularities will be noticeable when worn, which looks ugly.
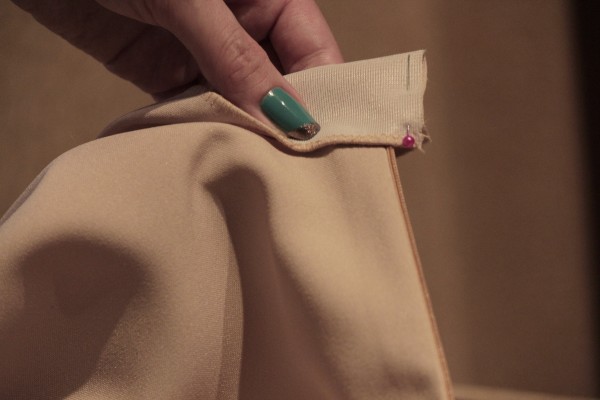
 Turn the left side of the belt as shown in the photo and fix the corner with a needle.
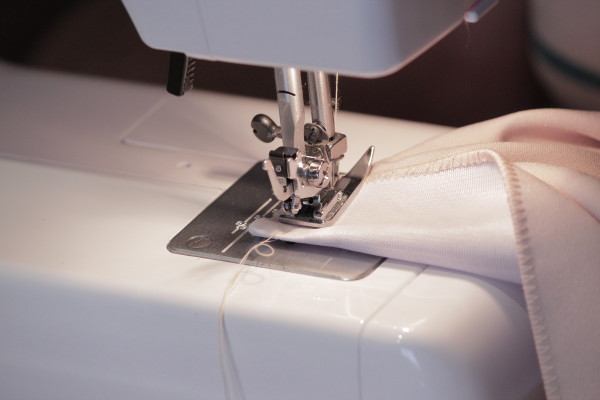
 Sew on a typewriter 1 cm from the edge. This centimeter was just left for processing.
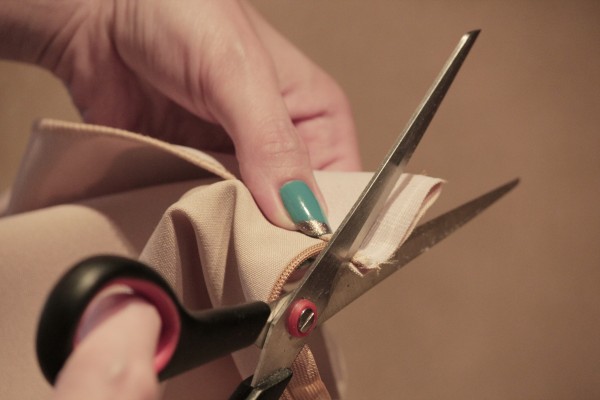
 Then carefully, at a distance of a couple of millimeters, cut off the allowance.
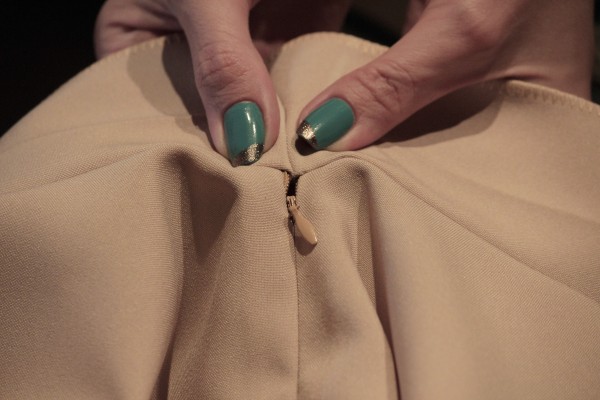
 Turn the corner of the belt to the right side. Correct the corners by prying in the seam allowances from the wrong side. You should get such a flat corner.
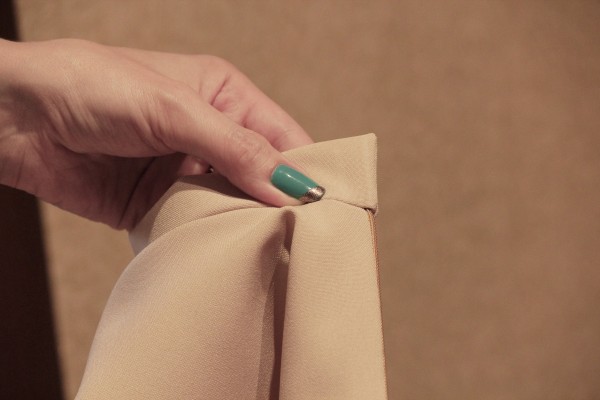
Do the same on the other side. Start sewing from the top, reduce the stitch length in the middle and sew the corner of the waistband, then lengthen the stitch and sew to the end. Turn right out and straighten all corners as well.
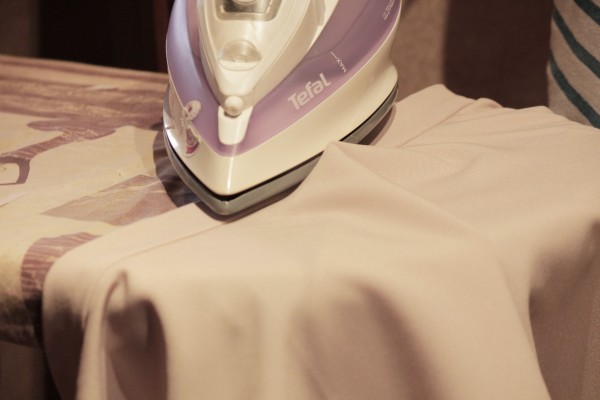
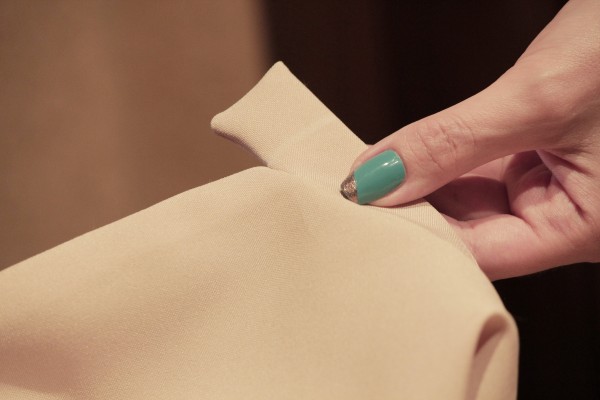 Fold in the belt until it takes its final shape. Iron it and the seam that connects the belt to the skirt from the right side.
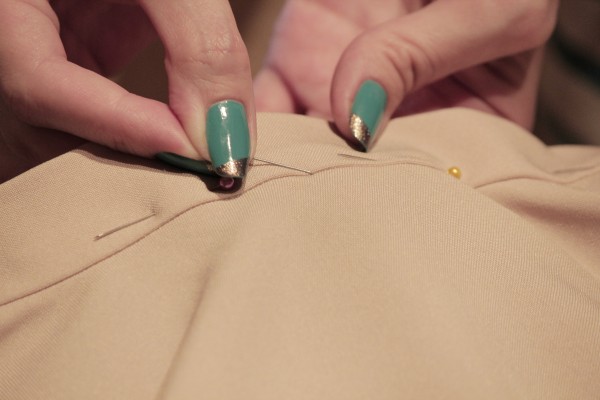
 Pin the belt so that it lies motionless on the skirt. From the "face" of the product, lay the line straight into the seam shown in the photo. Working on a typewriter, slightly push the skirt apart with your hands so that you can clearly see where to hit with the needle.
The threads that remain after sewing must be hidden so that there are no knots. To do this, make 2-3 knots, tighten well, then thread both threads into one needle and insert the last into the belt, and after 2-3 cm. Cut the tail that comes out.
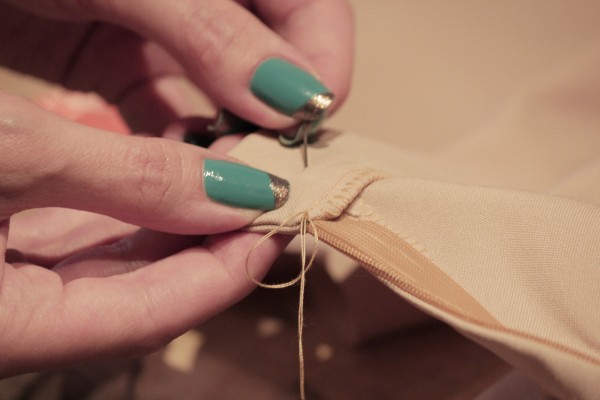
We make a loop on the left side. It is located 0.5 cm from the edge, exactly in the center. Mark the beginning, attach the button and circle it (beginning and end of the button). This will be the size of the loop. Make the latter with the special foot.
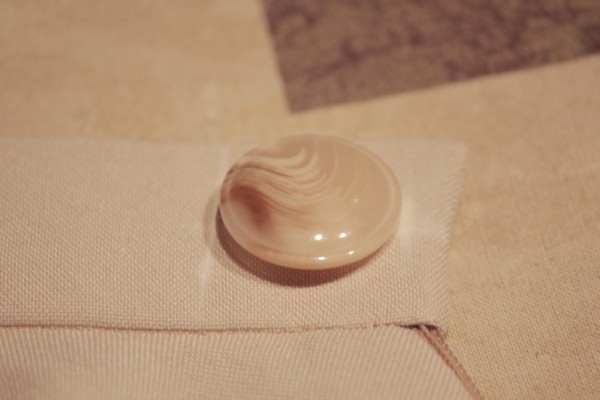 Open the loop with a ripper. This should be done from the edges to the center. Cut very carefully so as not to damage the threads.
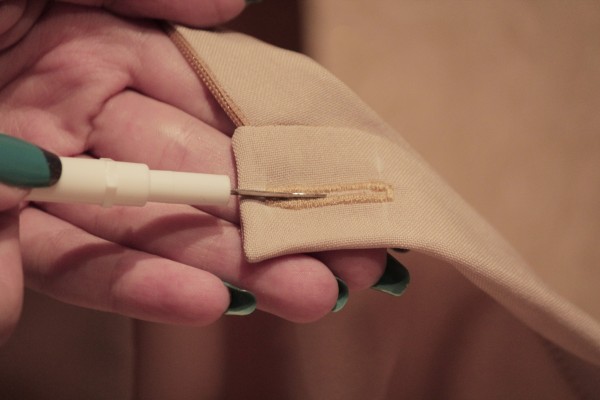 Now you need to determine where you need to sew the button. To do this, connect the belt and pierce the very edge of the loop with a needle. Then remove the loop and sew on the button, stepping back from the puncture site of millimeter 3.
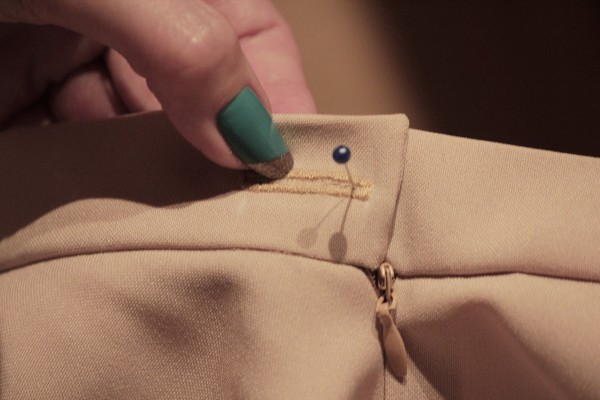 After sewing on the button, check if it fits well and how easily it fits into the loop.
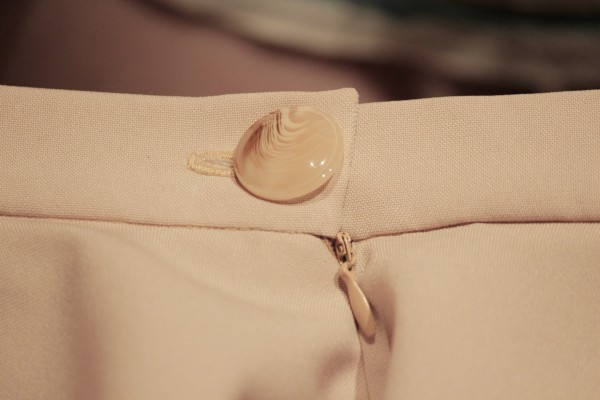 The final step is to iron the product, paying particular attention to the seams.
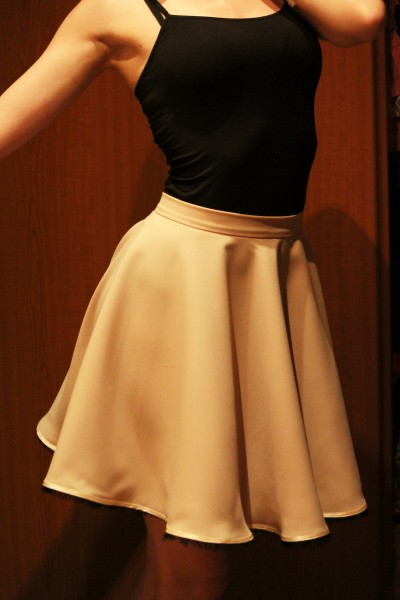
That's all, the sun skirt is ready! Now the best part is the fitting.
