DIY bathrobe: master class with photo
The robe is practically the most comfortable and cozy home garment, which makes it so popular. Today, step by step and in photos, I'll tell you how to sew a wrap-around robe.
In general, the main part of the robes is sewn without darts to ensure freedom of movement. But the advantage of self-tailoring is that at your discretion you can modify this or that part of the thing, adjusting it to your tastes and preferences. Get creative and you will create a unique work of art.
I received an offer to sew a rather simple model of a dressing gown with a wrap and a belt in several turns. It is made literally in half a day. We will model on the basis of the dress pattern, which can be found here... In this case, you select the allowances for freedom of fitting yourself, depending on which model you want to get in the end. At the request of my customer, I did not make them at all, especially since the material was selected very elastic.
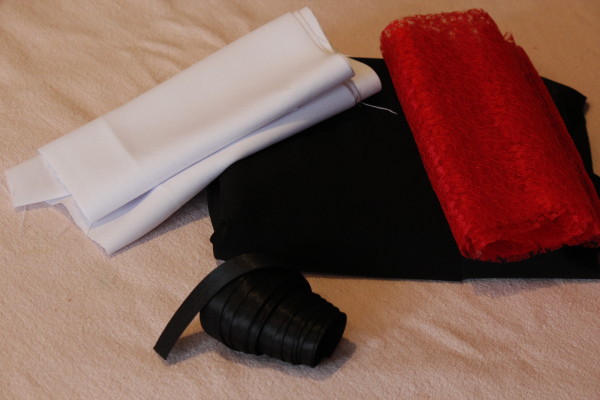
For size 46, we needed:
- 5 meters of black bias tape;
- 20 cm of red guipure (not elastic, 150 cm wide);
- 20 cm of white gabardine;
- 1.70 cm jersey;
- 3 spools of thread (red / black / white);
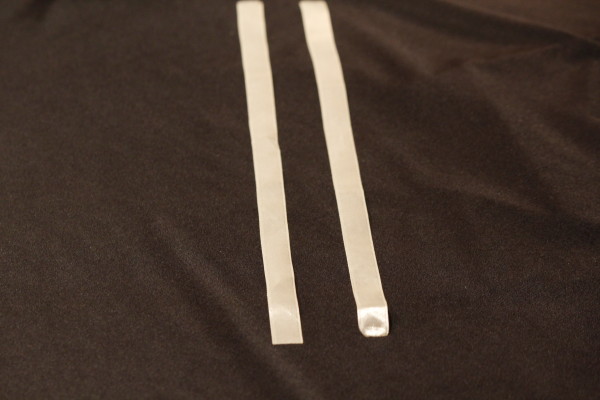
- tape (for fixing the internal smell) 60 cm.
Wrap Robe Pattern: Modeling
As mentioned above, the modeling will be done according to the base pattern.
Note. I decided not to remove the darts on the dressing gown, but also not to make them. In order to find a middle ground - I decided to go in a non-standard way and replaced them with tucks, which I will write about in the process. You can do as you wish. Option 3: either put the front and back darts into the side darts, or leave them in place and make them according to the standard, or simply do not make them. However, in the latter case, the silhouette will be straight.
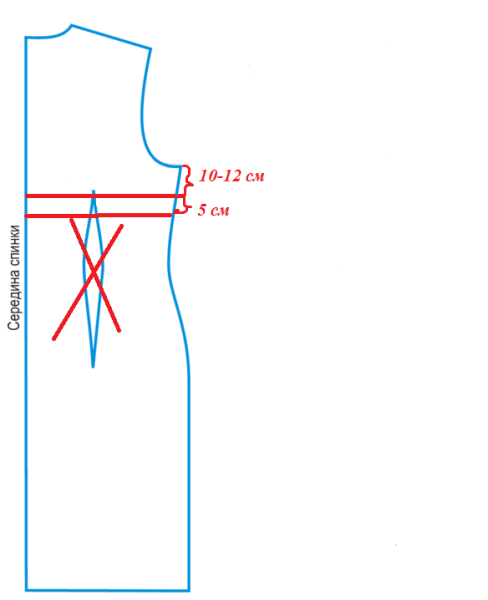
Let's start with the back half. Everything is simple there.
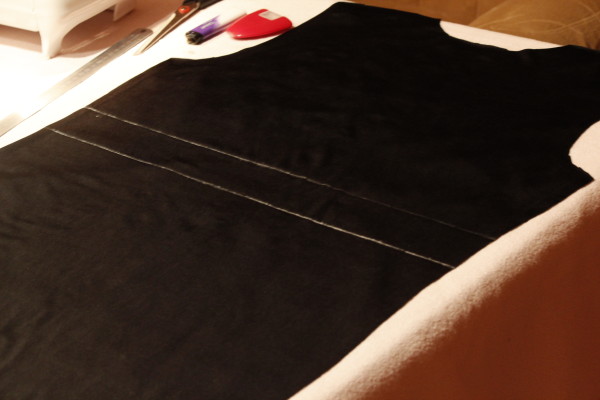
Leave it as it is, just remove the darts. From the armhole, go down 10-12 cm along the side seam and draw a horizontal line. This line will be located under the chest, i.e. place for sewing on the belt. Then, from this line, go down to the width of the future belt, in my case it is 5 cm, and draw another line. You marked the place where the accessory will be fixed. This mark will greatly simplify the whole procedure in the future.
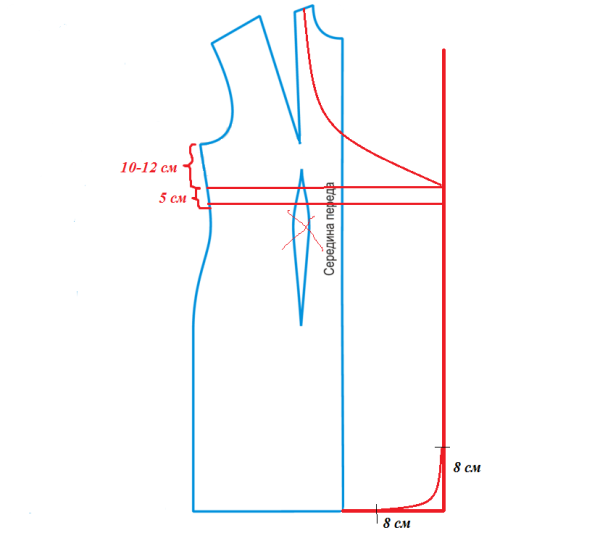
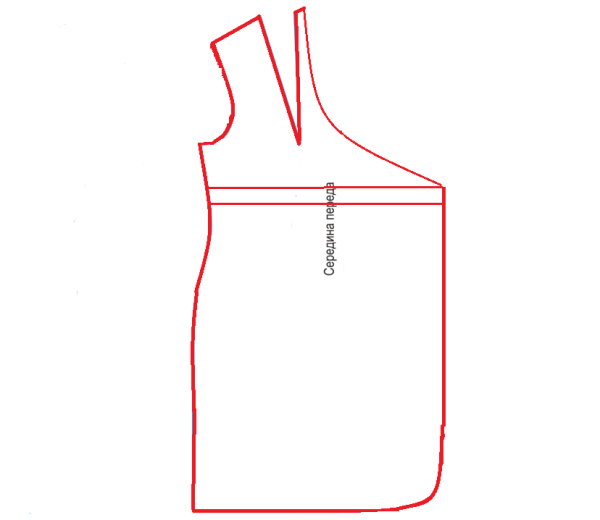
Front shelf. Expand the bottom of the product to the size of the shelf itself, draw a line. From the end of the last, lift the perpendicular up. From the formed right angle at the bottom of the robe, retreat up and to the side 8-10 cm and connect the points with a rounded line. You don't need to do this, but then the hem will be angular.
From the armhole, go down along the line of the side seam by 10-12 cm (the same figure that was used to model the back) and draw a straight line to a stretched perpendicular. From the resulting line, back down to the width of the belt and also draw a straight line. Remove the dart (you can leave it). Decorate the neck with a smooth line as shown in the diagram.
Ultimately, the shelf will look like this:
I will make the sleeve to the robe in the usual way, according to the pattern presented in the article on the dress pattern. Therefore, I will not talk about him here.
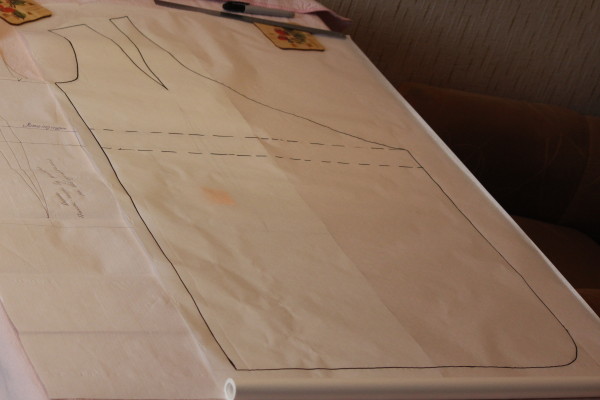
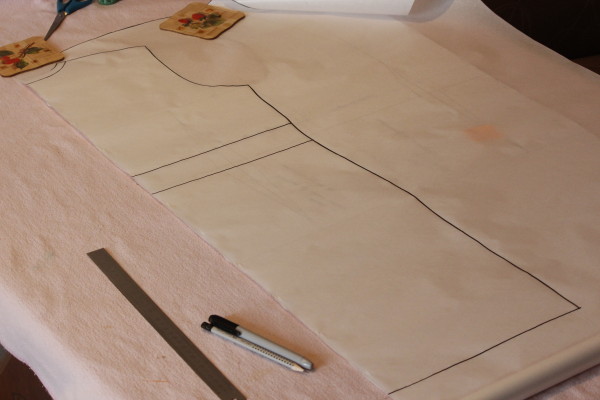
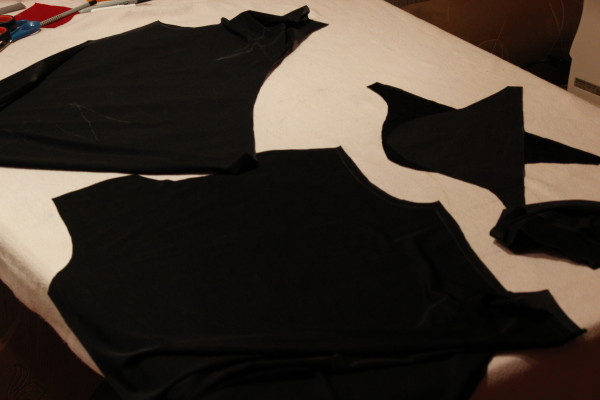
So, the dressing gown patterns are ready, and in real life they look like this:
Now we proceed directly to sewing the robe.
DIY bathrobe
Let's start with the belt. Measure by yourself what length suits you. In my case, it will be long, a little less than 3 meters, since it will wrap its mistress 2 times + the length for tying a bow.
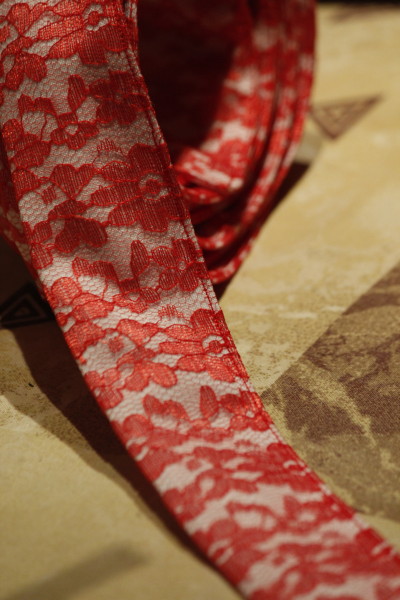
I make 2 pieces of gabardine, 150 cm long and 10 cm wide. I duplicate the same pieces of guipure.
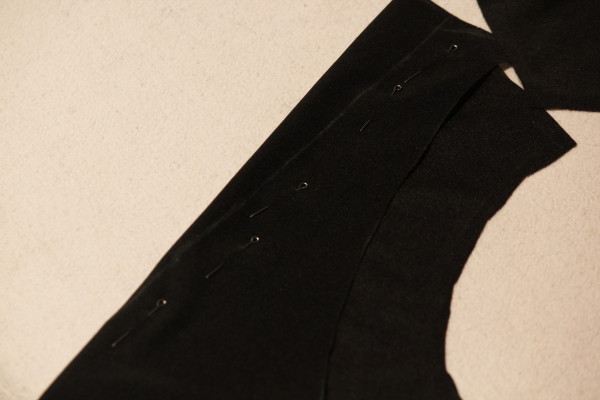
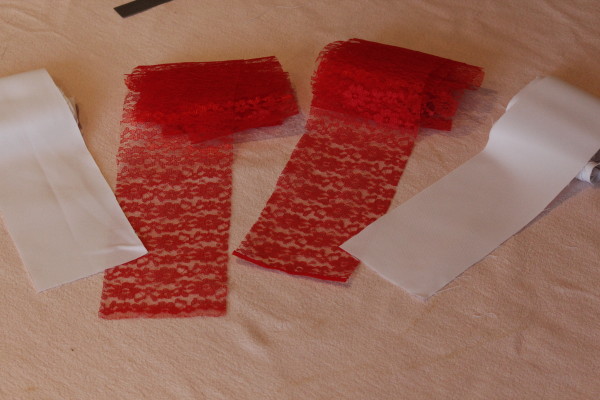 Place a strip of guipure on a strip of gabardine and pin them between the failing needles. This is the longest process, as you need to be extremely careful not to allow "swelling" and "unevenness".
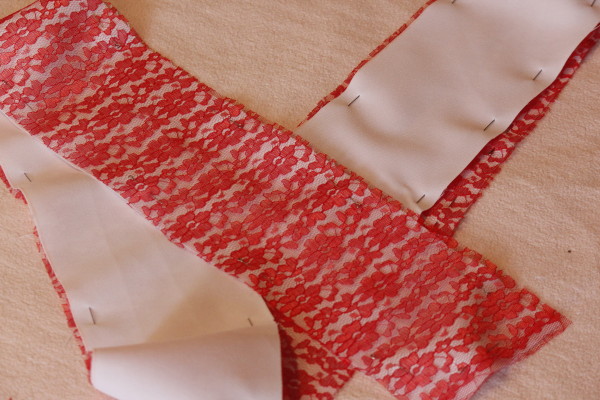 Thread the red bobbin and white bobbin thread in the machine and sew the guipure to the gabardine with the lace up.
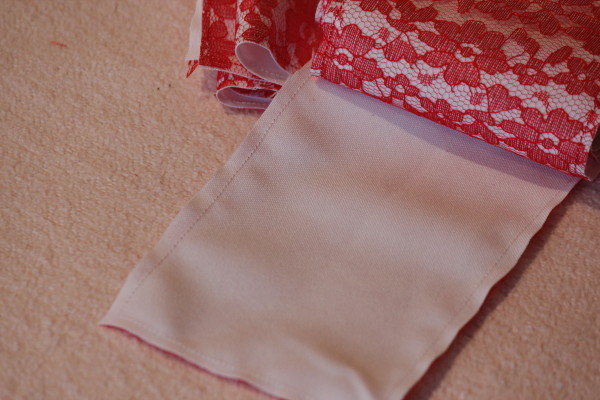 Fold both stripes facing each other and sew to form a long belt.
Now fold the belt in half, guipure inward, and pin.
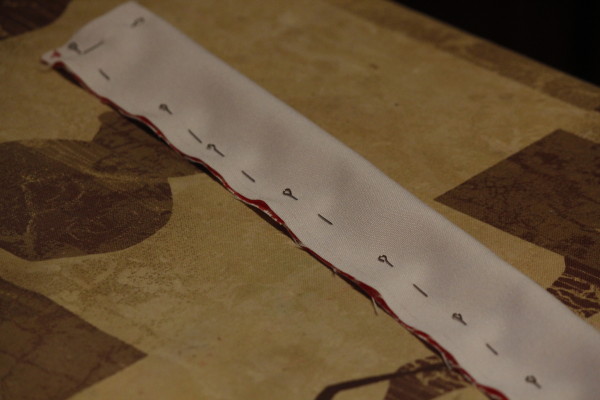 Sew it off, leaving one side open. Turn the sewn product outward. Bend the open end inward, iron it well to "put in place" the seam. After that, sew the belt around the perimeter in a millimeter from the connecting seam.
The belt is ready. You can start sewing a robe.
Transfer the details from the pattern to the fabric, seam allowances 1-1.5 cm. Cut. In total it will turn out:
- sleeve details - 2 pcs.;
- shelves - 2 pcs.;
- backrest - 1 pc.
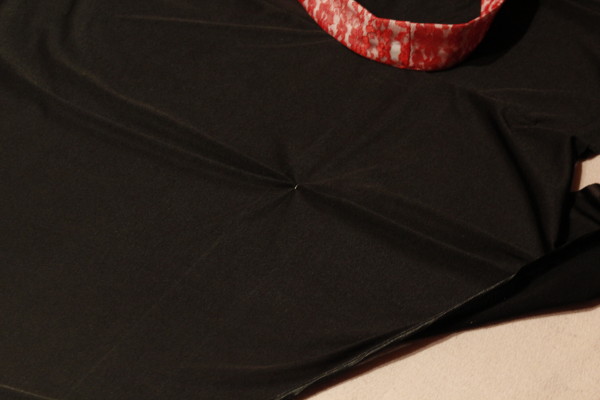
Cleave and sew bust darts. Do the same for the front and back, if you decide to keep them.
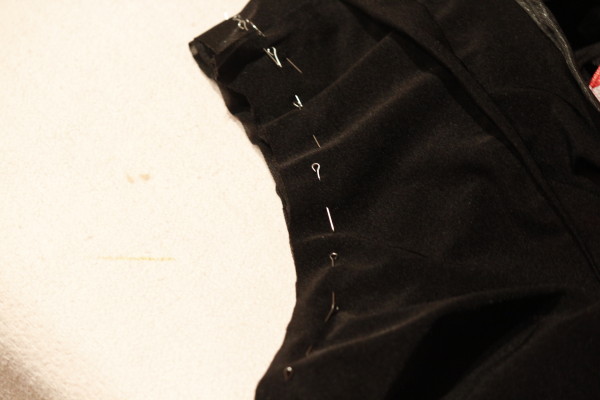
As I said earlier, I decided to link the front and rear darts, you can see it in the photo. In order to hide the clutch points, I raised them a little so that later they would be under the belt.
Connect the cut details (back and shelves). The main thing here is not to get confused. Prepare 2 ribbons in advance, 30 cm long, to fix the internal smell.
For convenience, transfer from the pattern the place where the belt will be sewn. It should be reflected on the back and on the external smell, since it will not be sewn onto the internal one.
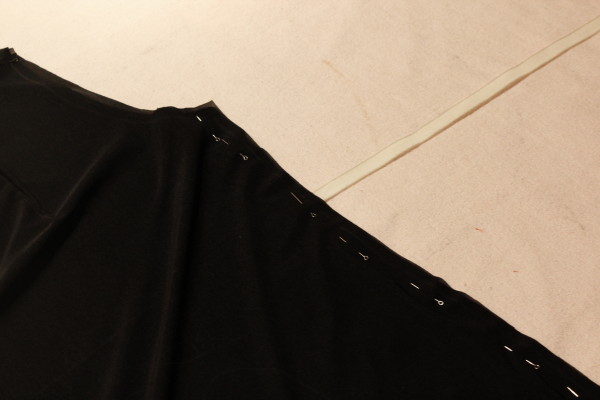
First fold the backrest and the right scent (it is also external) "face to face". Pin off the side and shoulder seams. When doing this, do not forget to sweep the ribbon to fix the internal (i.e. left) scent. Sew on a typewriter. Sew to the back and the left wrap.
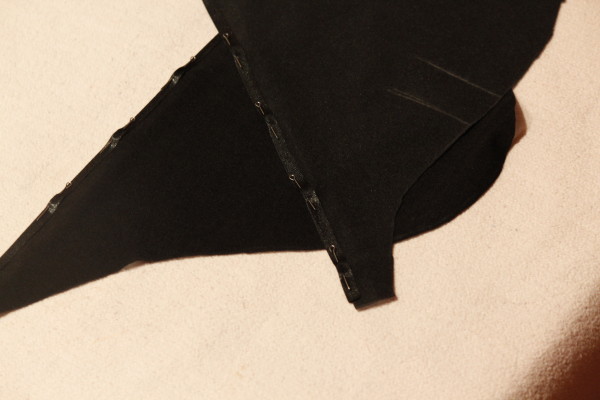
Now you need to baste a bias tape around the entire perimeter of the robe, from the neckline to the hem. And then, attention! At the moment of baiting the inlay on the left wrap, in the place where the transition from the chest line to the line of the side seam occurs, insert the tape under the bias tape to fix the scent. If you did everything correctly, you will get the following:
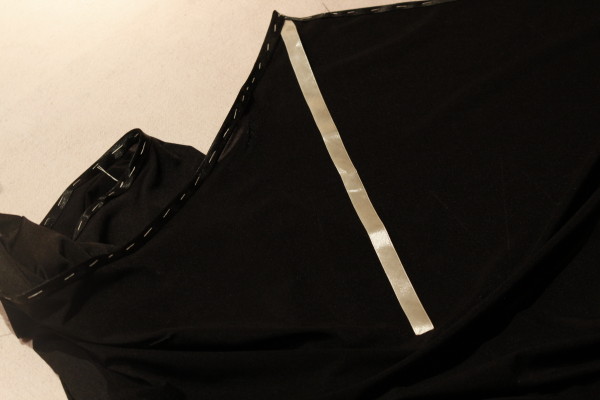 Sew on the bias tape on a typewriter.
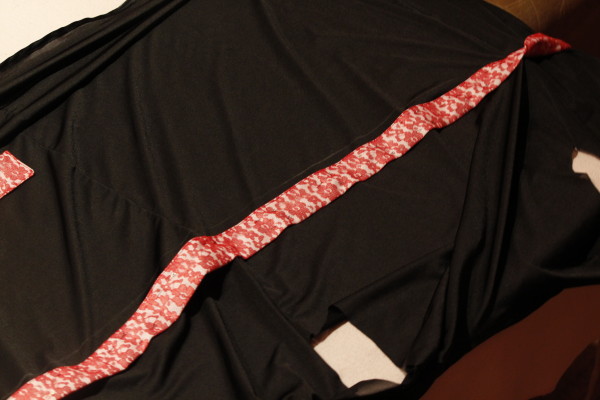
Now we will sew the belt. Pre-apply and pinch. Remember to sew it to the back and right wrap, leave the left untouched.
Move on to the sleeves. Treat them with a bias tape on the bottom.
Pin and sew the sleeve seams.
Thread on the finished sleeves to the armhole and sew them on a typewriter.
Iron the finished product.
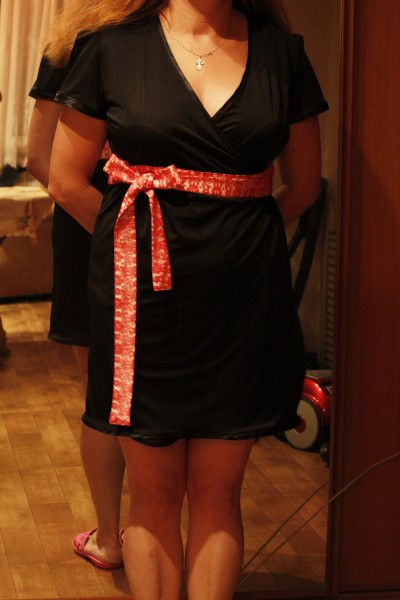
Done! You can try on. Here's what happened in the end.
