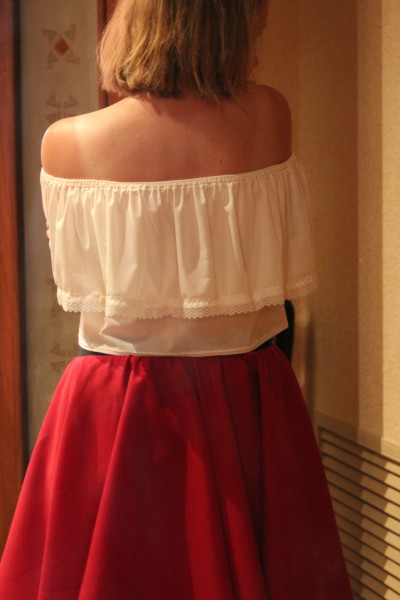
Summer top: master class with photo
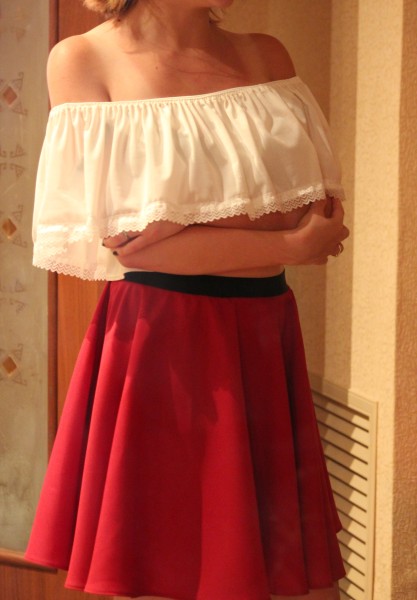
A light top is an indispensable wardrobe item in the summer. It will fit almost any bottom, be it jeans or a skirt, which, by the way, is also very simple do it yourself... Today, in a detailed master class, we will tell you how, literally in 1-2 hours, to sew a romantic top with a sexy Carmen neckline. And you will probably be surprised when you find out that the cost of a new item does not exceed 250-300 rubles!
Summer top: pattern
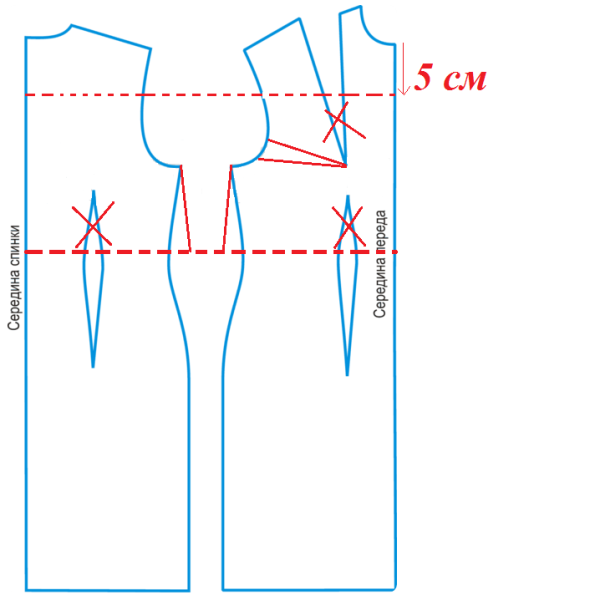
So, we will simulate the summer top according to the pattern-basis of the dress... Earlier we already wrote about how to build the latter, so if you do not have it, just make a diagram, and then return to modeling the topic.
Now that you have the initial version in front of you, you need to do the following:
- From the neck of the front, step back 5 cm and draw a horizontal line. The upper part of the pattern is cut along it.
- Draw the second cutting line at the level to which you want to sew the top. The most optimal option (on which the master class is based) is the waist line, but you can draw it at the level of the hip line.
- The darts on both the front and back halves are closed. The breast dart is moved to the side and hidden.
- Flare the bottom of the top at each of the halves to the desired width. On the example of a master class, each of the halves increased by 3 cm. Connect the bottom and the armhole.
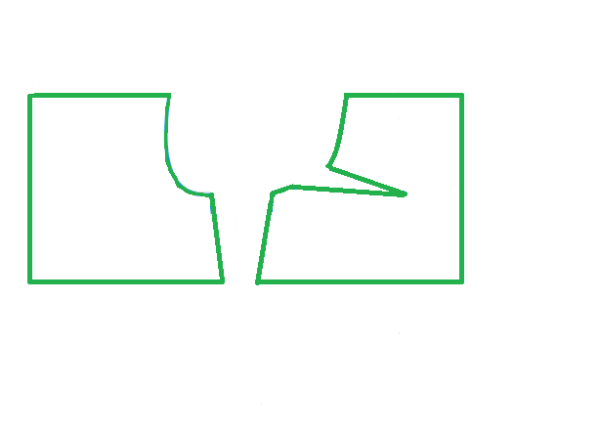
Here is a schematic representation of what should be on a piece of paper (patterns).
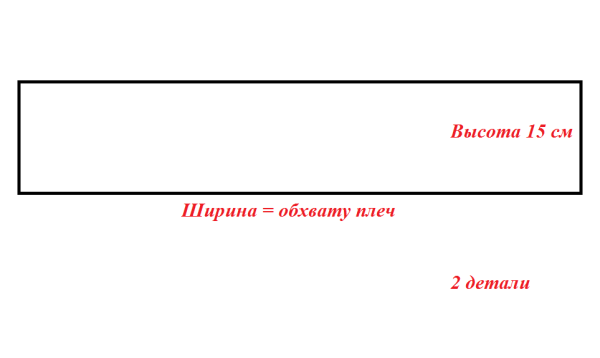
You should immediately prepare the basque pattern. For this it is necessary to measure the circumference of the shoulders. The Basque will be twice as wide. Those. if the girth of the shoulders is 100 cm, then the peplum will be 200 cm. The height of the peplum is made individually, at will. In the master class, its height is 20 cm. In total, you should have a large rectangle. Basque is covered with two details.
How to sew a summer top
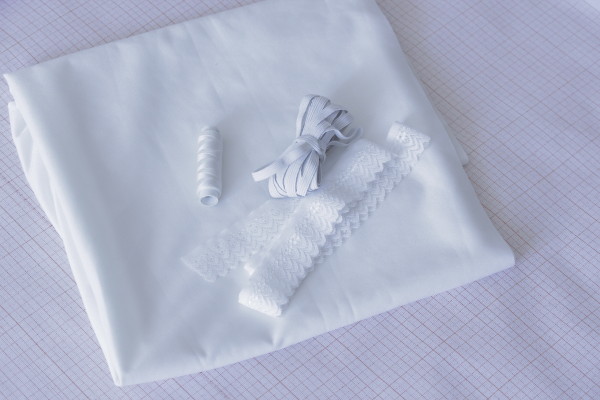
To sew a summer top, you will need:
- oil jersey - 1 m (or any other lightweight fabric with high drapery properties);
- spool of threads to match the fabric - 1 piece;
- lace, preferably soft (elastic) - 2 meters (depending on how wide the basque will be, i.e. what the last will be, so much lace will be required);
- thin elastic band (width 1 cm) - 1-1.5 m (depending on the width of the shoulders);
- double needle.
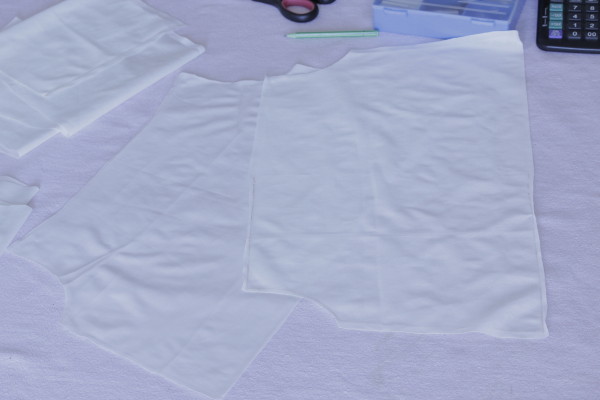
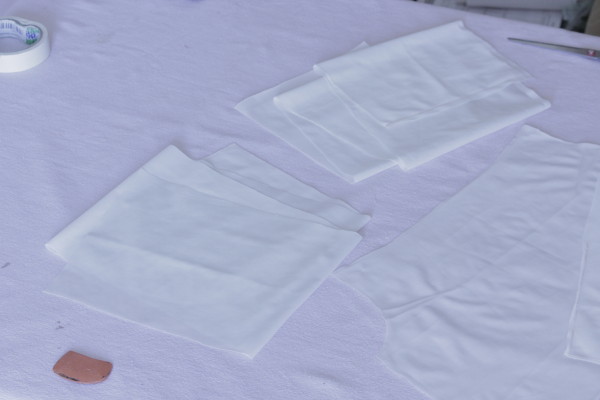
Now that the patterns are ready, transfer them to the fabric and cut out the details. You should have: the front and back of the top and 2 halves of the peplum.
First of all, close the darts on the front half of the top. Then pin off both sides of the top by folding them right side up and sew.
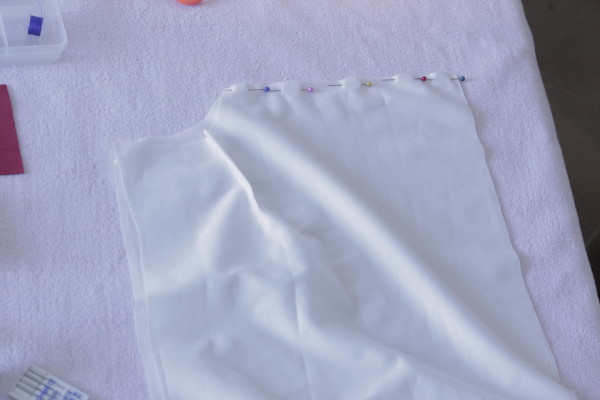 After that, iron the side seams and darts.
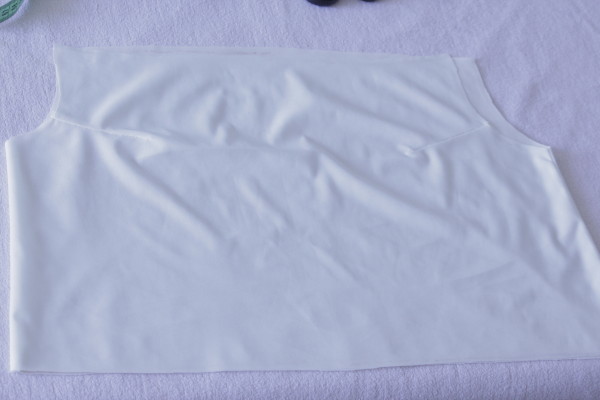 Process the armhole: bend the fabric literally 4-5 millimeters inward and sew on a typewriter. Fold the bottom of the top in the same way and sew on a double needle.
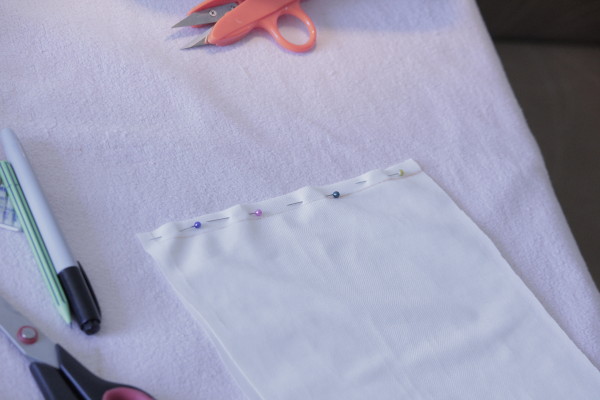
Now get to work on the basque. Connect the two halves by folding them right side up. Pin up with needles and sew on a typewriter. Only stitch on one side to end up with a long, large strip of fabric.
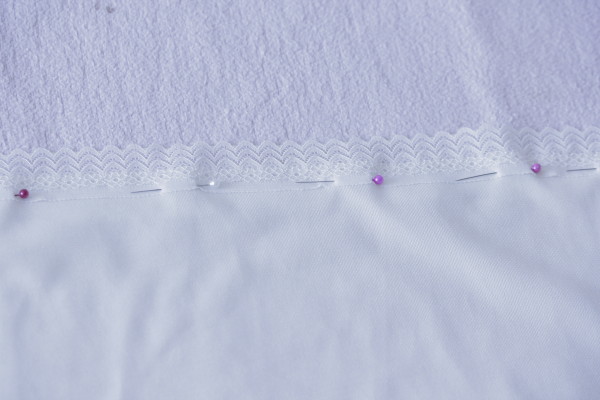
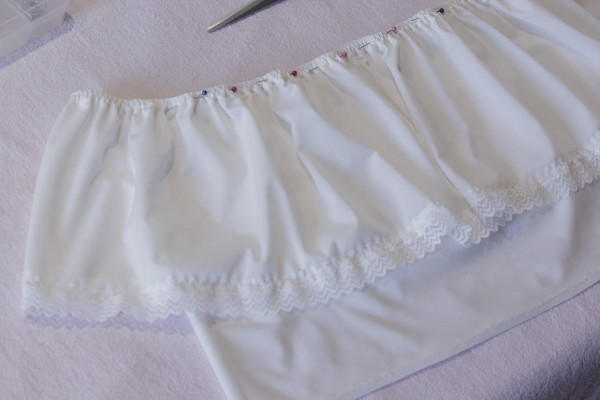
Now attach the lace to the bottom of the peplum and also pin them with needles. Make sure they are flat. And only then sew on the sewing machine.
Once the laces are in place, fold the basque right-side up and close it in a circle with a sewing machine stitch.
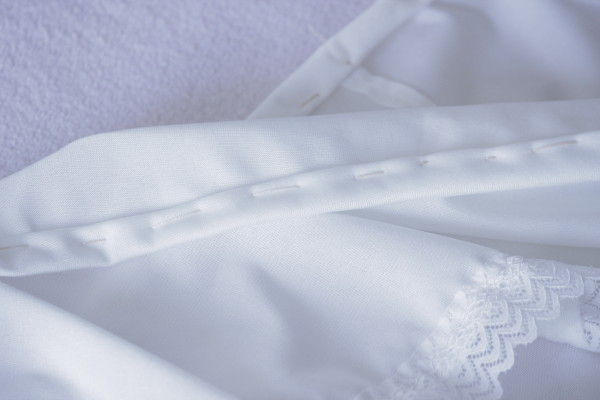
Now you need to make a drawstring for the elastic. To do this, fold the top of the peplum inward to hide the raw ends of the fabric and create space for the elastic. Here you cannot do with needles and the drawstring should be swept away by hand. Leave quite a bit of unstitched space to insert the elastic.
Sew on a typewriter, leaving room for sewing. Measure out the right amount of elastic by trying on the shoulders. It is important that it does not overtighten you, but does not dangle, otherwise the top will simply fall off.
Pass the measured and cut elastic band into the drawstring and sew. Then cover the unstitched space in the threaded drawstring. Basque is almost ready.
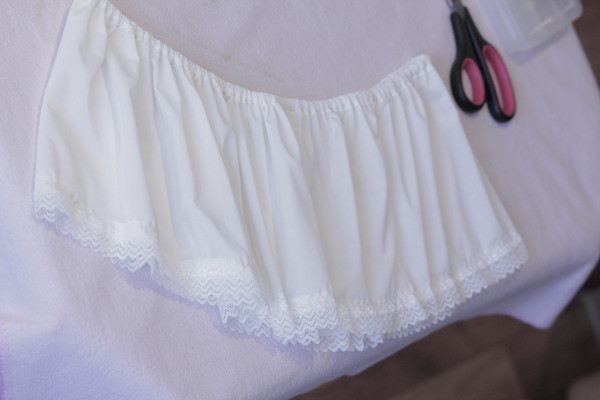
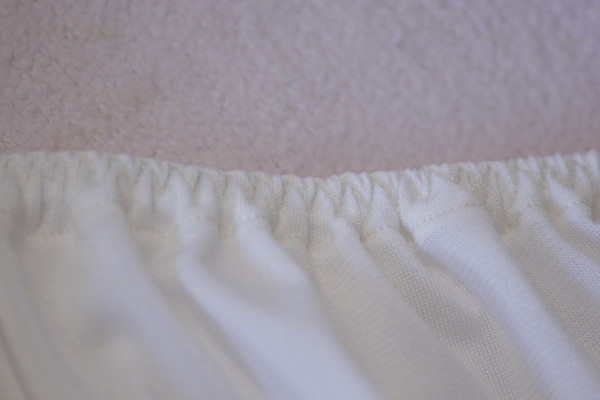
At this stage, you will notice that the peplum "walks" along the elastic, creating uneven folds. So, to avoid this, it is necessary to fasten the fabric with an elastic band. To do this, first manually distribute the fabric: stretch the elastic until the fabric is flat, and then gently release. Now set a zigzag seam designed specifically for the elastic (dotted zigzag) on the typewriter and sew the elastic through the fabric, pulling both gently. As a result, you will get even folds that will not "crawl", but will remain in place. At the same time, the seam itself plays a decorative role and looks very beautiful.
Now it's up to little - to sweep the peplum to the top and sew them together. Reveal the center of the front and attach the top with the right side to the wrong side of the peplum, chop it off. Do the same with the back.
Then distribute the entire top on the peplum and connect the parts with a neat, even seam. That's all, now fitting!
