DIY topiary: master class

A decorative tree with the beautiful name topiary is used to decorate a room. Made with your own hands, it will be a wonderful gift for housewarming, birthday, wedding. In the cold season, a topiary made from artificial flowers will replace a living bouquet; it is not afraid of frost and will not wither in a week. But the main advantage of a topiary made independently is that during the manufacturing process you can take into account the personal preferences of the future owner, his favorite flowers, shades, and materials. It can be done in one day.
Contents
Materials for topiary made of organza and roses
You can make a decorative tree from any materials: organza, sisal, artificial flowers, paper napkins. Products made from organza are airy, they hold their shape well, and have a pleasant shine. It is better to use a special floral organza, it does not crumble.  Organza, which is used for sewing curtains, is too soft and loose. For a medium-sized tree you will need approximately 2-2.5 meters of organza.
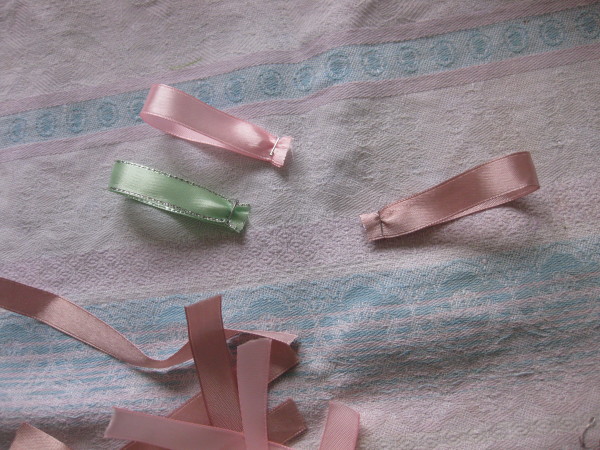
In combination with organza, roses look elegant and delicate. It is convenient to use flowers from ready-made bouquets or make satin ribbon roses.  Flowers should not be large in size; their shade should be contrasting with the main color of the organza.
How to make topiary with your own hands
To make a decorative organza tree you need to prepare the following materials and tools:
- A crown ball made of plastic or foam with a diameter of no more than 10 cm.
- A stick, peeled from bark. A piece of thick wire 30-40 cm long.
- Double-sided tape, glue gun, scissors, stapler.
- Satin, paper ribbons.
- Plaster or alabaster, decorative stones.
- Small pot.

DIY topiary master class
Making topiary is a simple process; any girl can make such a gift. The sequence of work is as follows:
- They start by making the trunk of the future tree. Cut 2 small pieces of double-sided tape.
 A wooden stick is wrapped with a ribbon, its ends are secured with tape.
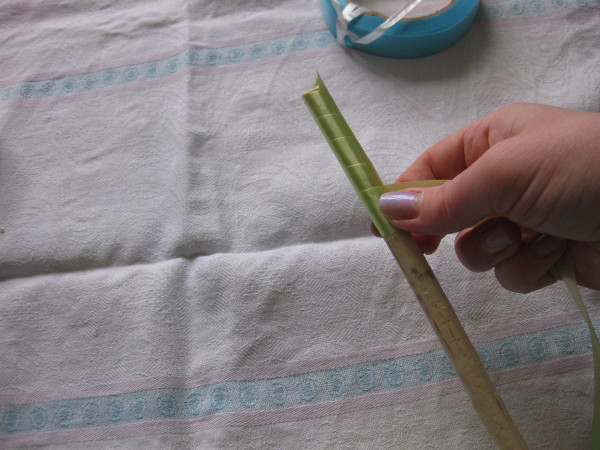
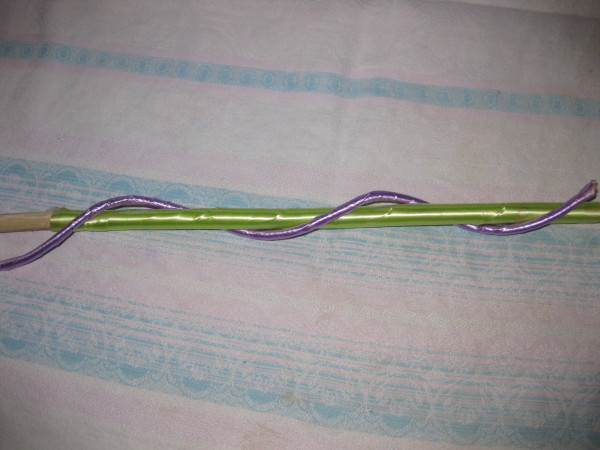
- A piece of wire is decorated in the same way. Next, the wire is twisted around the stick.
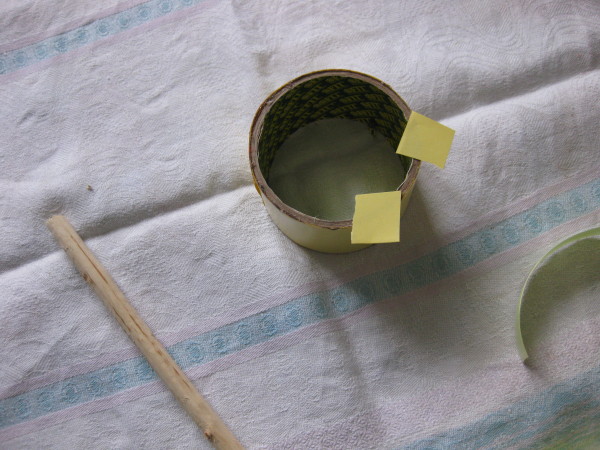
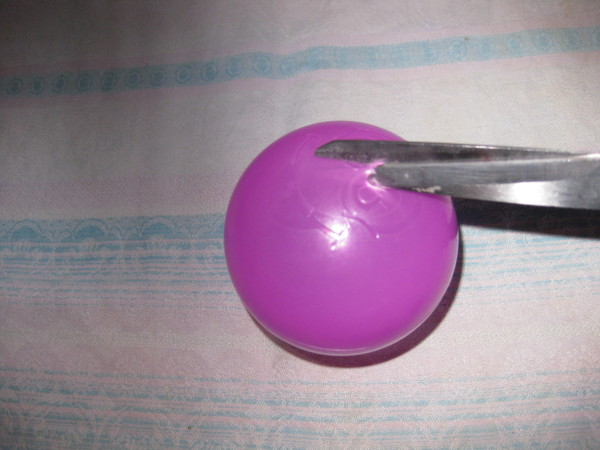
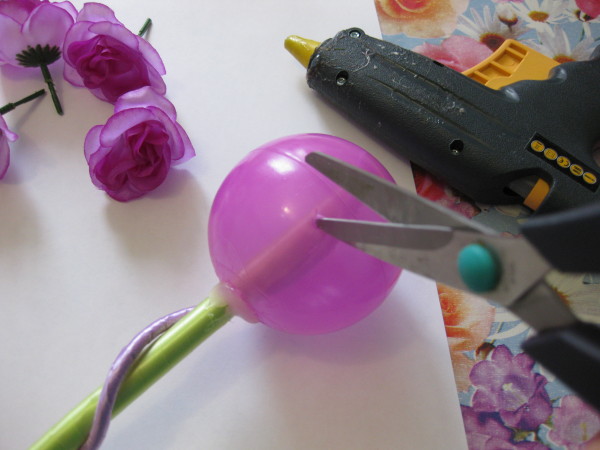
- For the base of the crown, a hole with a diameter of about 1 cm is cut out in a plastic ball.
- The prepared barrel is inserted into the ball and secured with a glue gun.
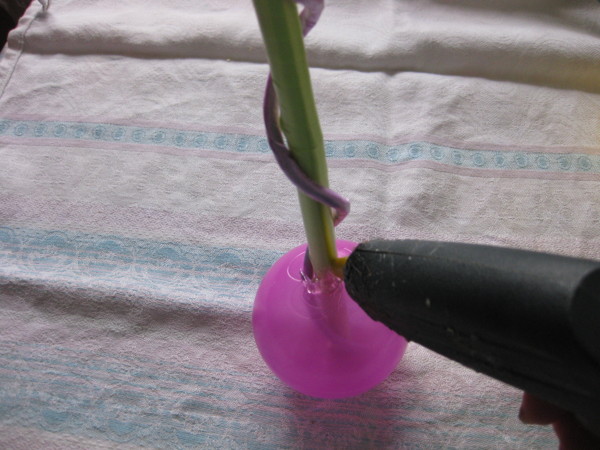 The ball must be firmly secured.
 - The crown is decorated with organza stripes. To make them, the canvas is cut into squares measuring 10x10 cm.
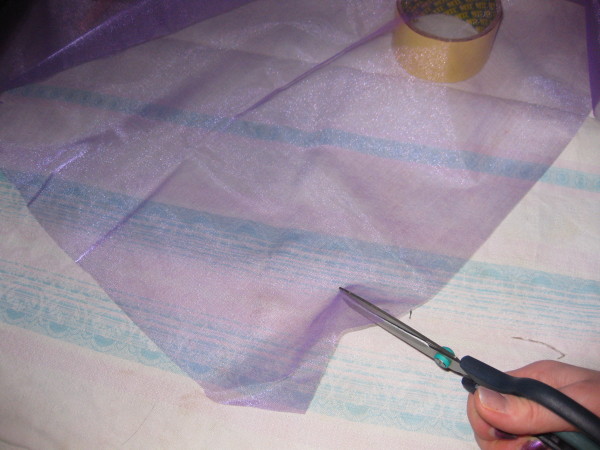 If tall flowers are used, such as tulips, then the size of the squares should be larger.
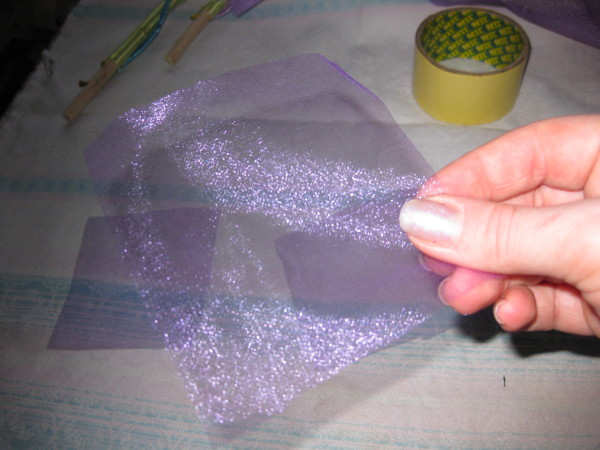
- Next, the squares are folded diagonally, slightly moving the center.
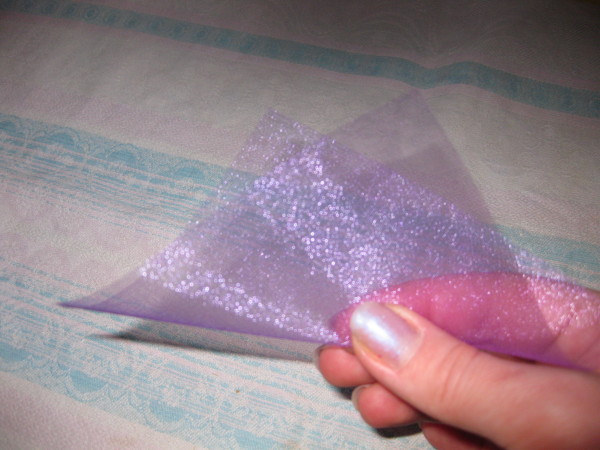 The right side of the resulting triangle is folded towards the center, the left side is folded on the reverse side.
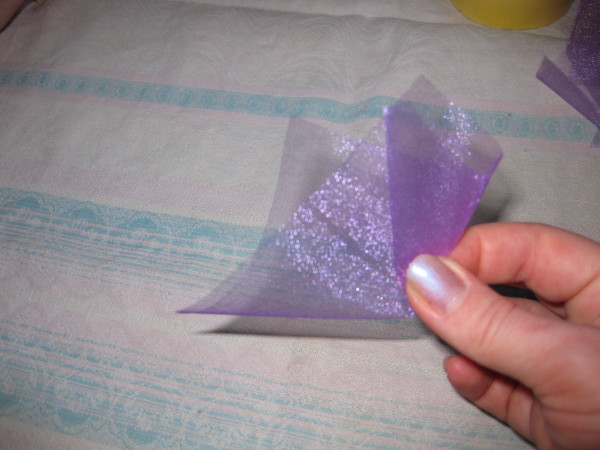

- The folded pound is fixed with a stapler at the base.
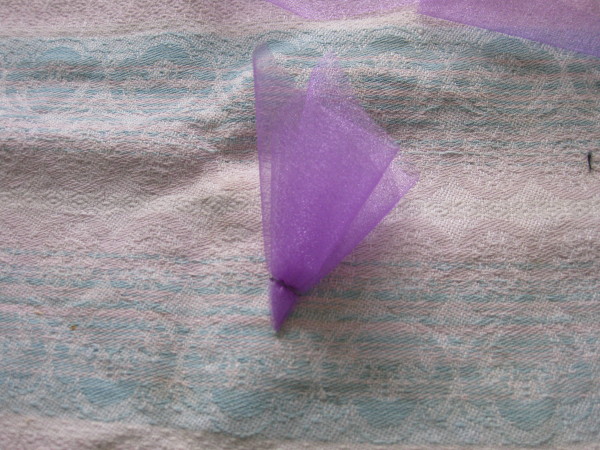 At least 100 pieces of funnels are prepared, several in organza color are used.
 - Satin ribbons are cut into pieces 9-10 cm long. Their bases are fixed with a stapler.
- First of all, flowers are fixed on the crown. Using scissors, make small holes in the ball.
 Roses are evenly distributed over the entire surface of the ball.
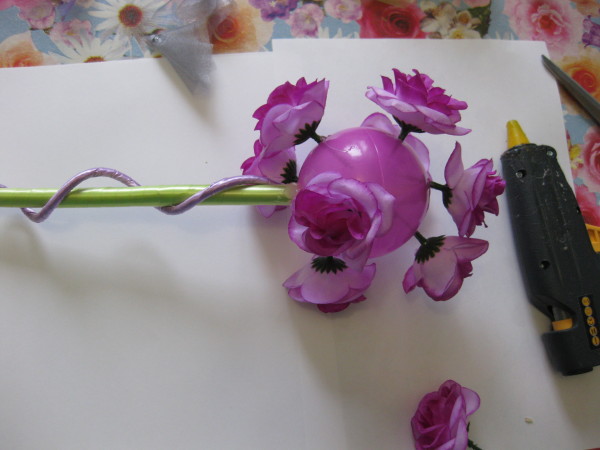
- The bases of the flowers are smeared with glue from a gun; the glue should adhere well.
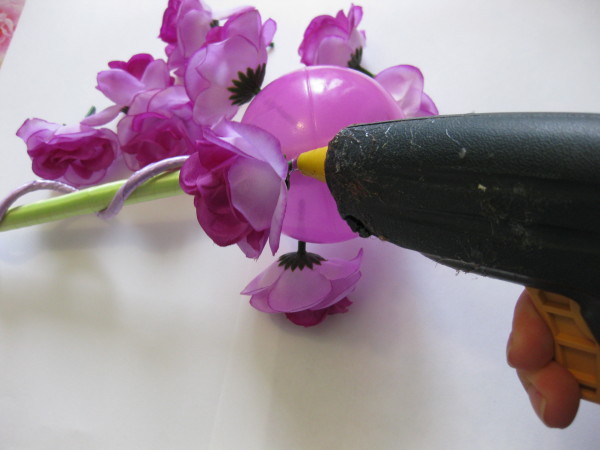
- Next, fix the organza pounds. The tip of the pound is smeared with glue and pressed against the ball.
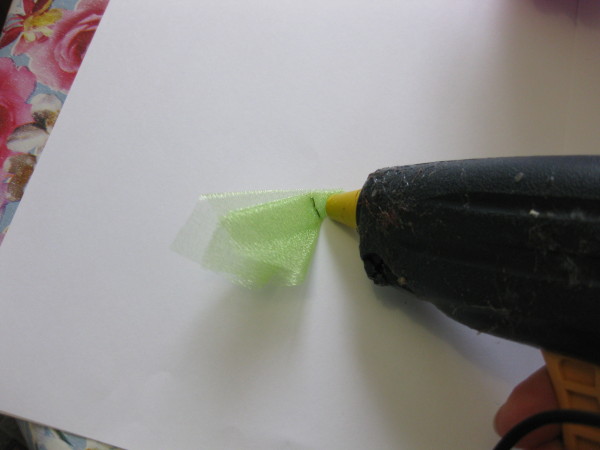 The funnels are not glued very tightly, the arrangement of the petals and colors alternate. Petals made from satin ribbons are glued in the same way.
- The finished tree is fixed in a pot using alabaster. The dry powder is poured into a pot, and cold water is poured on top.
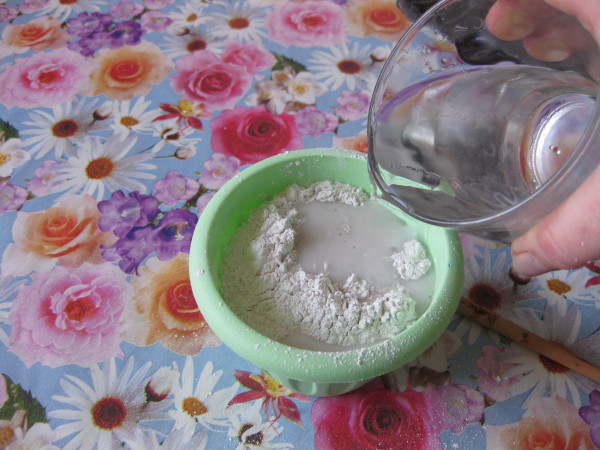 Stir the mixture with a wooden stick until the consistency of thick sour cream is obtained. The pot should be filled with alabaster mixture 1 cm below the rim. The lower end of the trunk is immersed in a pot and fixed until the mixture completely hardens for 20-30 minutes.
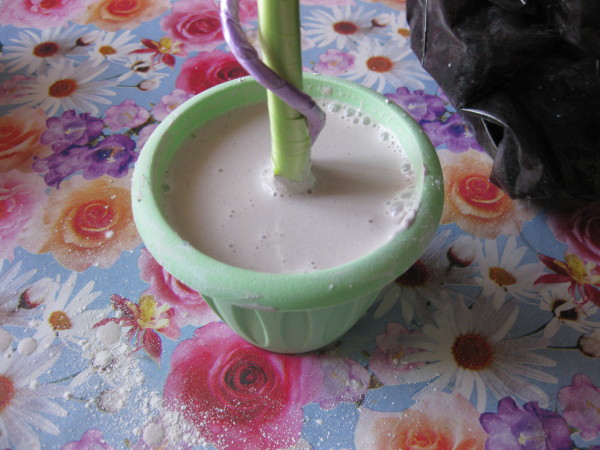
- To decorate the pot, colored pebbles are used; they are glued to construction adhesive for polyurethane foam tiles.
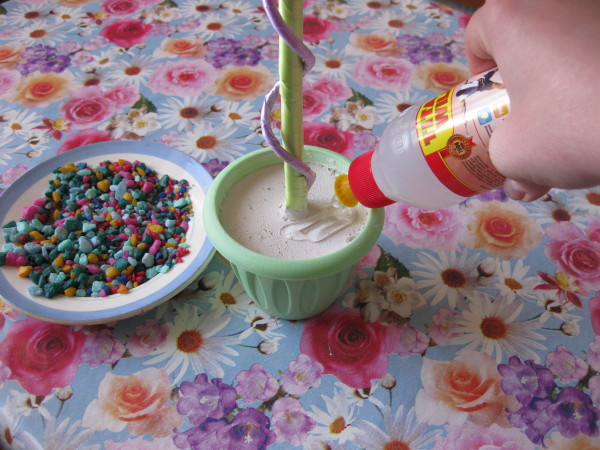 Glue is poured onto the surface of the alabaster, then a layer of stones is poured. You need to pour more glue on top so that the pebbles are firmly glued.
 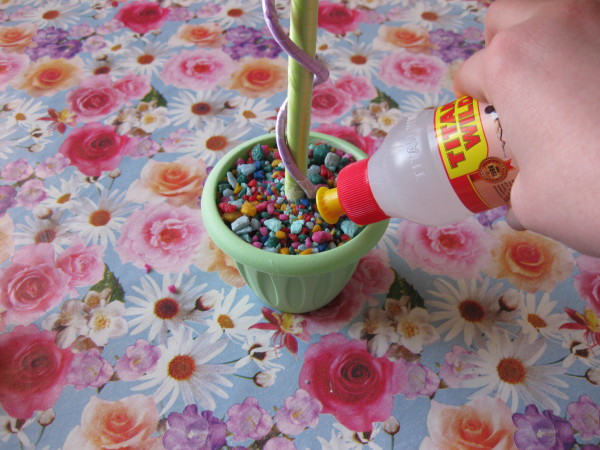 The pot can be additionally decorated with the remaining flowers and leaves.
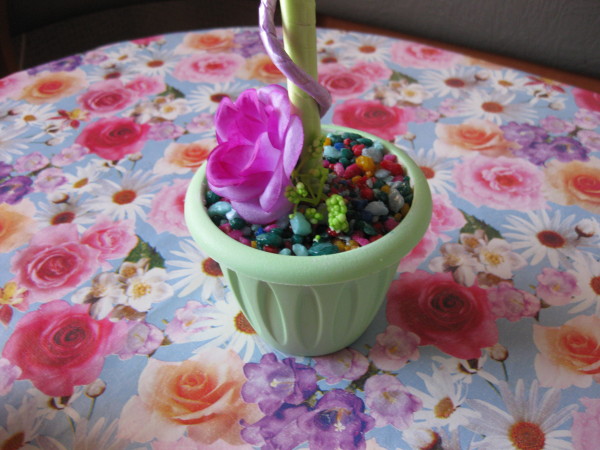
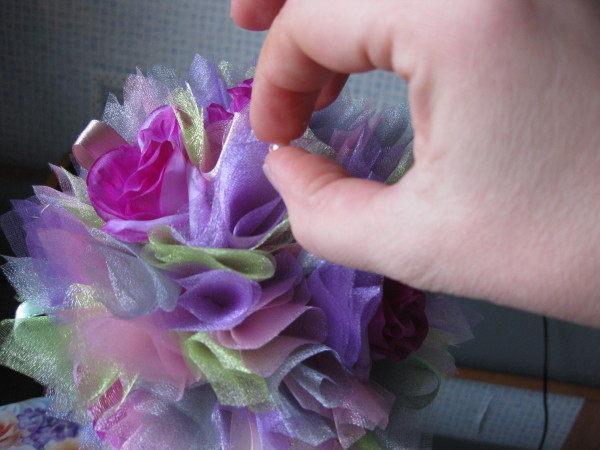
- The crown of the tree is decorated with beads, which are used for bead making. They should be small in diameter, no more than 6 mm. They are glued to the top of the pounds with a glue gun.


The finished tree should dry out. Fresh glue has a strong odor that dissipates after a day.
Topiary photo of the finished work
The finished tree can be placed anywhere.  It looks harmonious on a table, windowsill or coffee table. The advantage of organza topiaries is that they are easy to clean from dust with a soft brush. A colorful and delicate topiary will definitely please the person for whom it is intended.

