DIY ribbon hairpins: a master class with a photo
"Handmade" today is confidently gaining momentum. All because the products handmade, beautiful, original and most importantly - exclusive. And it is also very cool when "creations" not only please the eye, but also turn out to be useful in everyday life. In this master class, I will present you with several options for making simply irreplaceable and extremely necessary gizmos in girls' everyday life - hair clips.
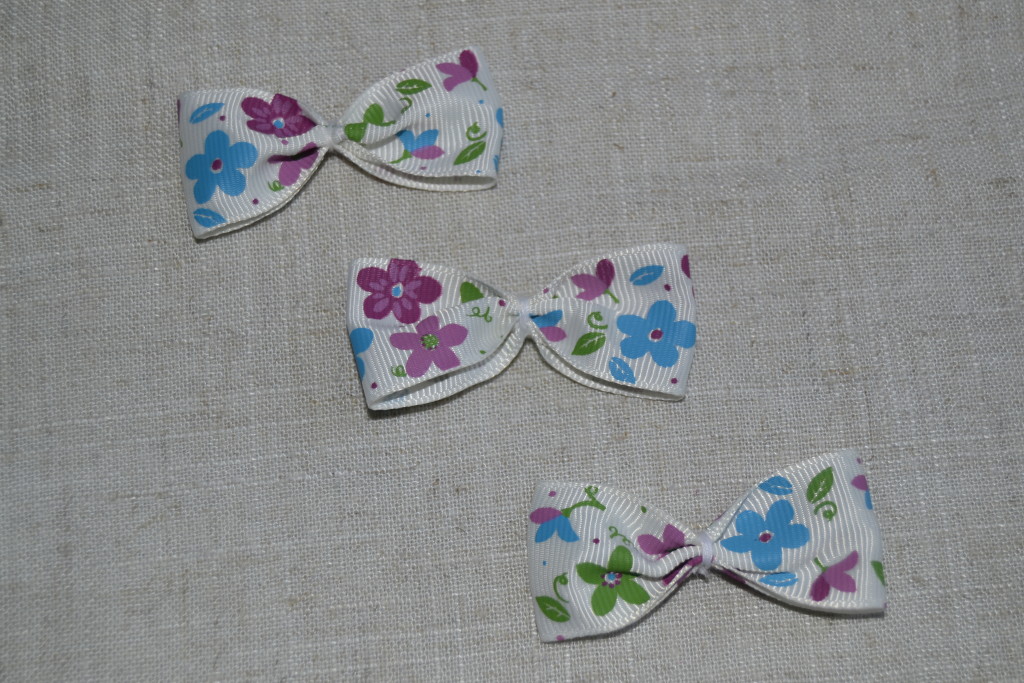
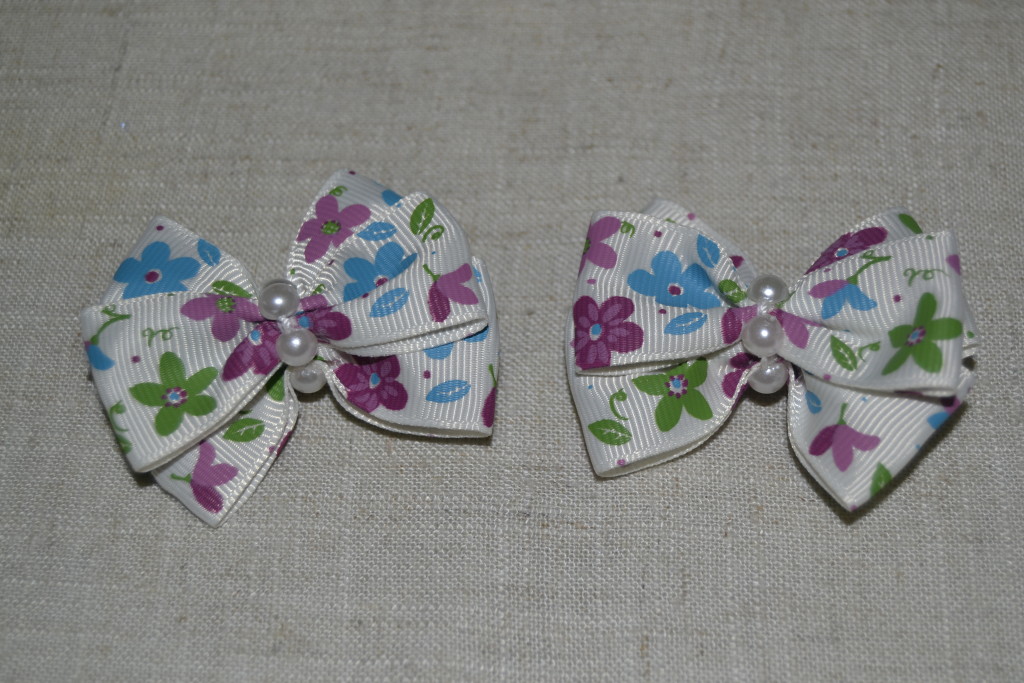
Hairpins-bows
Such hairpins will adorn any hairstyles... Their design can be completely different - from funny and mischievous to strictly conservative.
Most often they are worn in pairs, therefore, to make two of these hairpins, I needed:
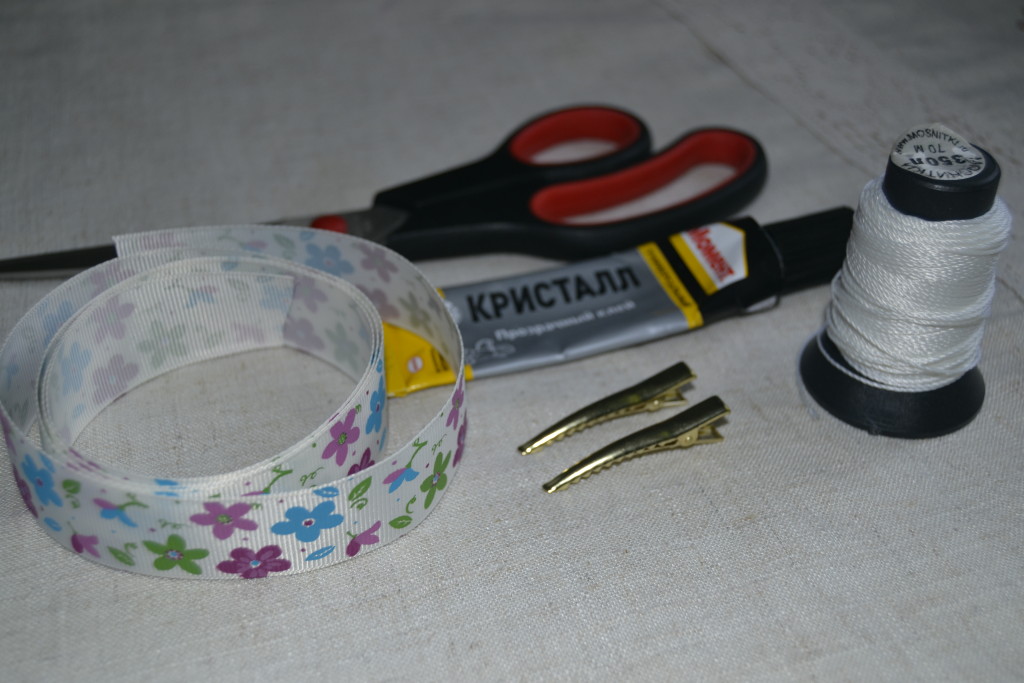
- rep ribbon with a floral pattern - 1 m;
- hairpin-base "crocodile" - 2 pcs;
- glue "Moment" is transparent;
- needle and thread;
- scissors;
- pearl half beads.
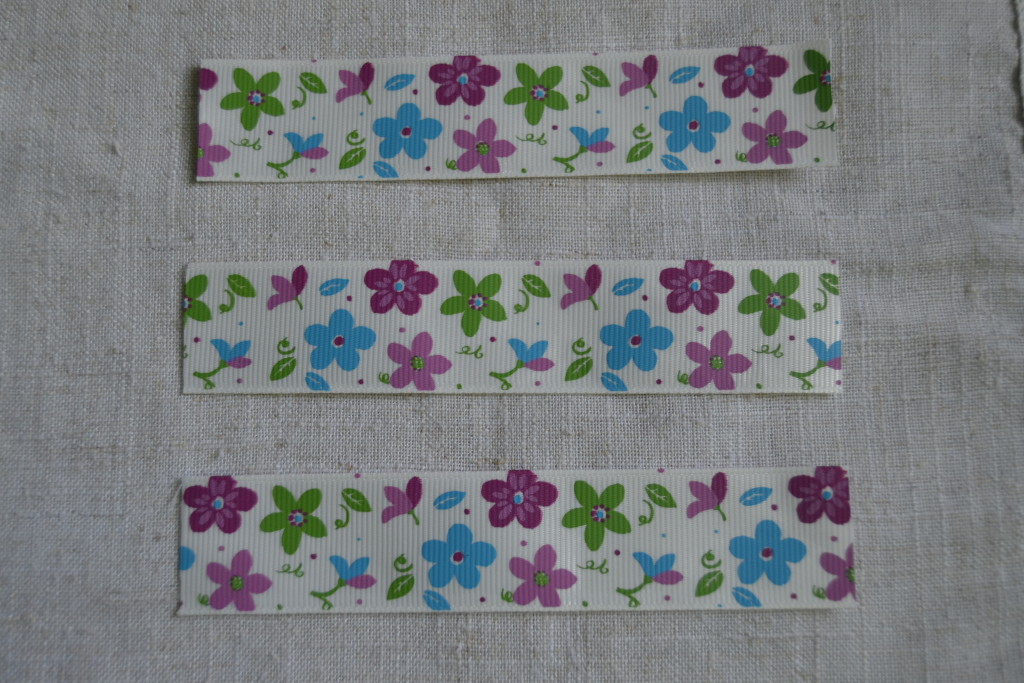
The first step is to measure out three strips of tape 12 cm long.
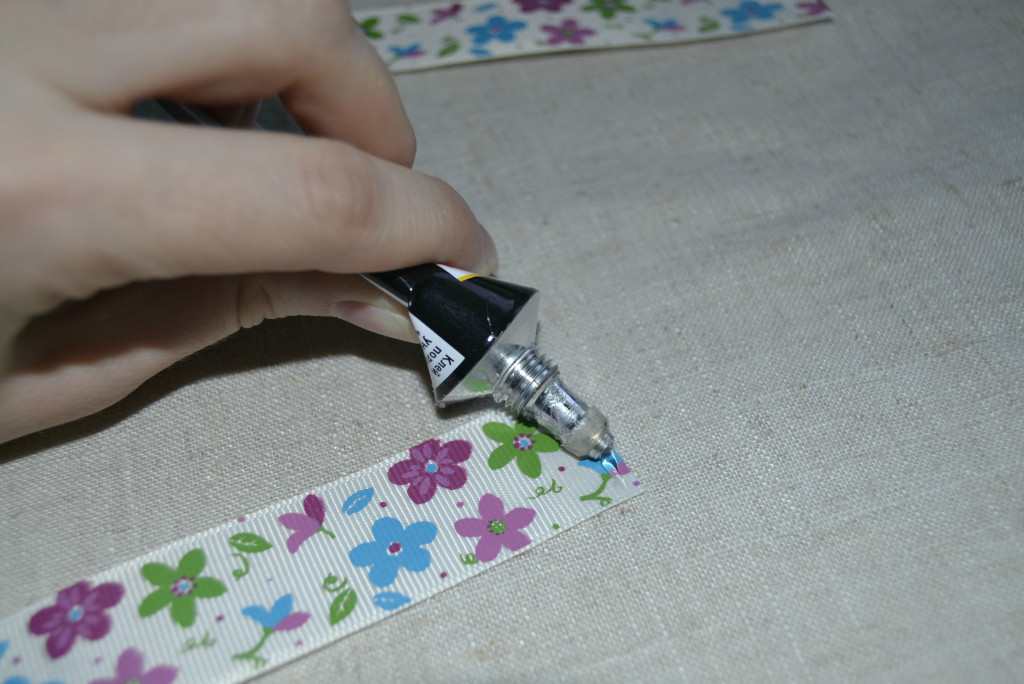
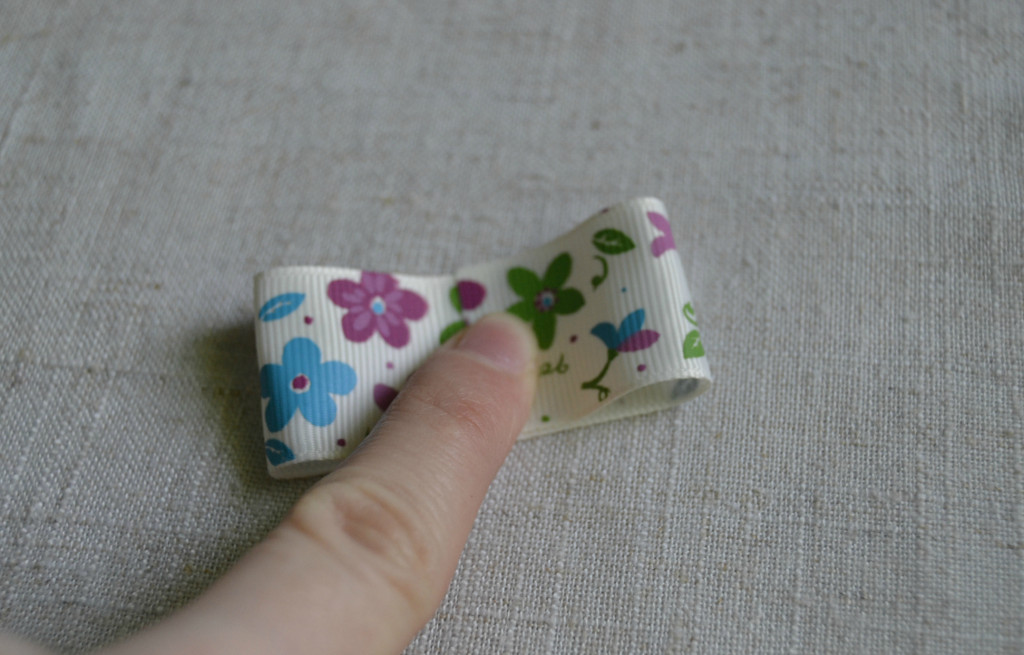
Then we glue the edges of each strip together.
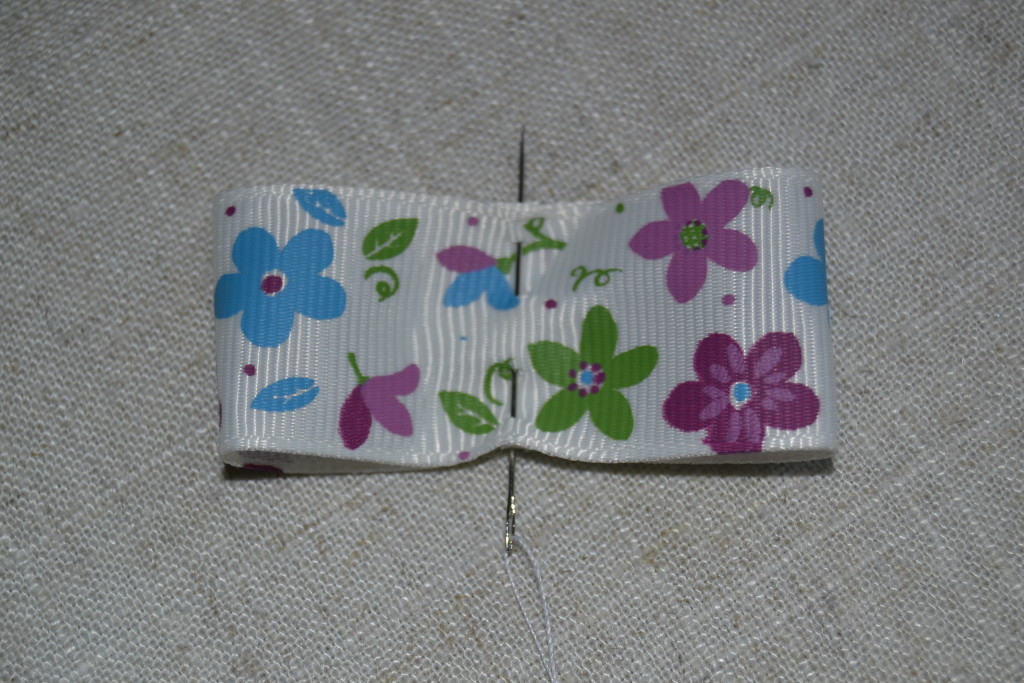
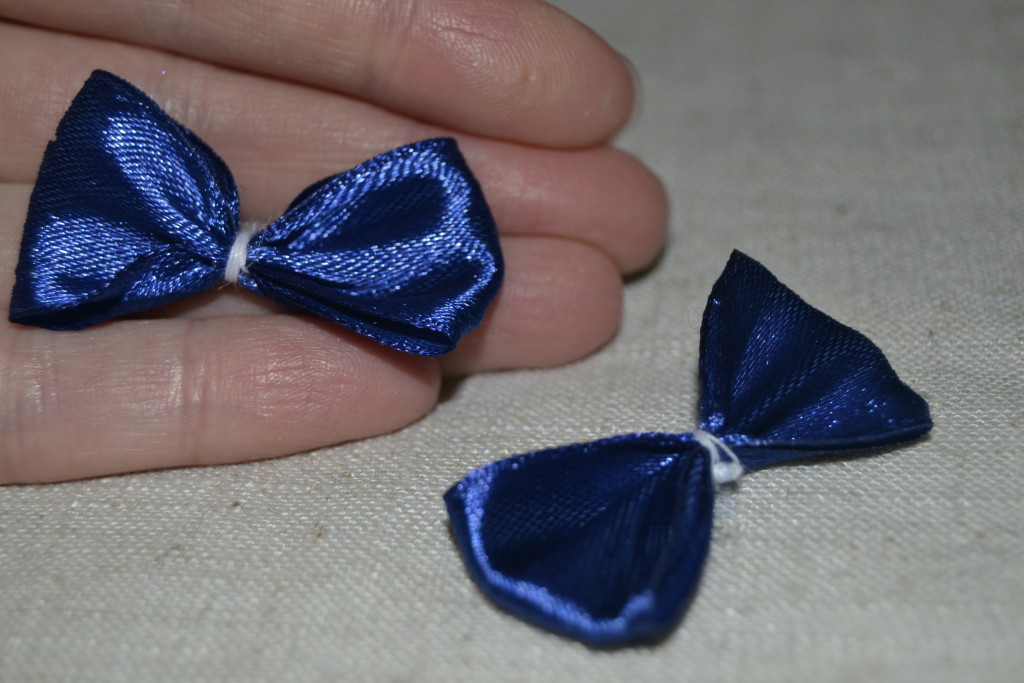
Next, we begin to make a bow. To do this, you need to make stitches on the tape, as shown in the photo.
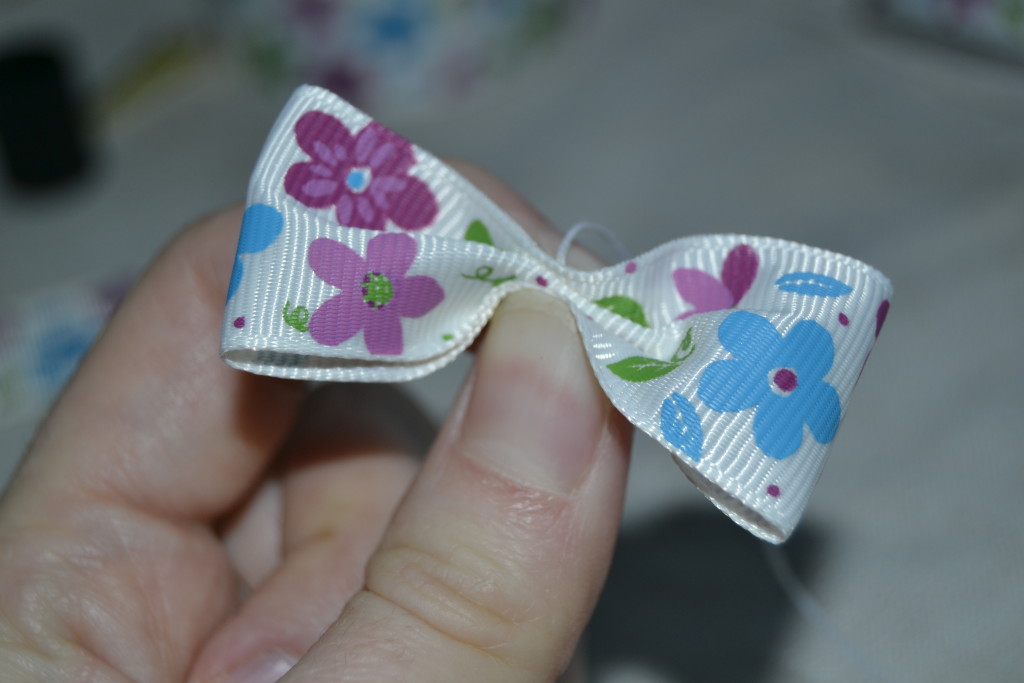
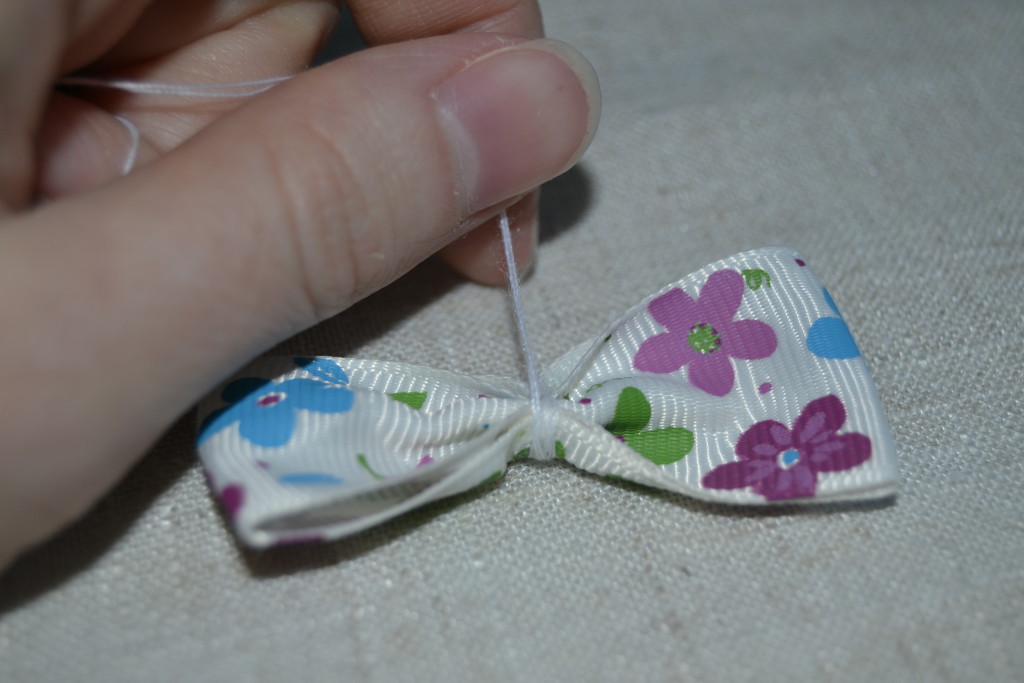
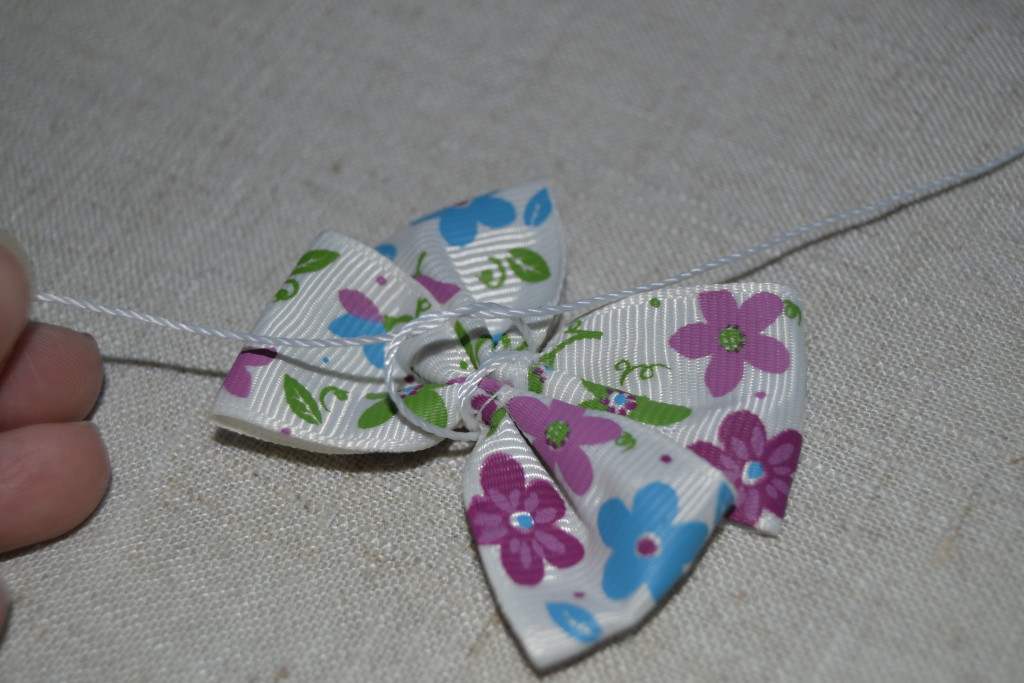
To fix the resulting "fold", wrap the center of the bow with the same thread several times and secure it from the back side.
We got three blanks.
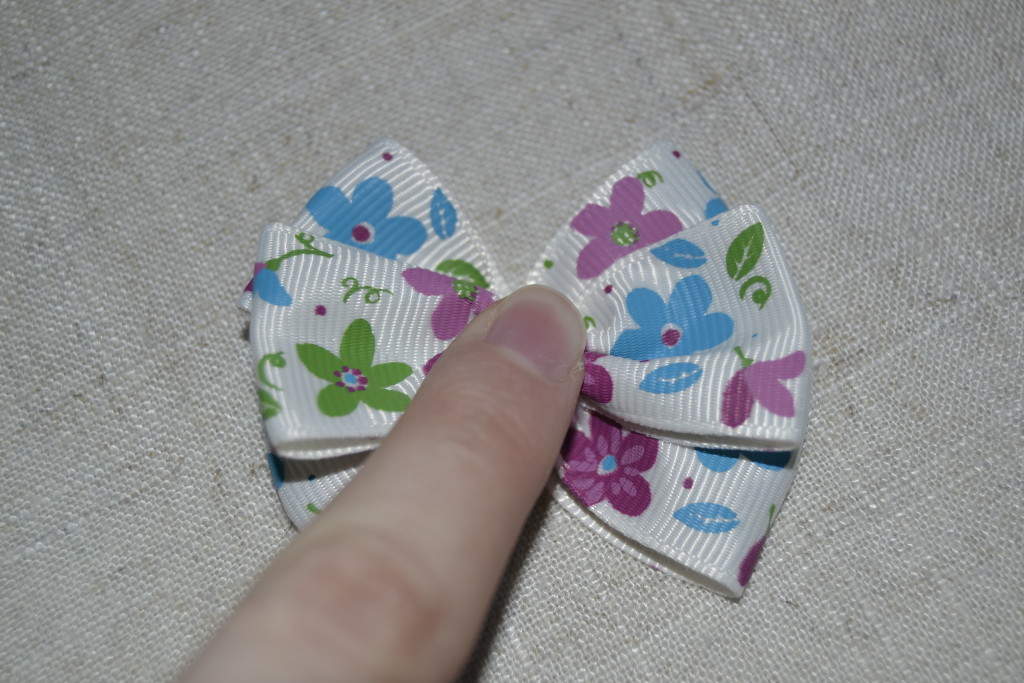
We take two of them and tie tightly together with a thread in the center.
Glue the third bow on top of them.
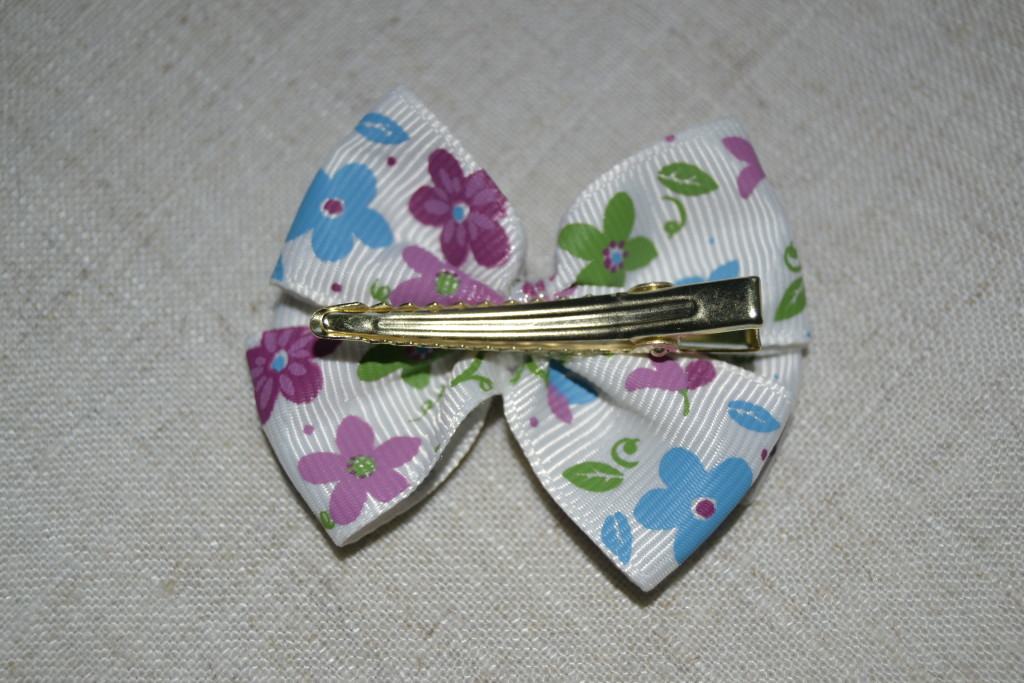
When the glue dries, you can glue the resulting structure to the base hair clip.
The final step is to decorate the center of our hair clip with pearl half beads.
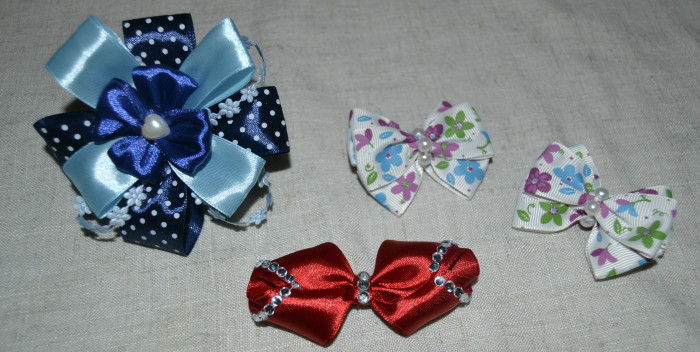
These are the cute bows I got. This option is perfect for a little fashionista.
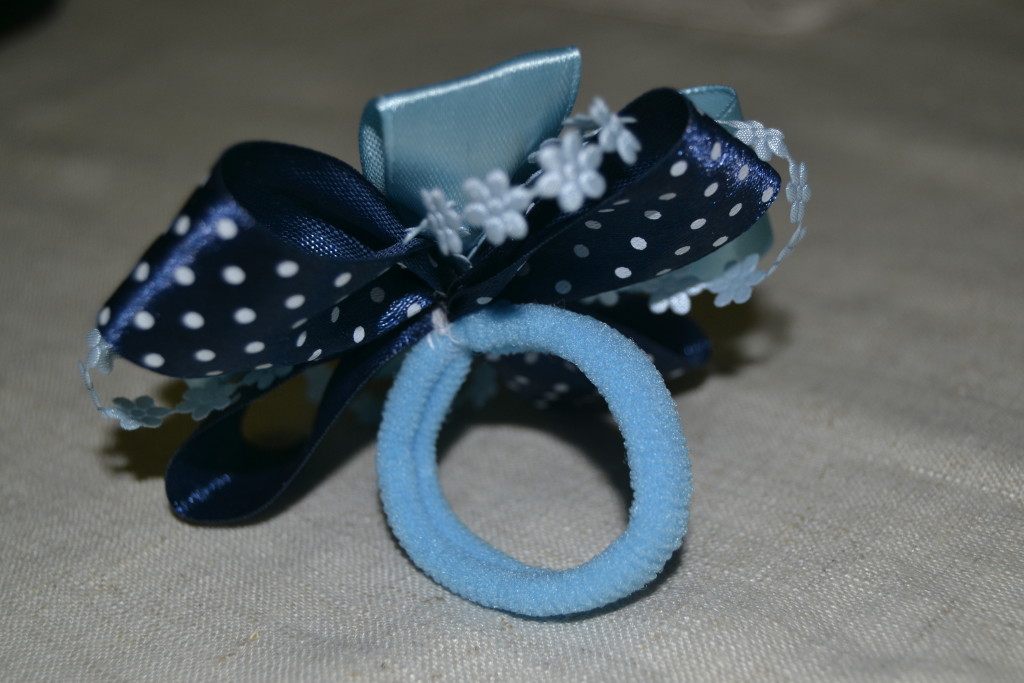
Elastic band made of satin ribbons
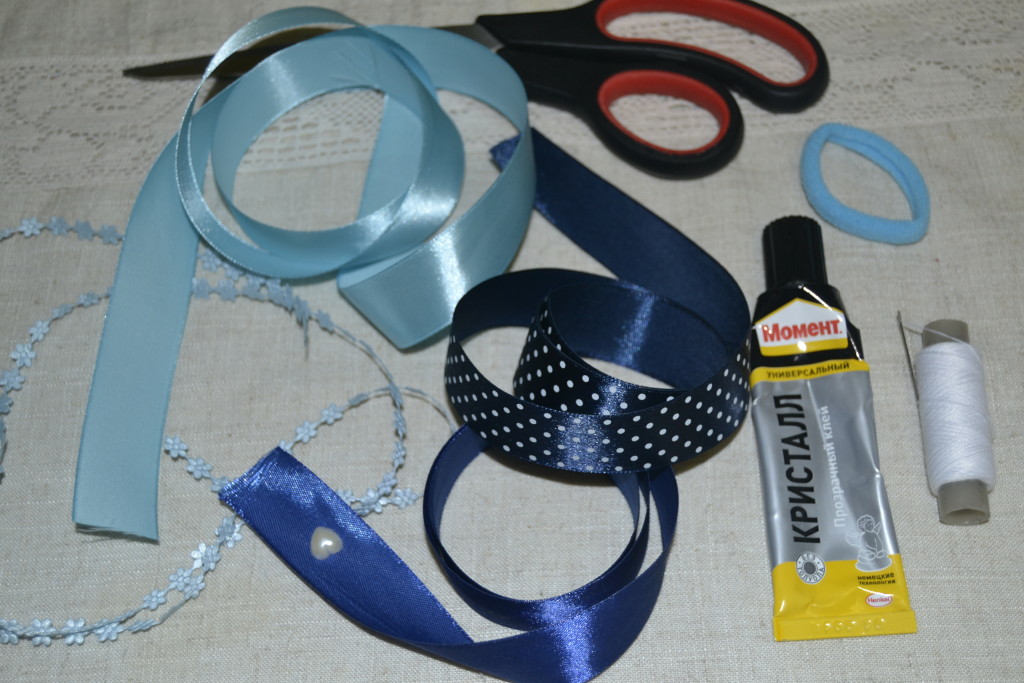
It is very easy to make such an accessory. We take:
- satin ribbons (in my blue-blue color scheme) - 50 cm each;
- decorative braid "flowers" - 1 m;
- rubber base - 1 piece;
- pearl half-bead-heart - 1pc;
- scissors;
- needle and thread;
- glue "Moment" is transparent.
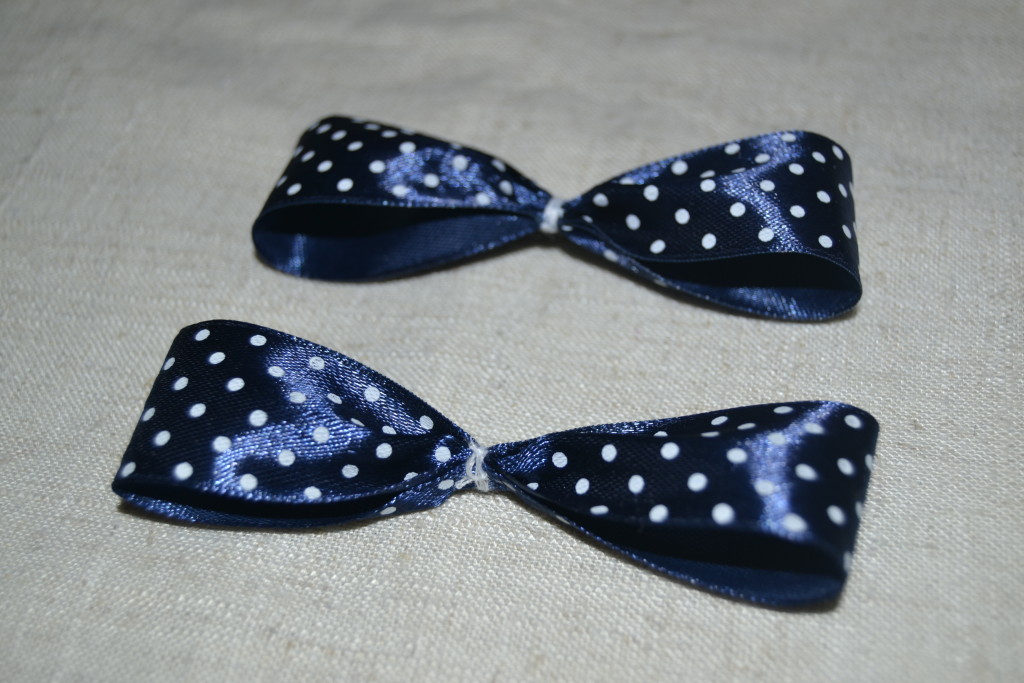
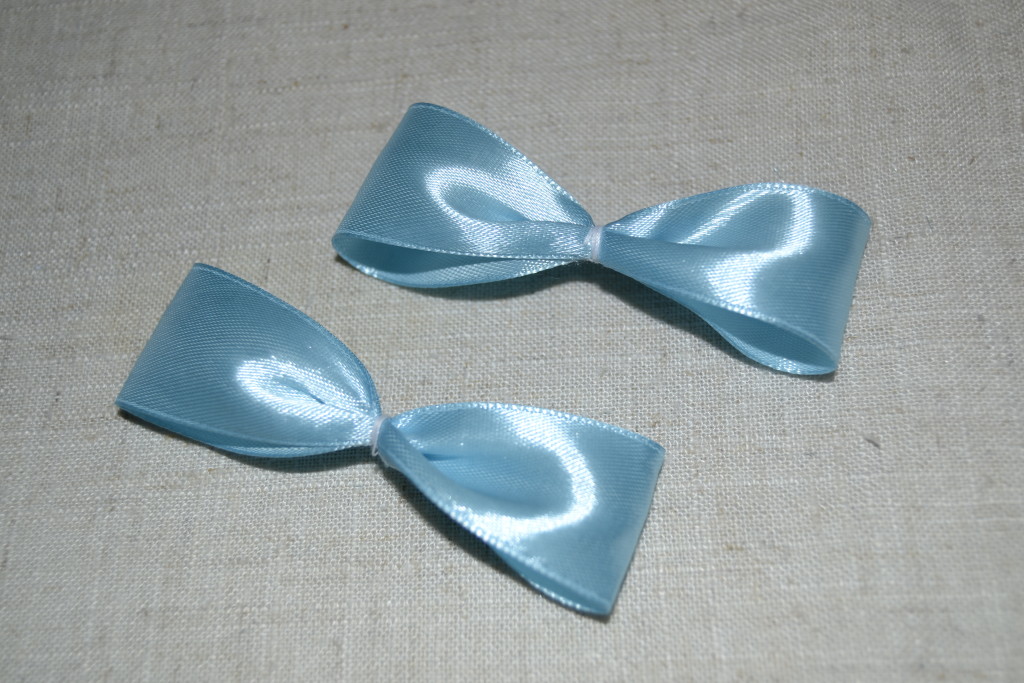
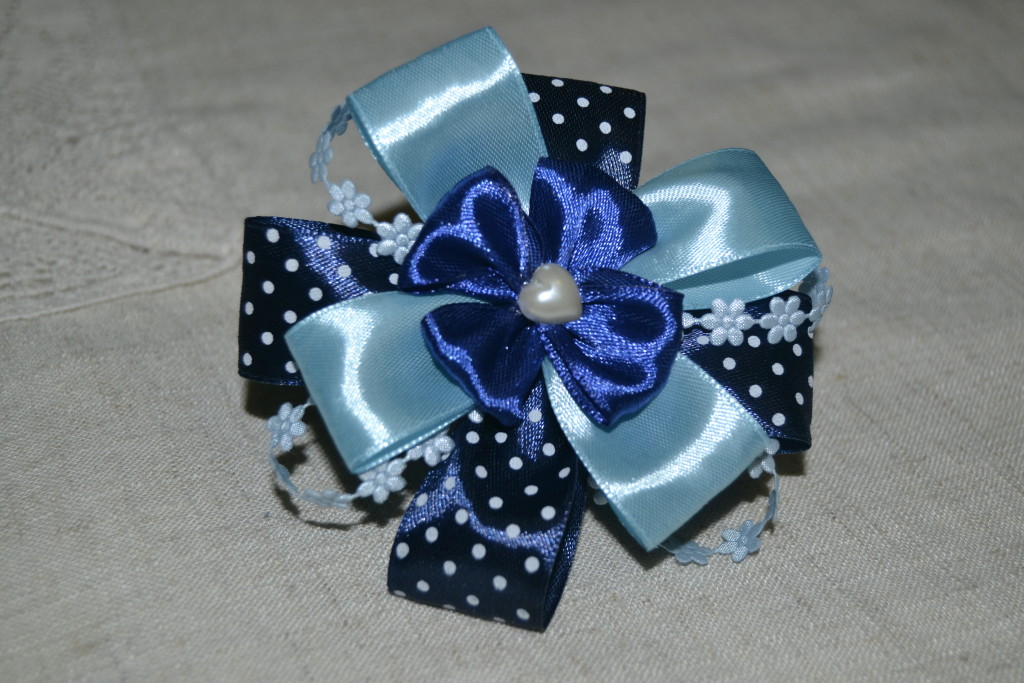
First, we make the bows in the same way as for the first option of hairpins. Cut off two strips of tape with polka dots 20 cm long, a blue tape - 16 cm and a blue tape - 10 cm. These blanks are obtained from them.
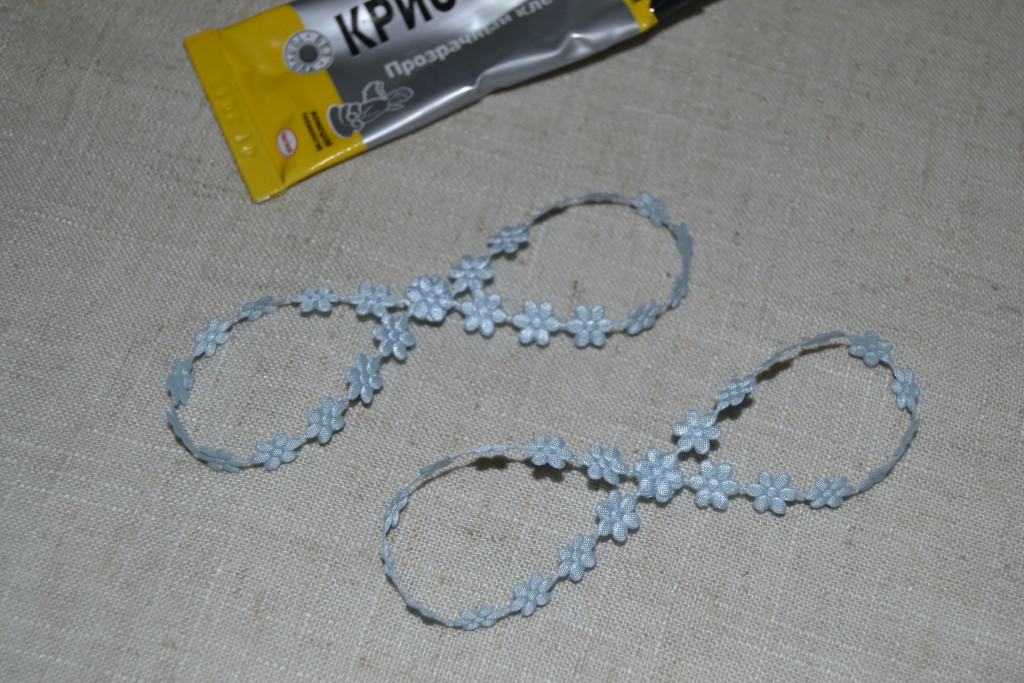
Next, cut off a couple of strips of decorative braid in the form of flowers 16 cm long and fold them into bows, fixing their center with "Moment".
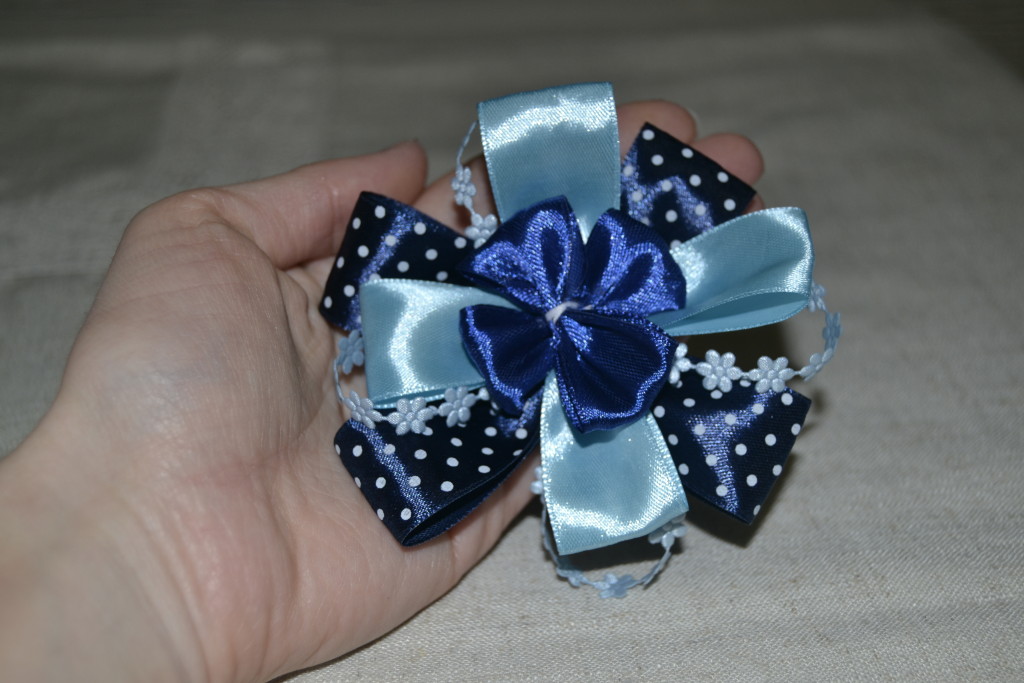
Then, one by one, we glue together all the details of the future hair clips, starting with polka-dot bows, then "flowers", blue bows and blue ones. Let the glue dry thoroughly.
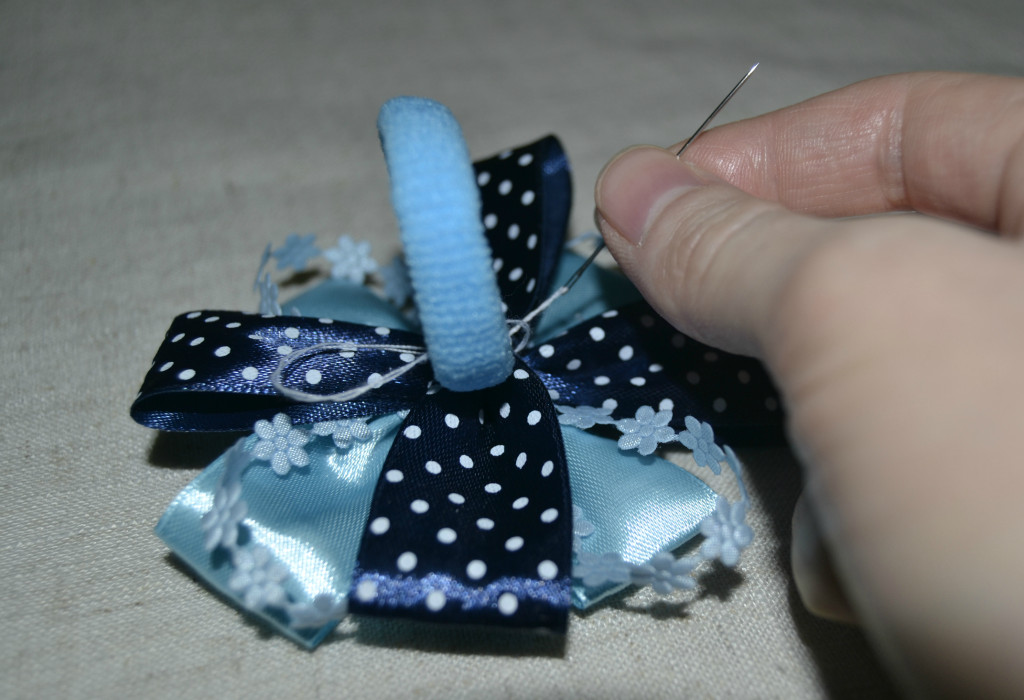
We sew a rubber band-base to it.
Decorate the middle with a pearl half-bead in the shape of a heart. This is how my hairpin looks in the end.
Hairpin from ribbons with rhinestones
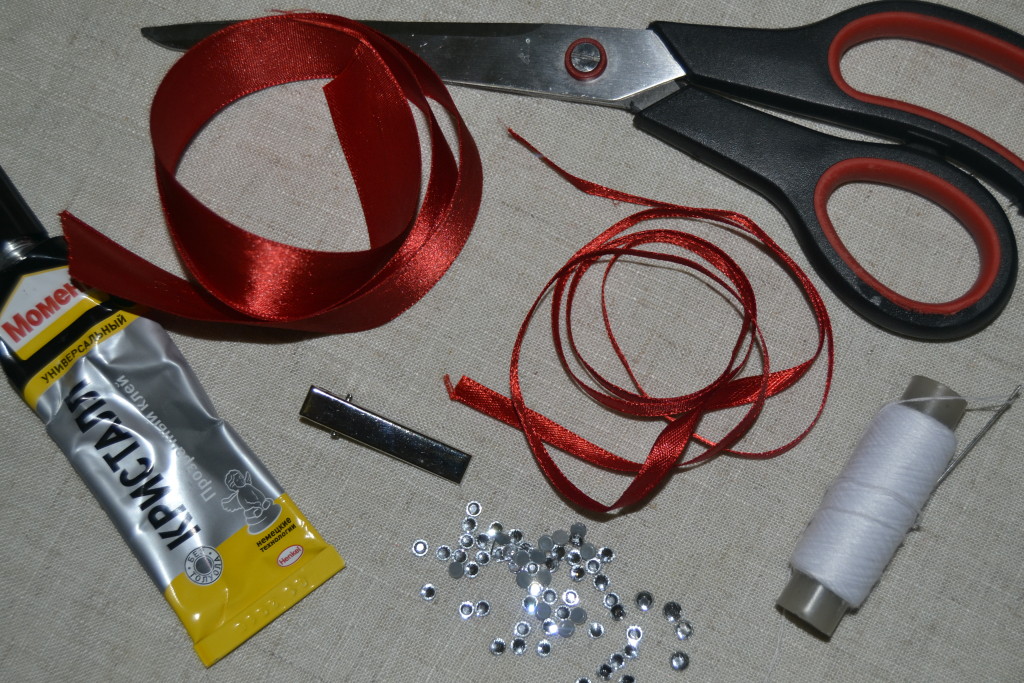
To make such a hair clip, I needed the following materials:
- satin ribbons wide and narrow (mine is red) - 50 cm;
- hairpin-base "crocodile" - 1 piece;
- silver rhinestones - 37 pcs;
- needle and thread;
- scissors;
- glue "Moment" is transparent.
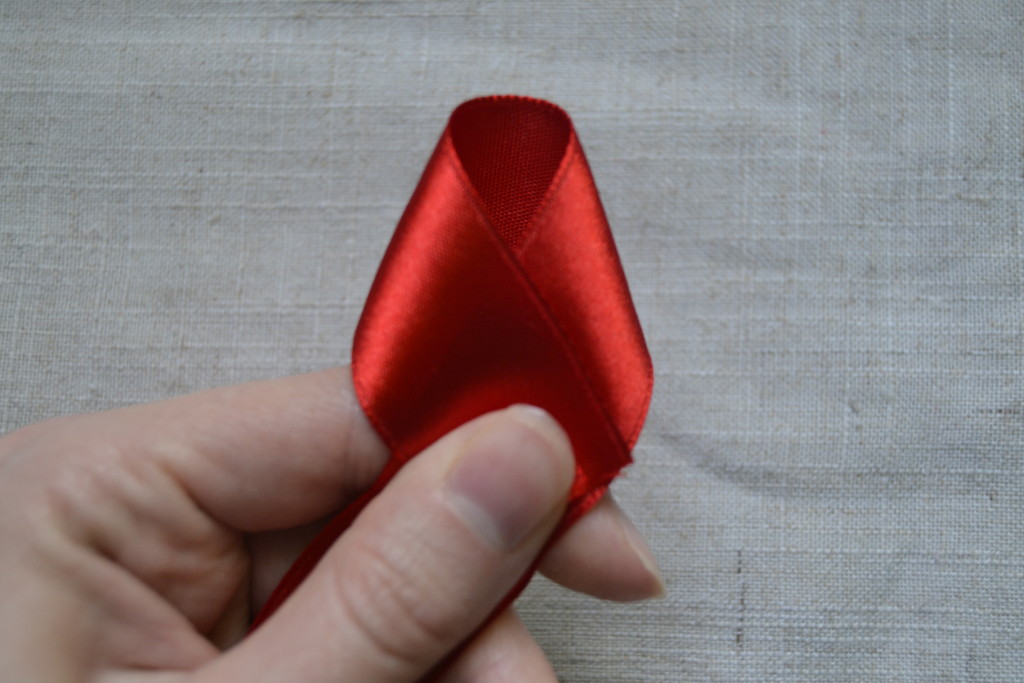
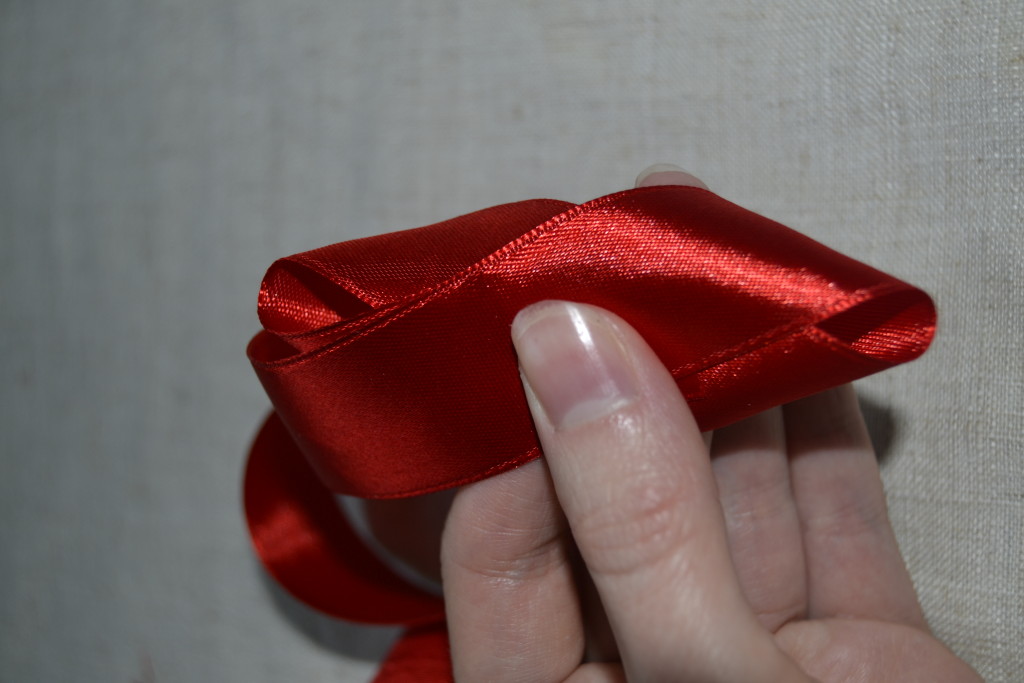
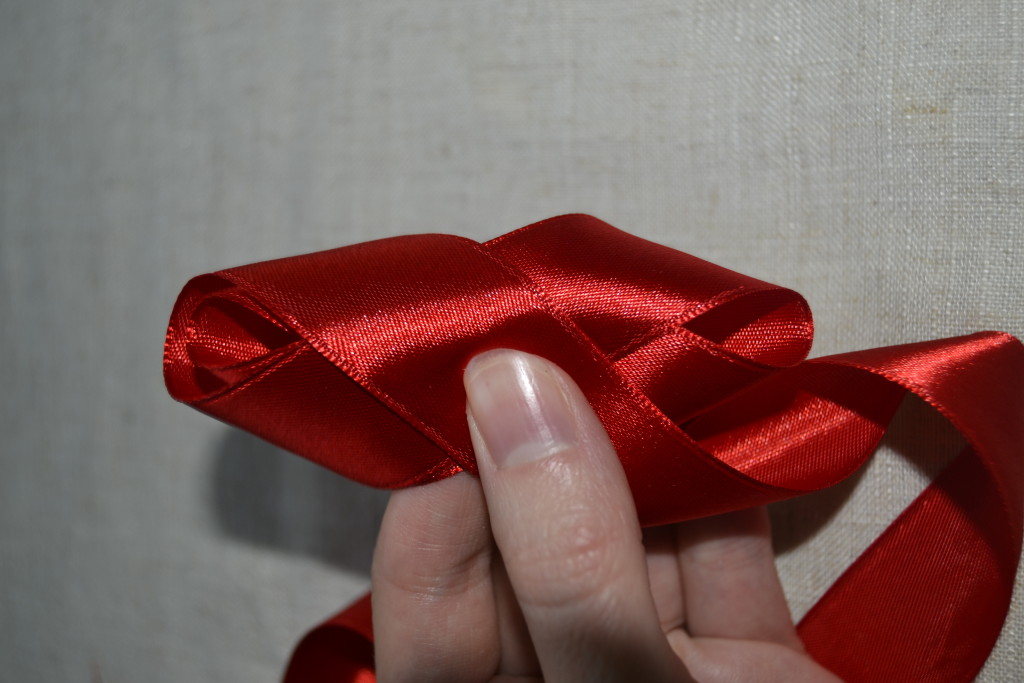
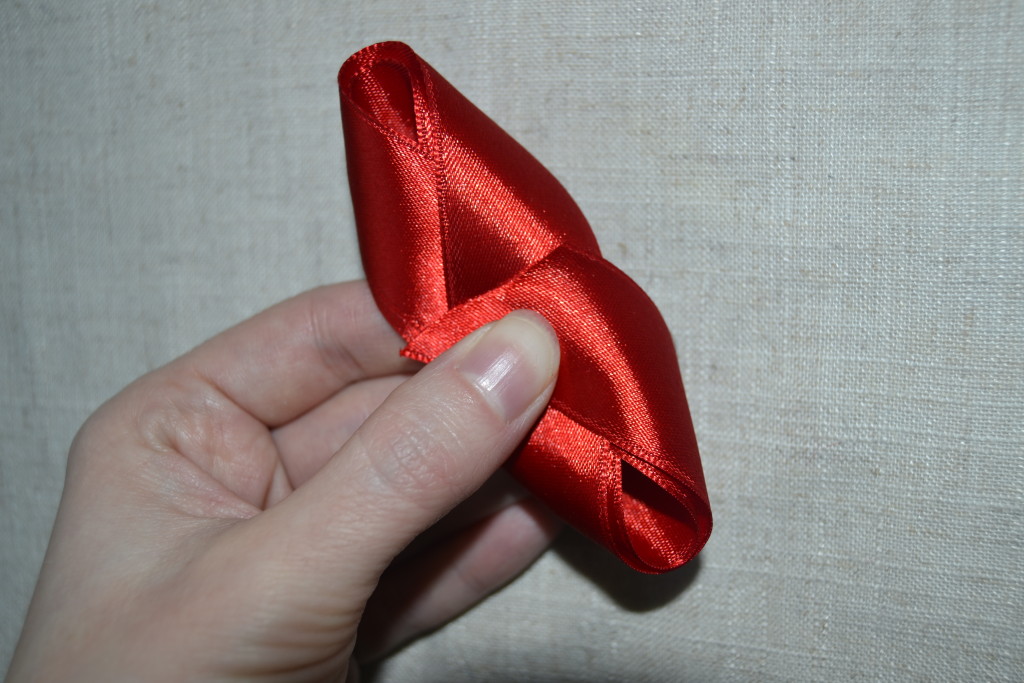
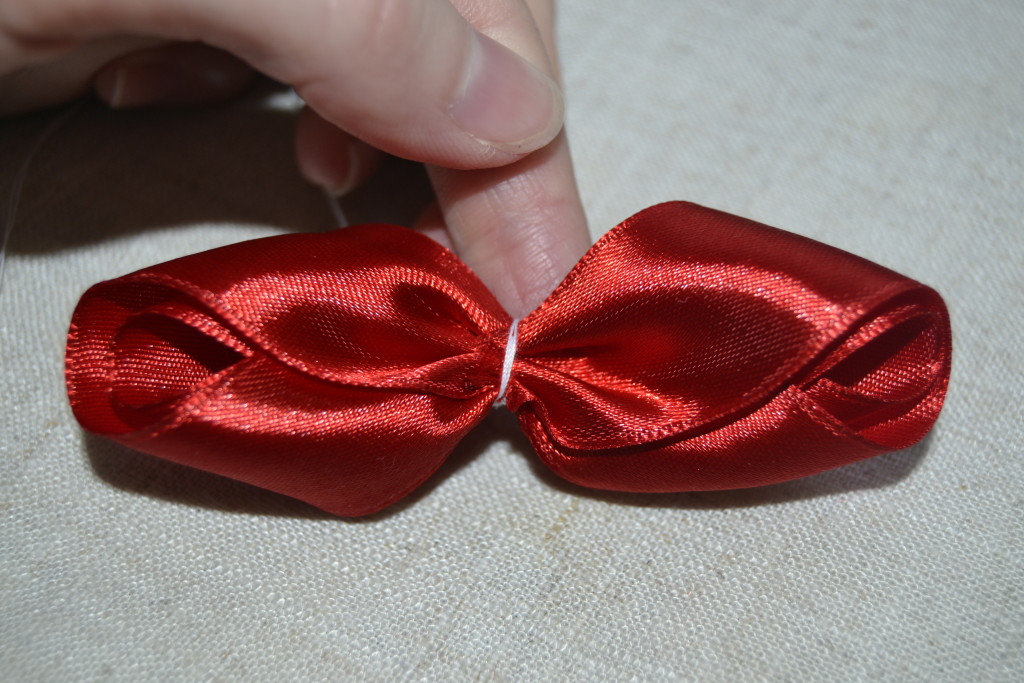
First of all, we gradually fold a wide ribbon in two layers, as shown in the photographs.
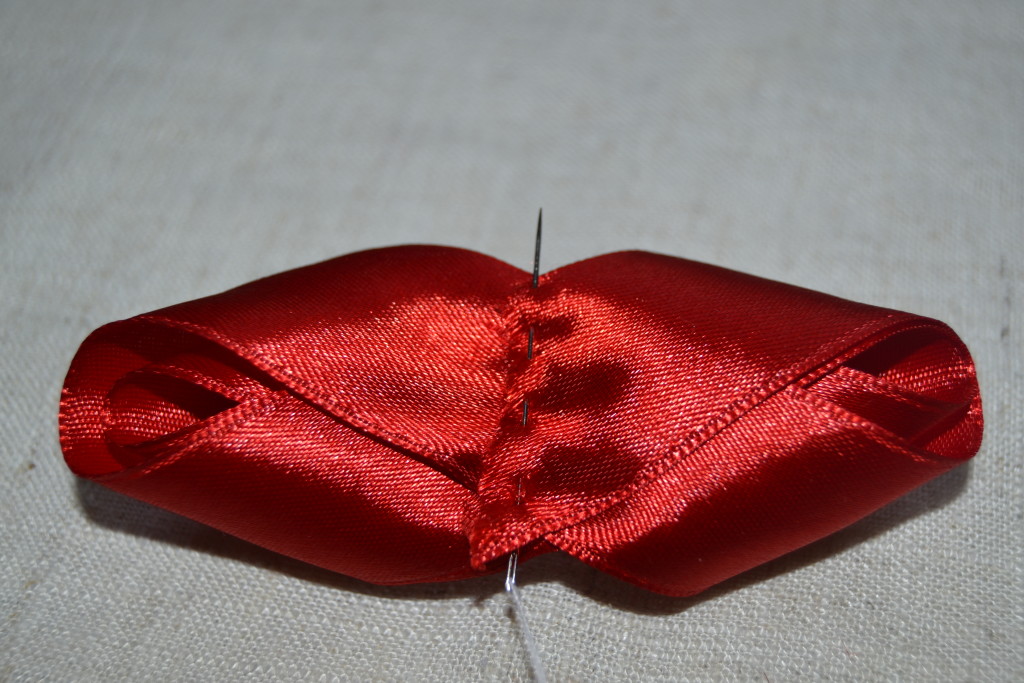
Cut off the extra piece of tape. It turns out here is such a blank.
We make stitches on it in the center so that beautiful folds are obtained on the bow.
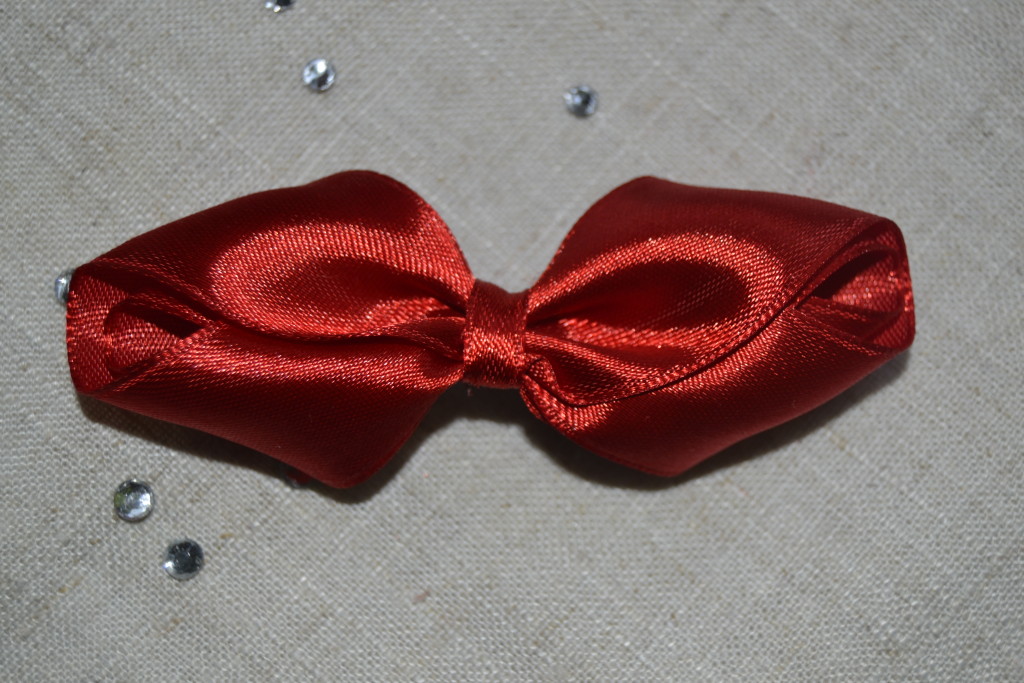
With a piece of narrow ribbon (3 cm) we make out the center.
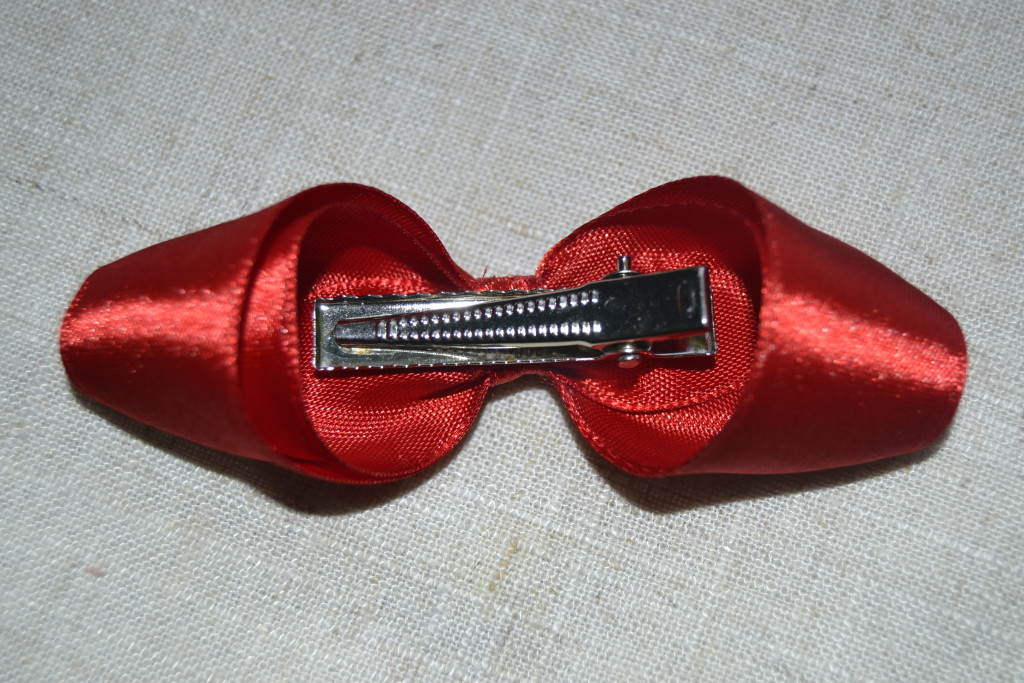
We glue the bow to the crocodile base.
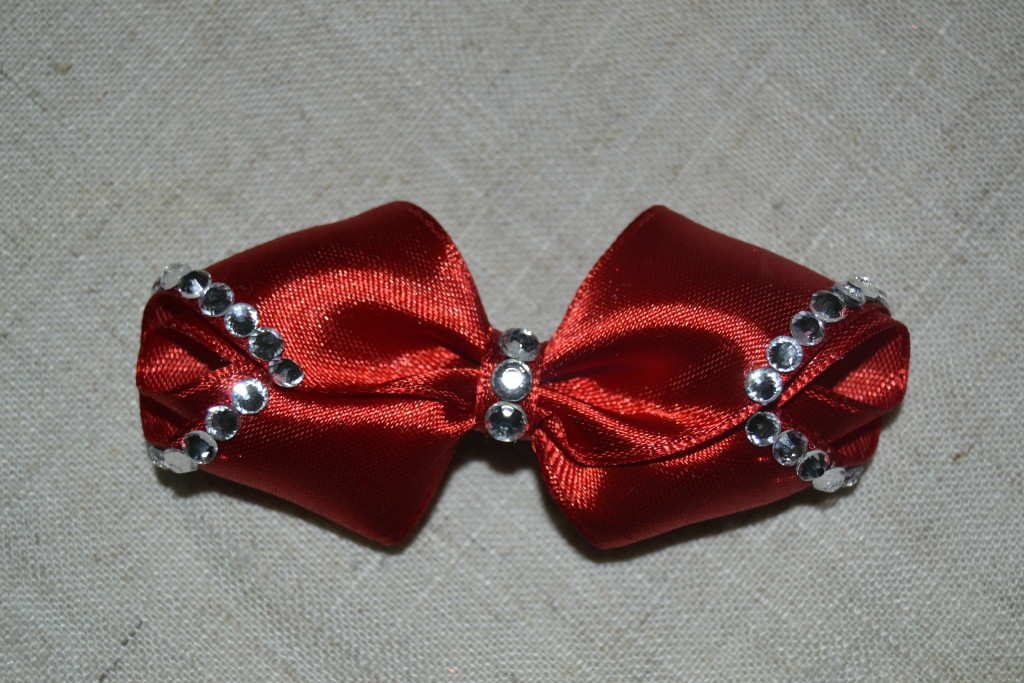
We decorate the middle and complete the "composition" with silver rhinestones. Done!
This hair clip will perfectly complement evening look, as well as add zest to even the simplest hairstyle - be it a ponytail or a braid.
